
Managing user permissions
Data stored in QruiseOS provides an incredible insight into the inner workings of your QPUs. Due to the sensitive nature of this data, you might restrict which resources users have access to. You can do this with our built-in user management system. For security reasons, a newly-created user has no permissions whatsoever. They can log into QruiseOS, but they won't be able to see any of the QPUs. You must grant them access manually, reducing the chances of inadvertent data leakage.
In the following sections, we'll explain how to grant users access to QPUs and how to assign additional tenant admins.
Check your permissions!
Managing user permissions is restricted to tenant administrators only. Regular users will not be able to perform this action.
Inspecting user permissions
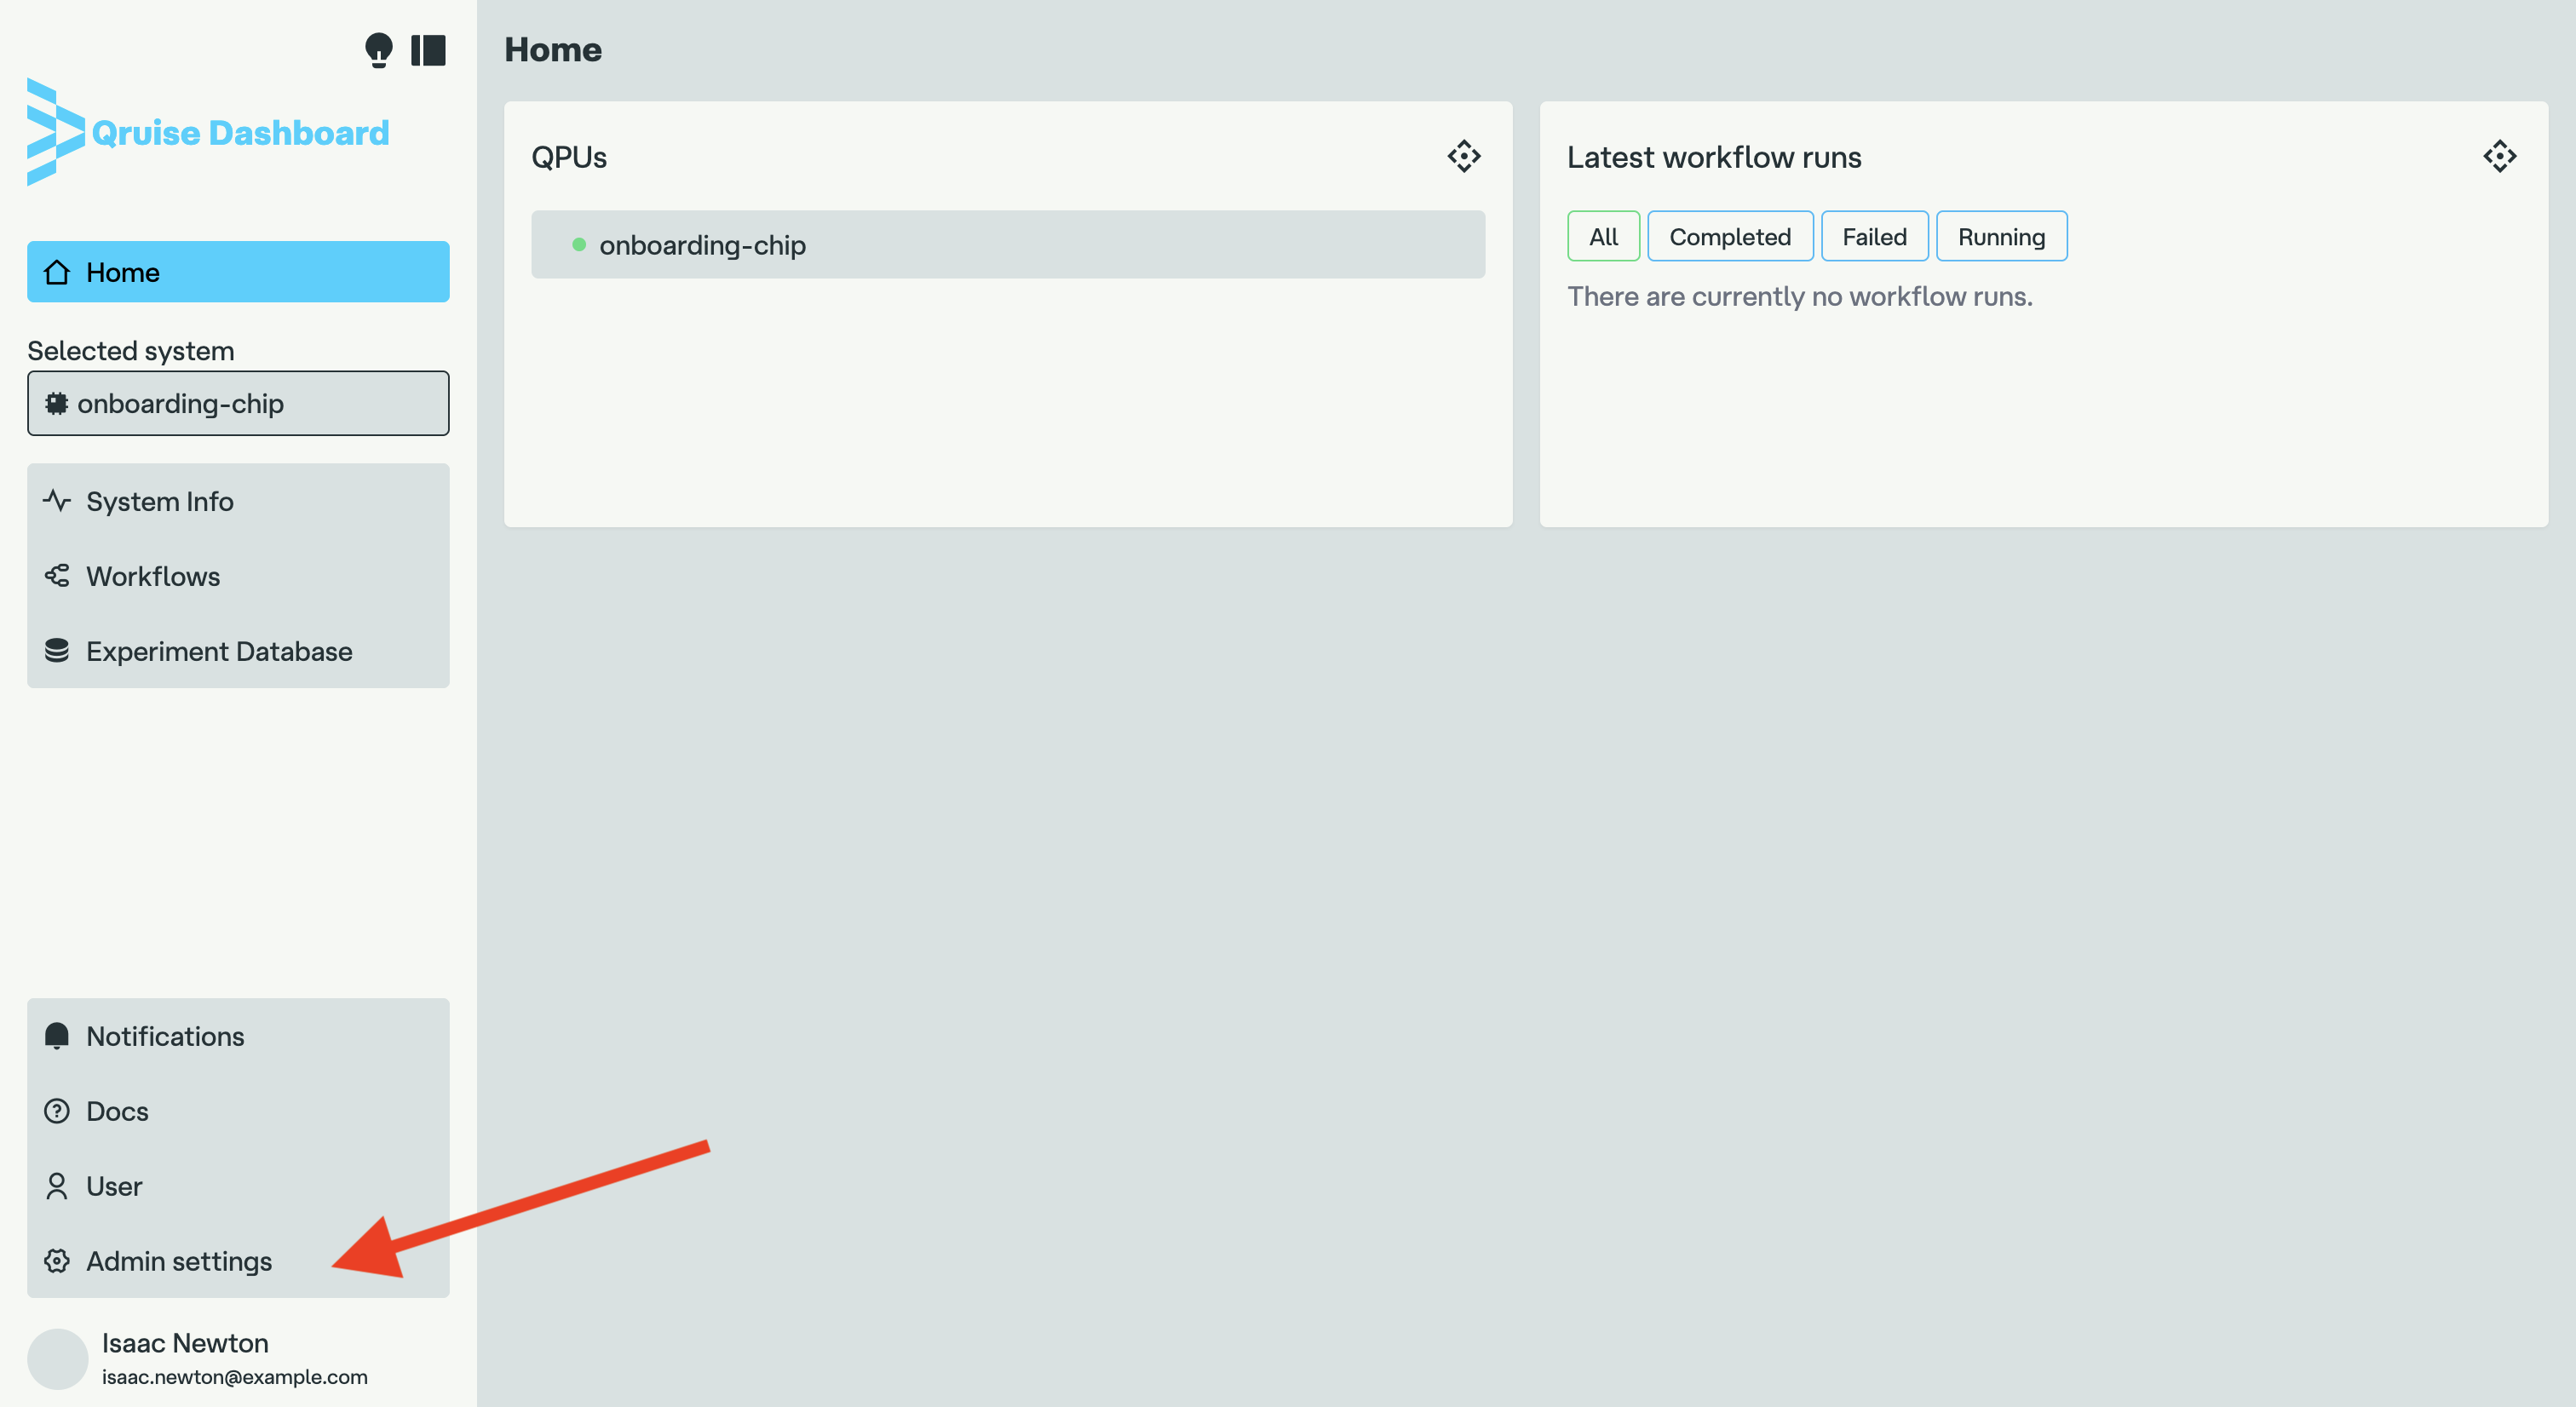
Start by selecting the "Admin settings" menu item in the QruiseOS dashboard:
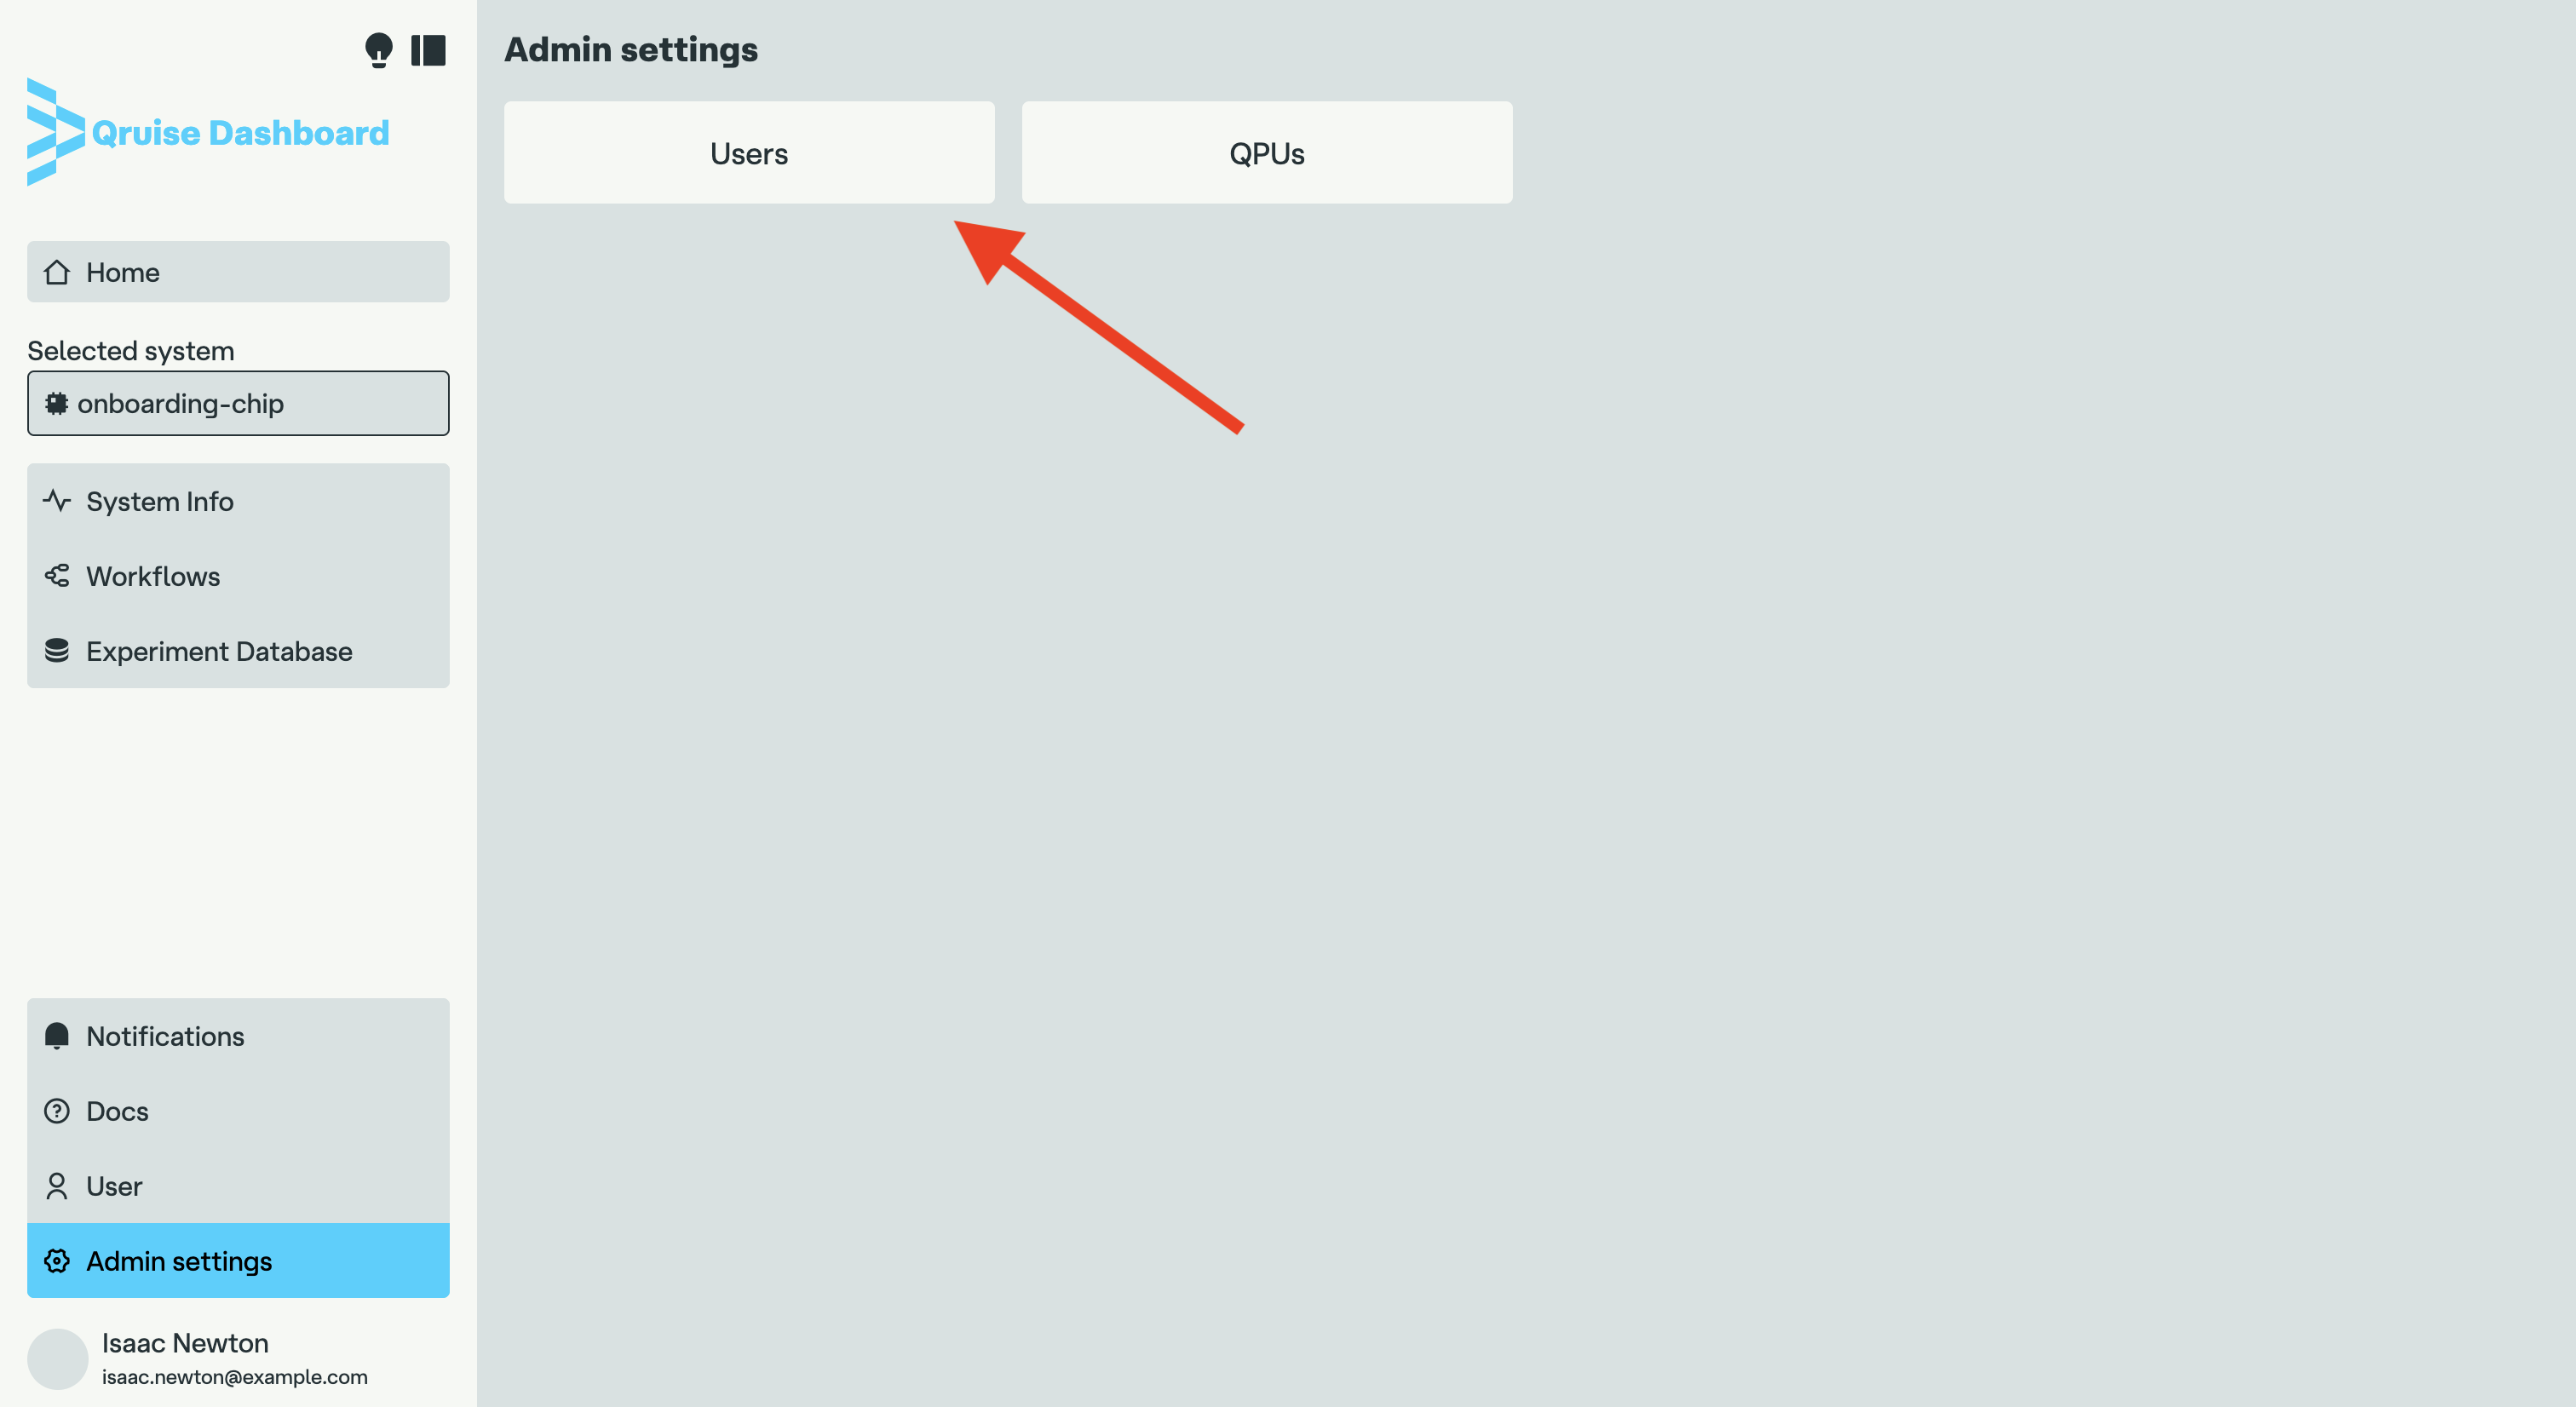
Click on the "Users" button:
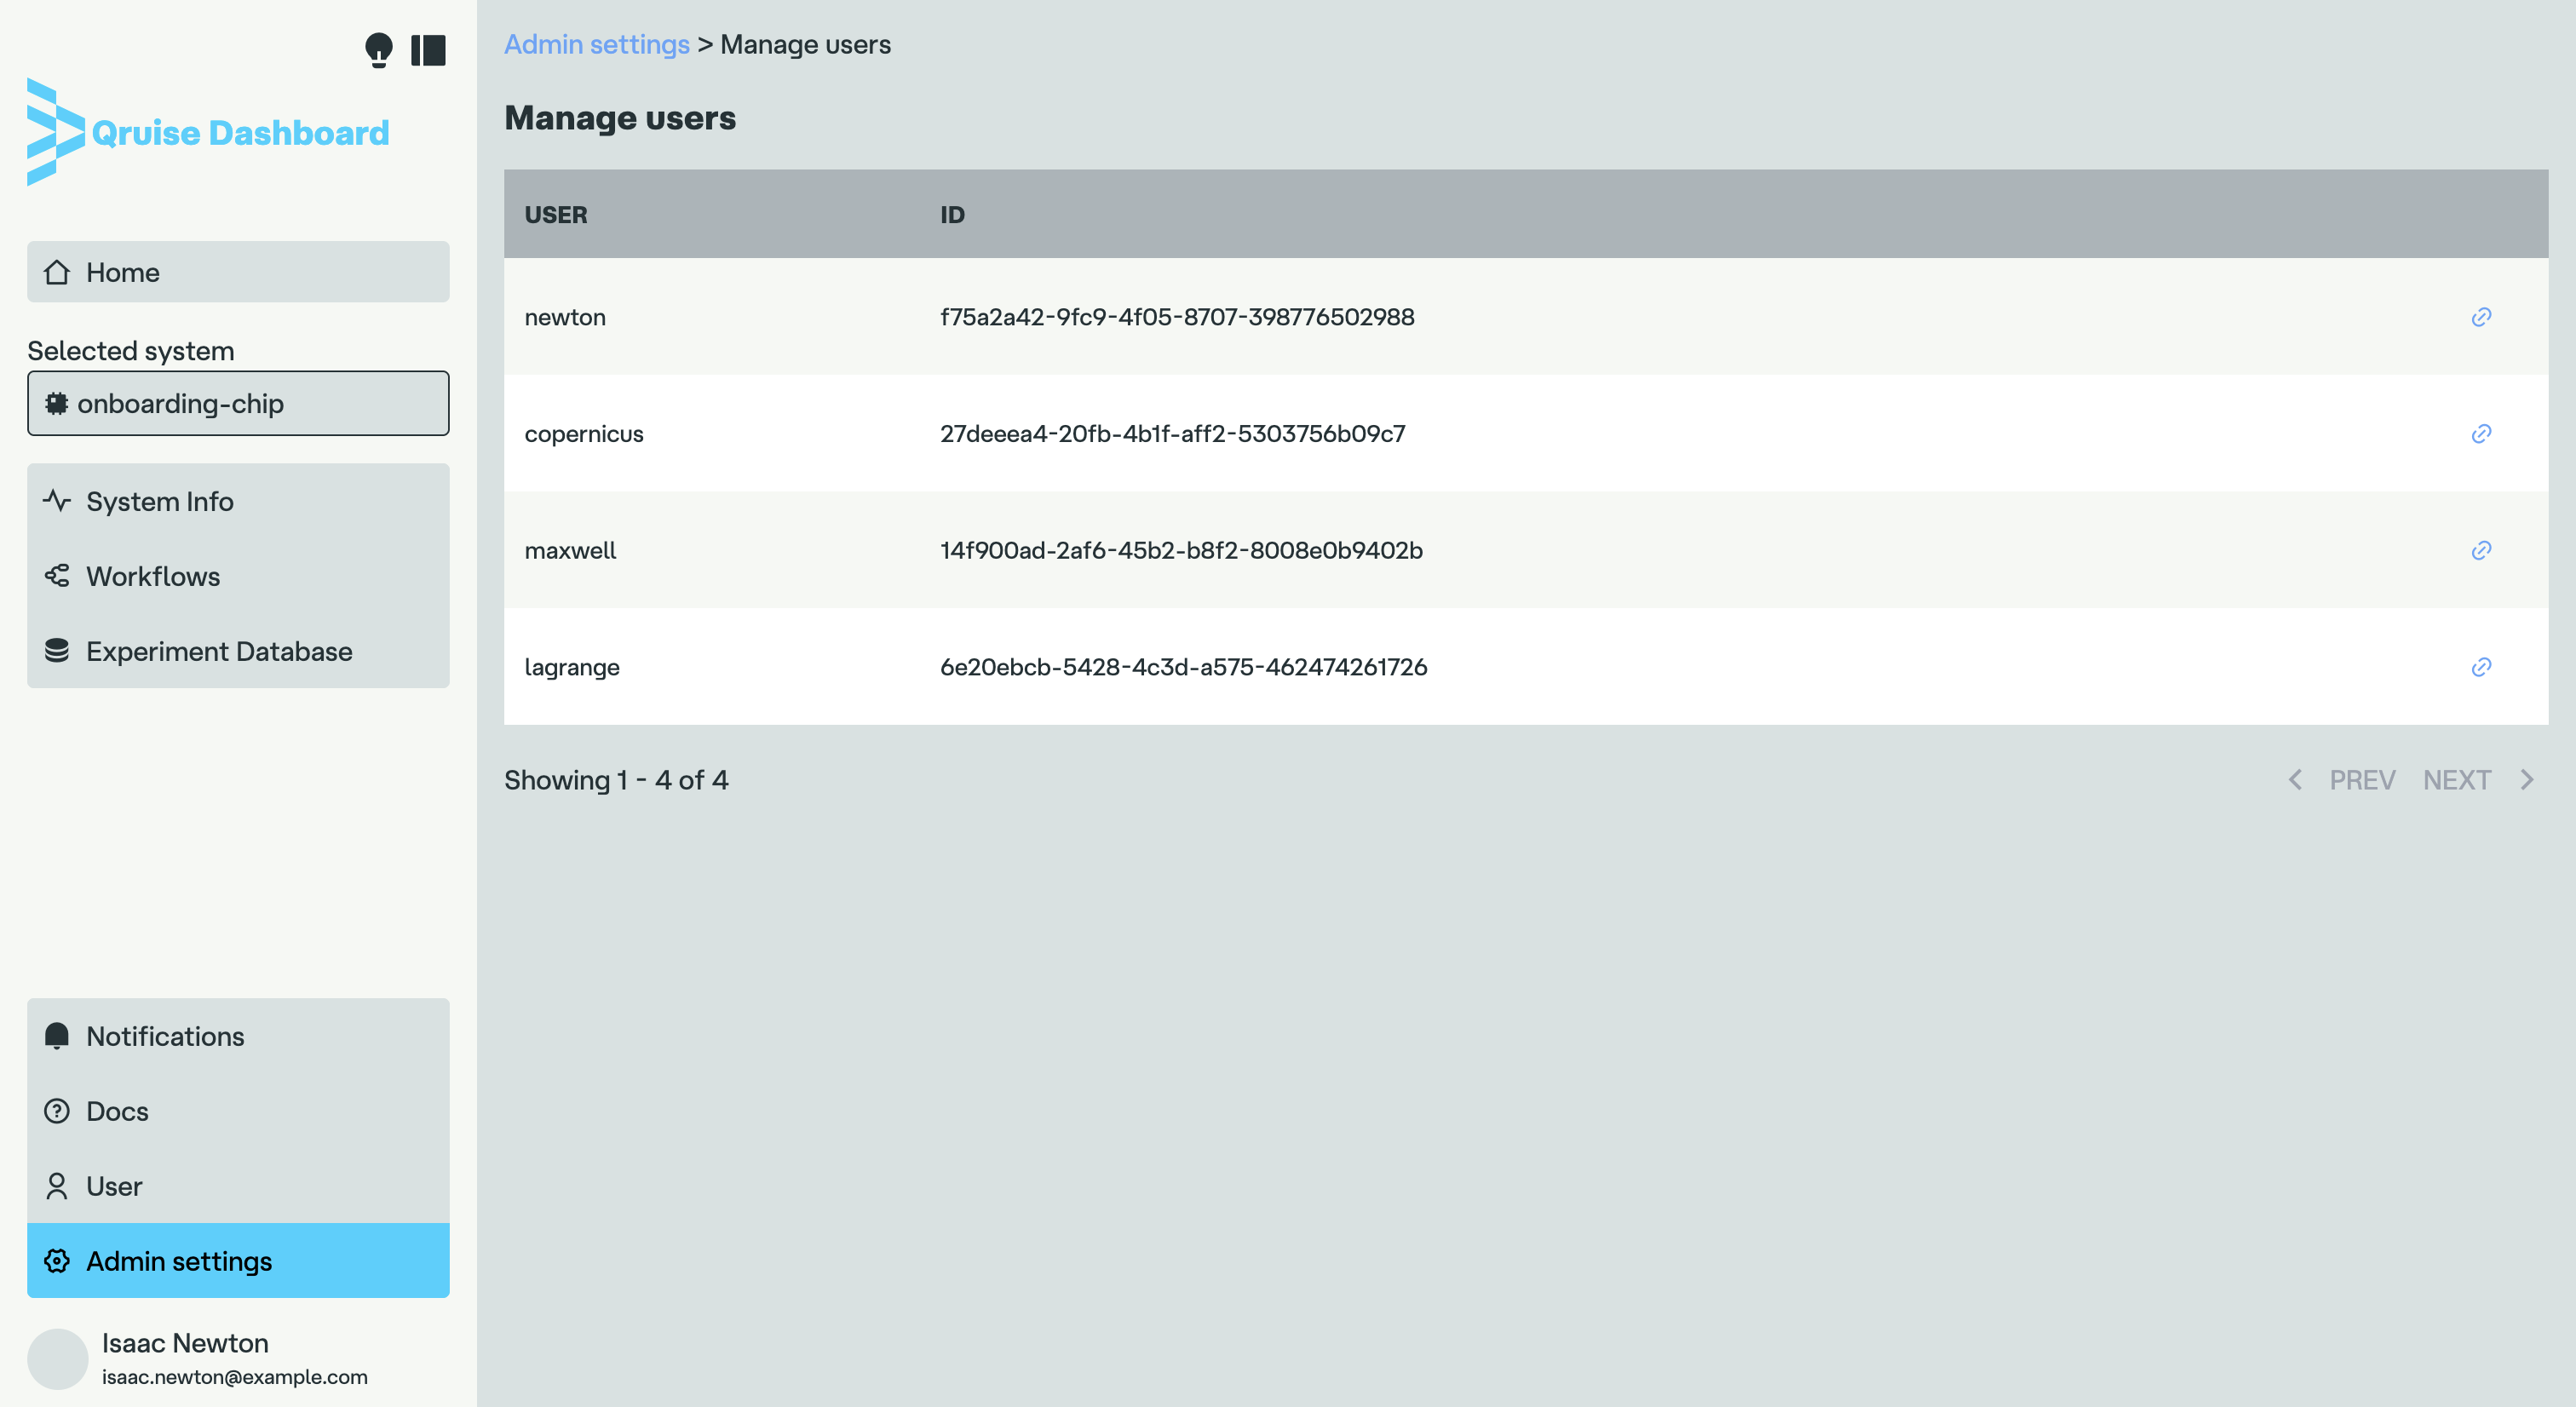
This will display a list of all users registered in the system, including your own user. In our case, it consists of "newton", "copernicus", "maxwell", and "lagrange":
Let's look at "newton" — this is the tenant admin user we created earlier:
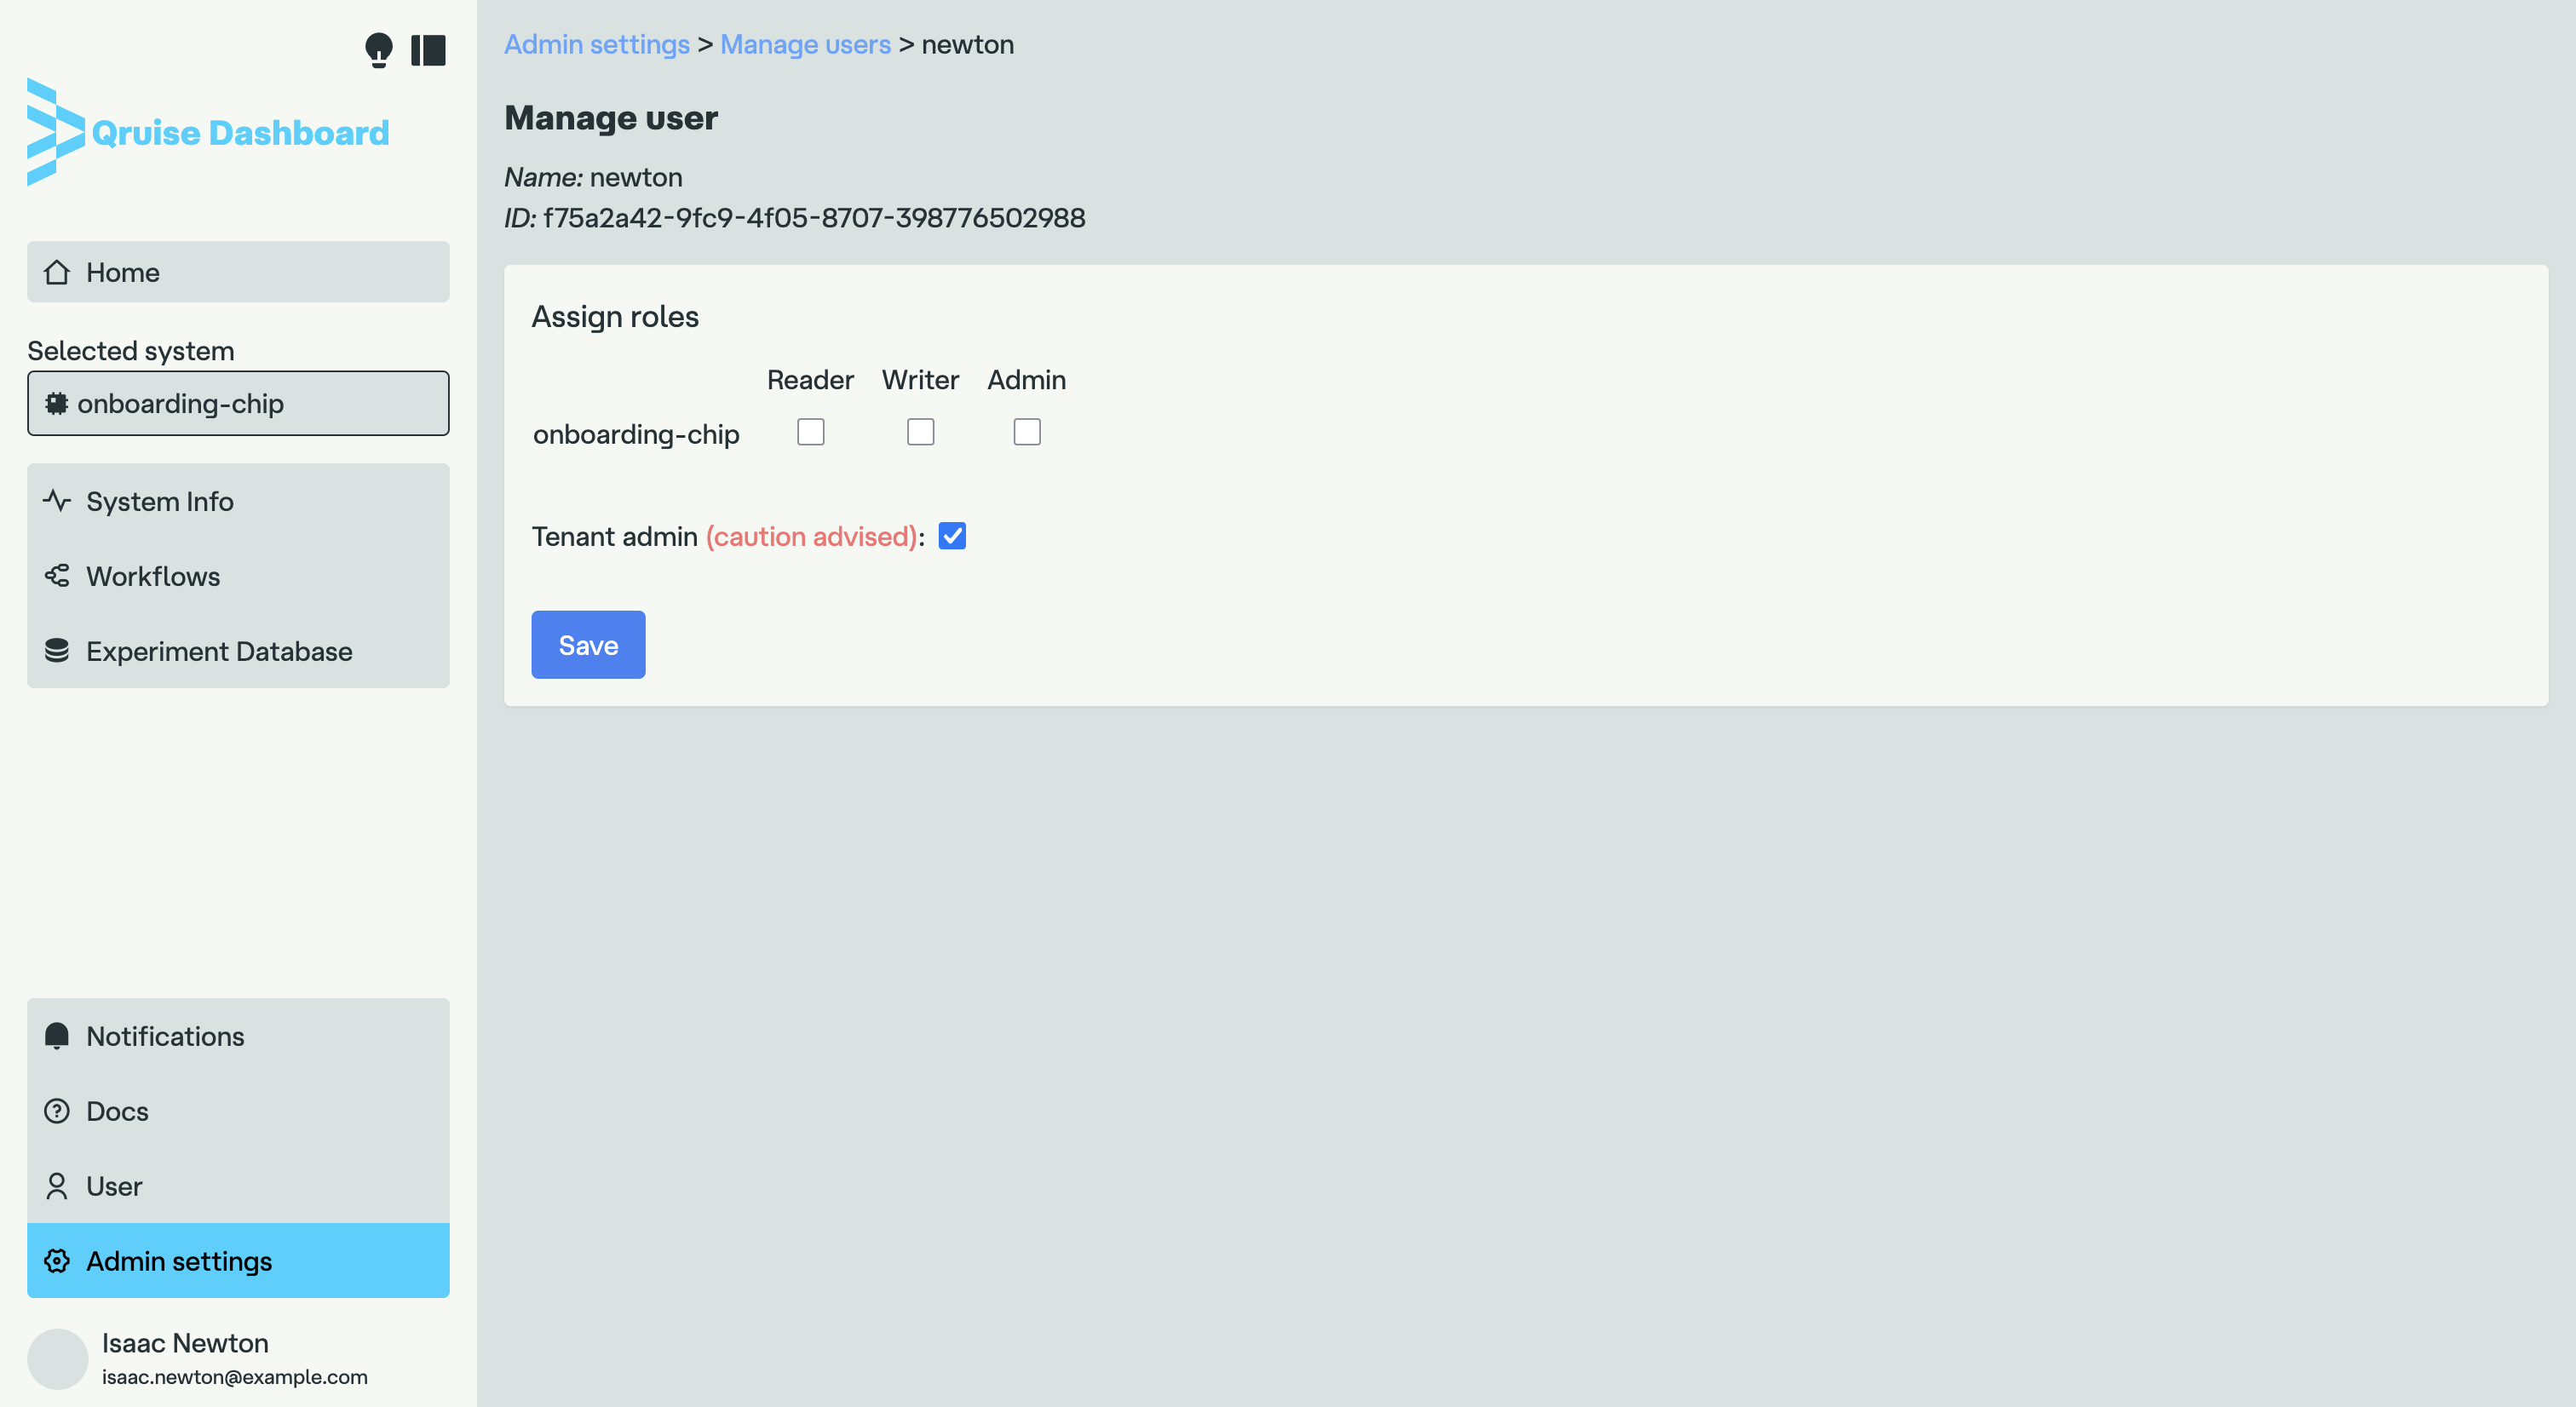
You can see that the "Tenant admin" checkbox is selected. The other checkboxes are optional — tenant admins have access to all QPUs by default, but you can select them manually if you want.
Warning
If you are the sole tenant administrator, do not uncheck the tenant admin checkbox. This action is irreversible and your installation will be left with no administrators. If that happens to you, please contact the Qruise support team for assistance.
Let's now look at the user "copernicus":

You can see no checkboxes are selected for this user — that is the default behaviour. You need to add permissions manually.
Editing user permissions
Each QPU has three permission levels:
- Reader: the user can view data from the QPU
- Writer: the user can run experiments and modify data on the QPU
- Admin: the user has full control over the QPU, including its configuration and management
In addition to this, the "Tenant admin" role grants full access to all QPUs and allows the user to manage other users and their permissions.
To edit user permissions, select the desired checkboxes in the permissions matrix and click "Save". For now, we will grant "copernicus" writer access to the "onboarding-chip" QPU:
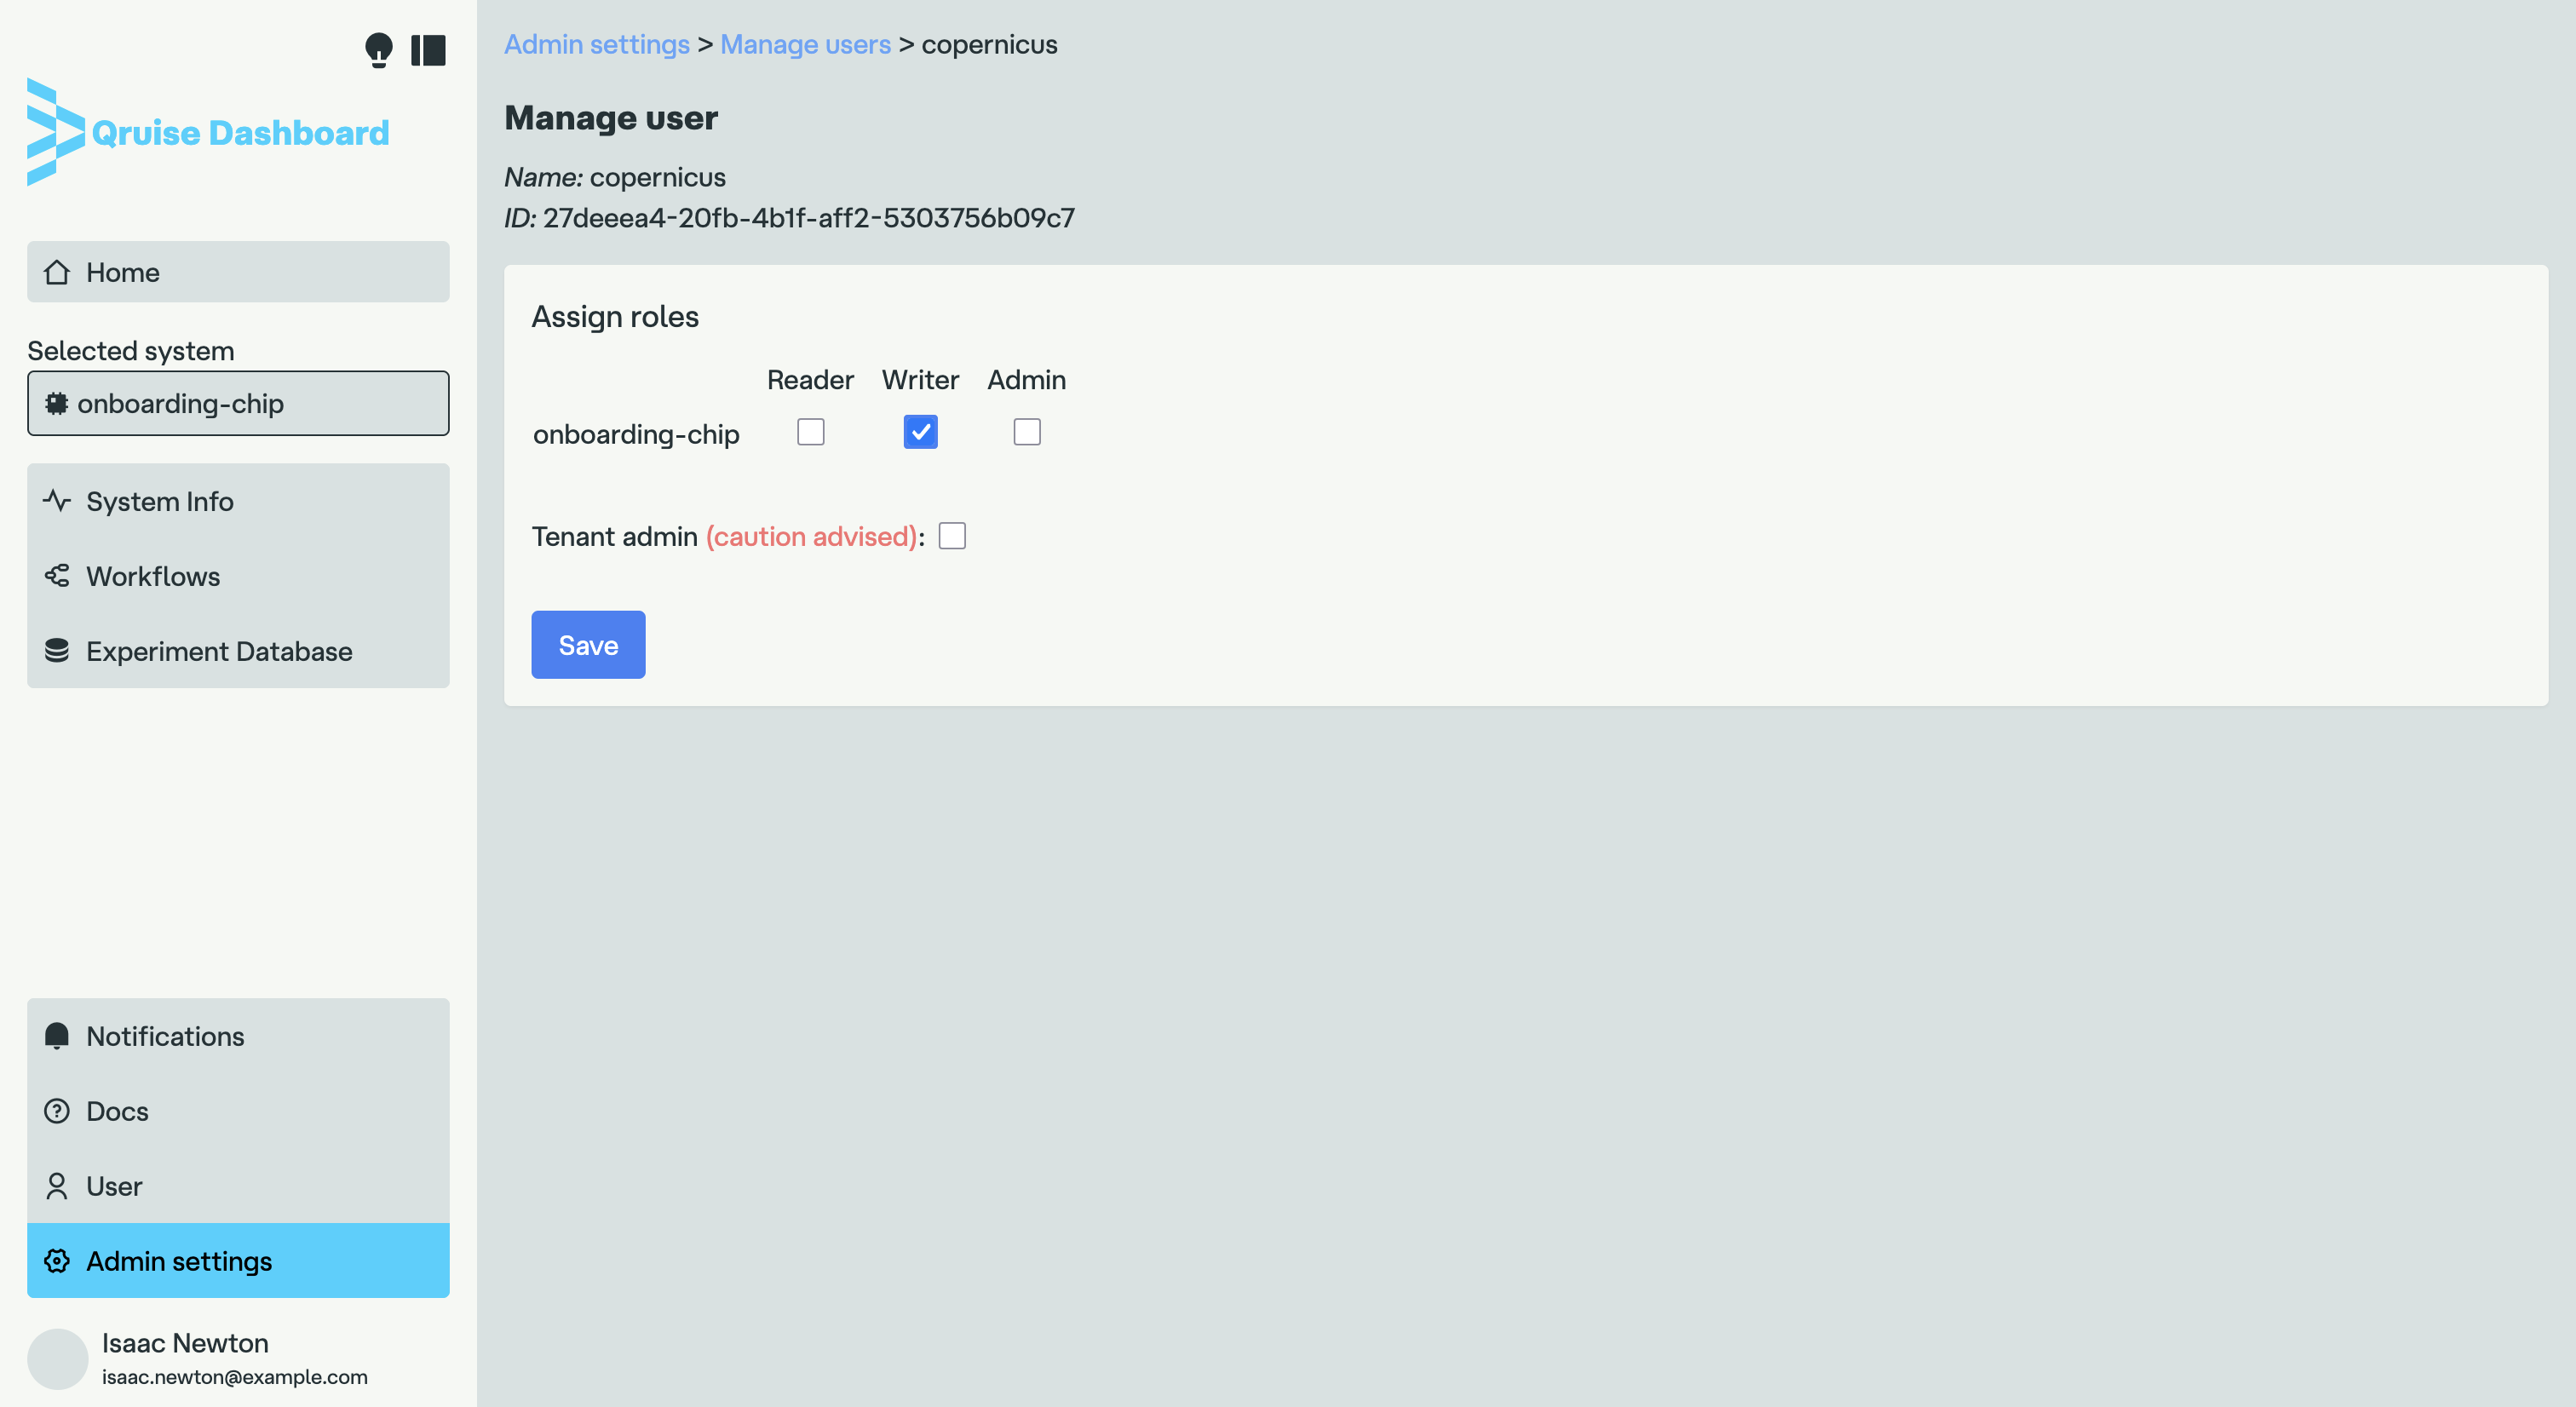
Now "copernicus" will be able to access the "onboarding-chip" QPU.
Granting tenant administrator rights is equally easy — select the "Tenant admin" checkbox for the user you want to elevate to the admin status.
Warning
It is advised to only grant users the minimum permissions required to perform their tasks. Particular care should be exercised when granting admin privileges.