
Getting started
This section helps you get started with QruiseOS by guiding you through logging in, running your first workflow, and viewing the results.
Core concepts
We have in-depth descriptions of the Core concepts in the next section, but for now we’ll focus on the essential steps to get you up and running quickly.
1. Logging into the dashboard
The dashboard is your interface for monitoring and experimenting with QPUs through workflow runs and past experimental data.
To log into the dashboard, navigate to your dashboard instance. This should look something like https://dashboard.qruise-vm-{your_instance_name}.dev.qruise.eu/. Your tenant admin can provide you with the exact URL and your credentials. This will include a one-time password. On your first login, you'll be prompted to create your own secure password.
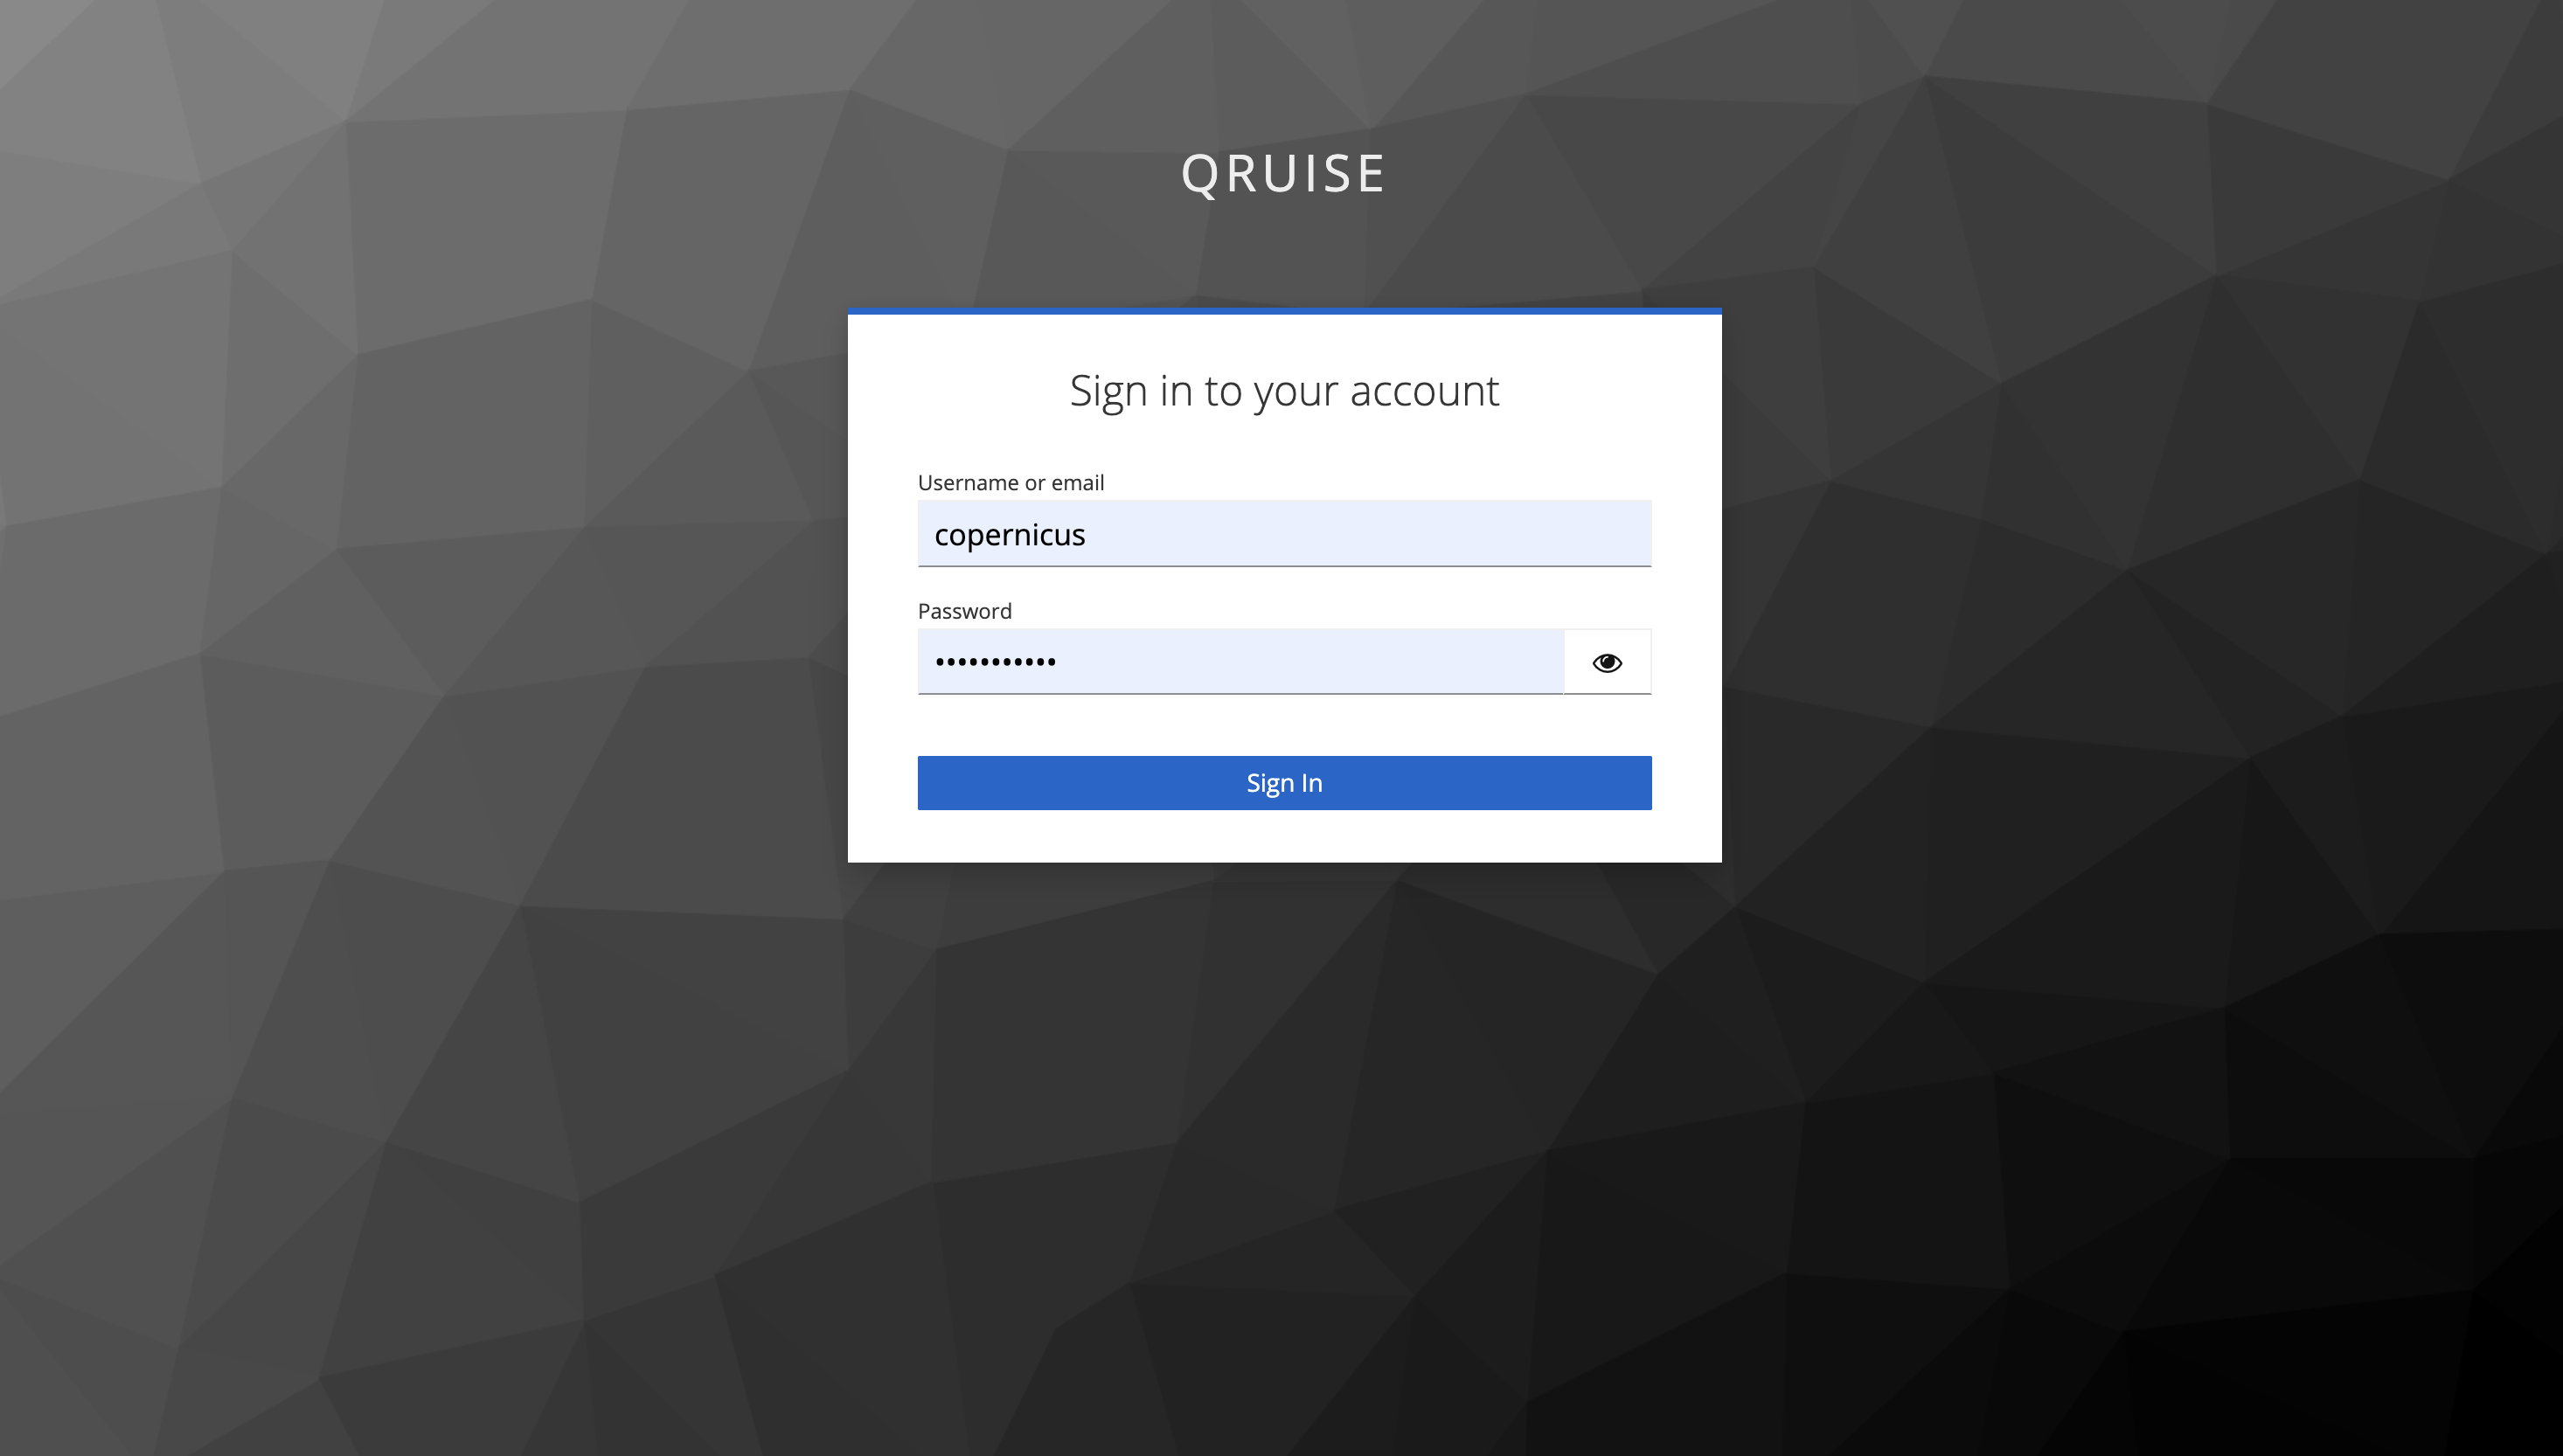
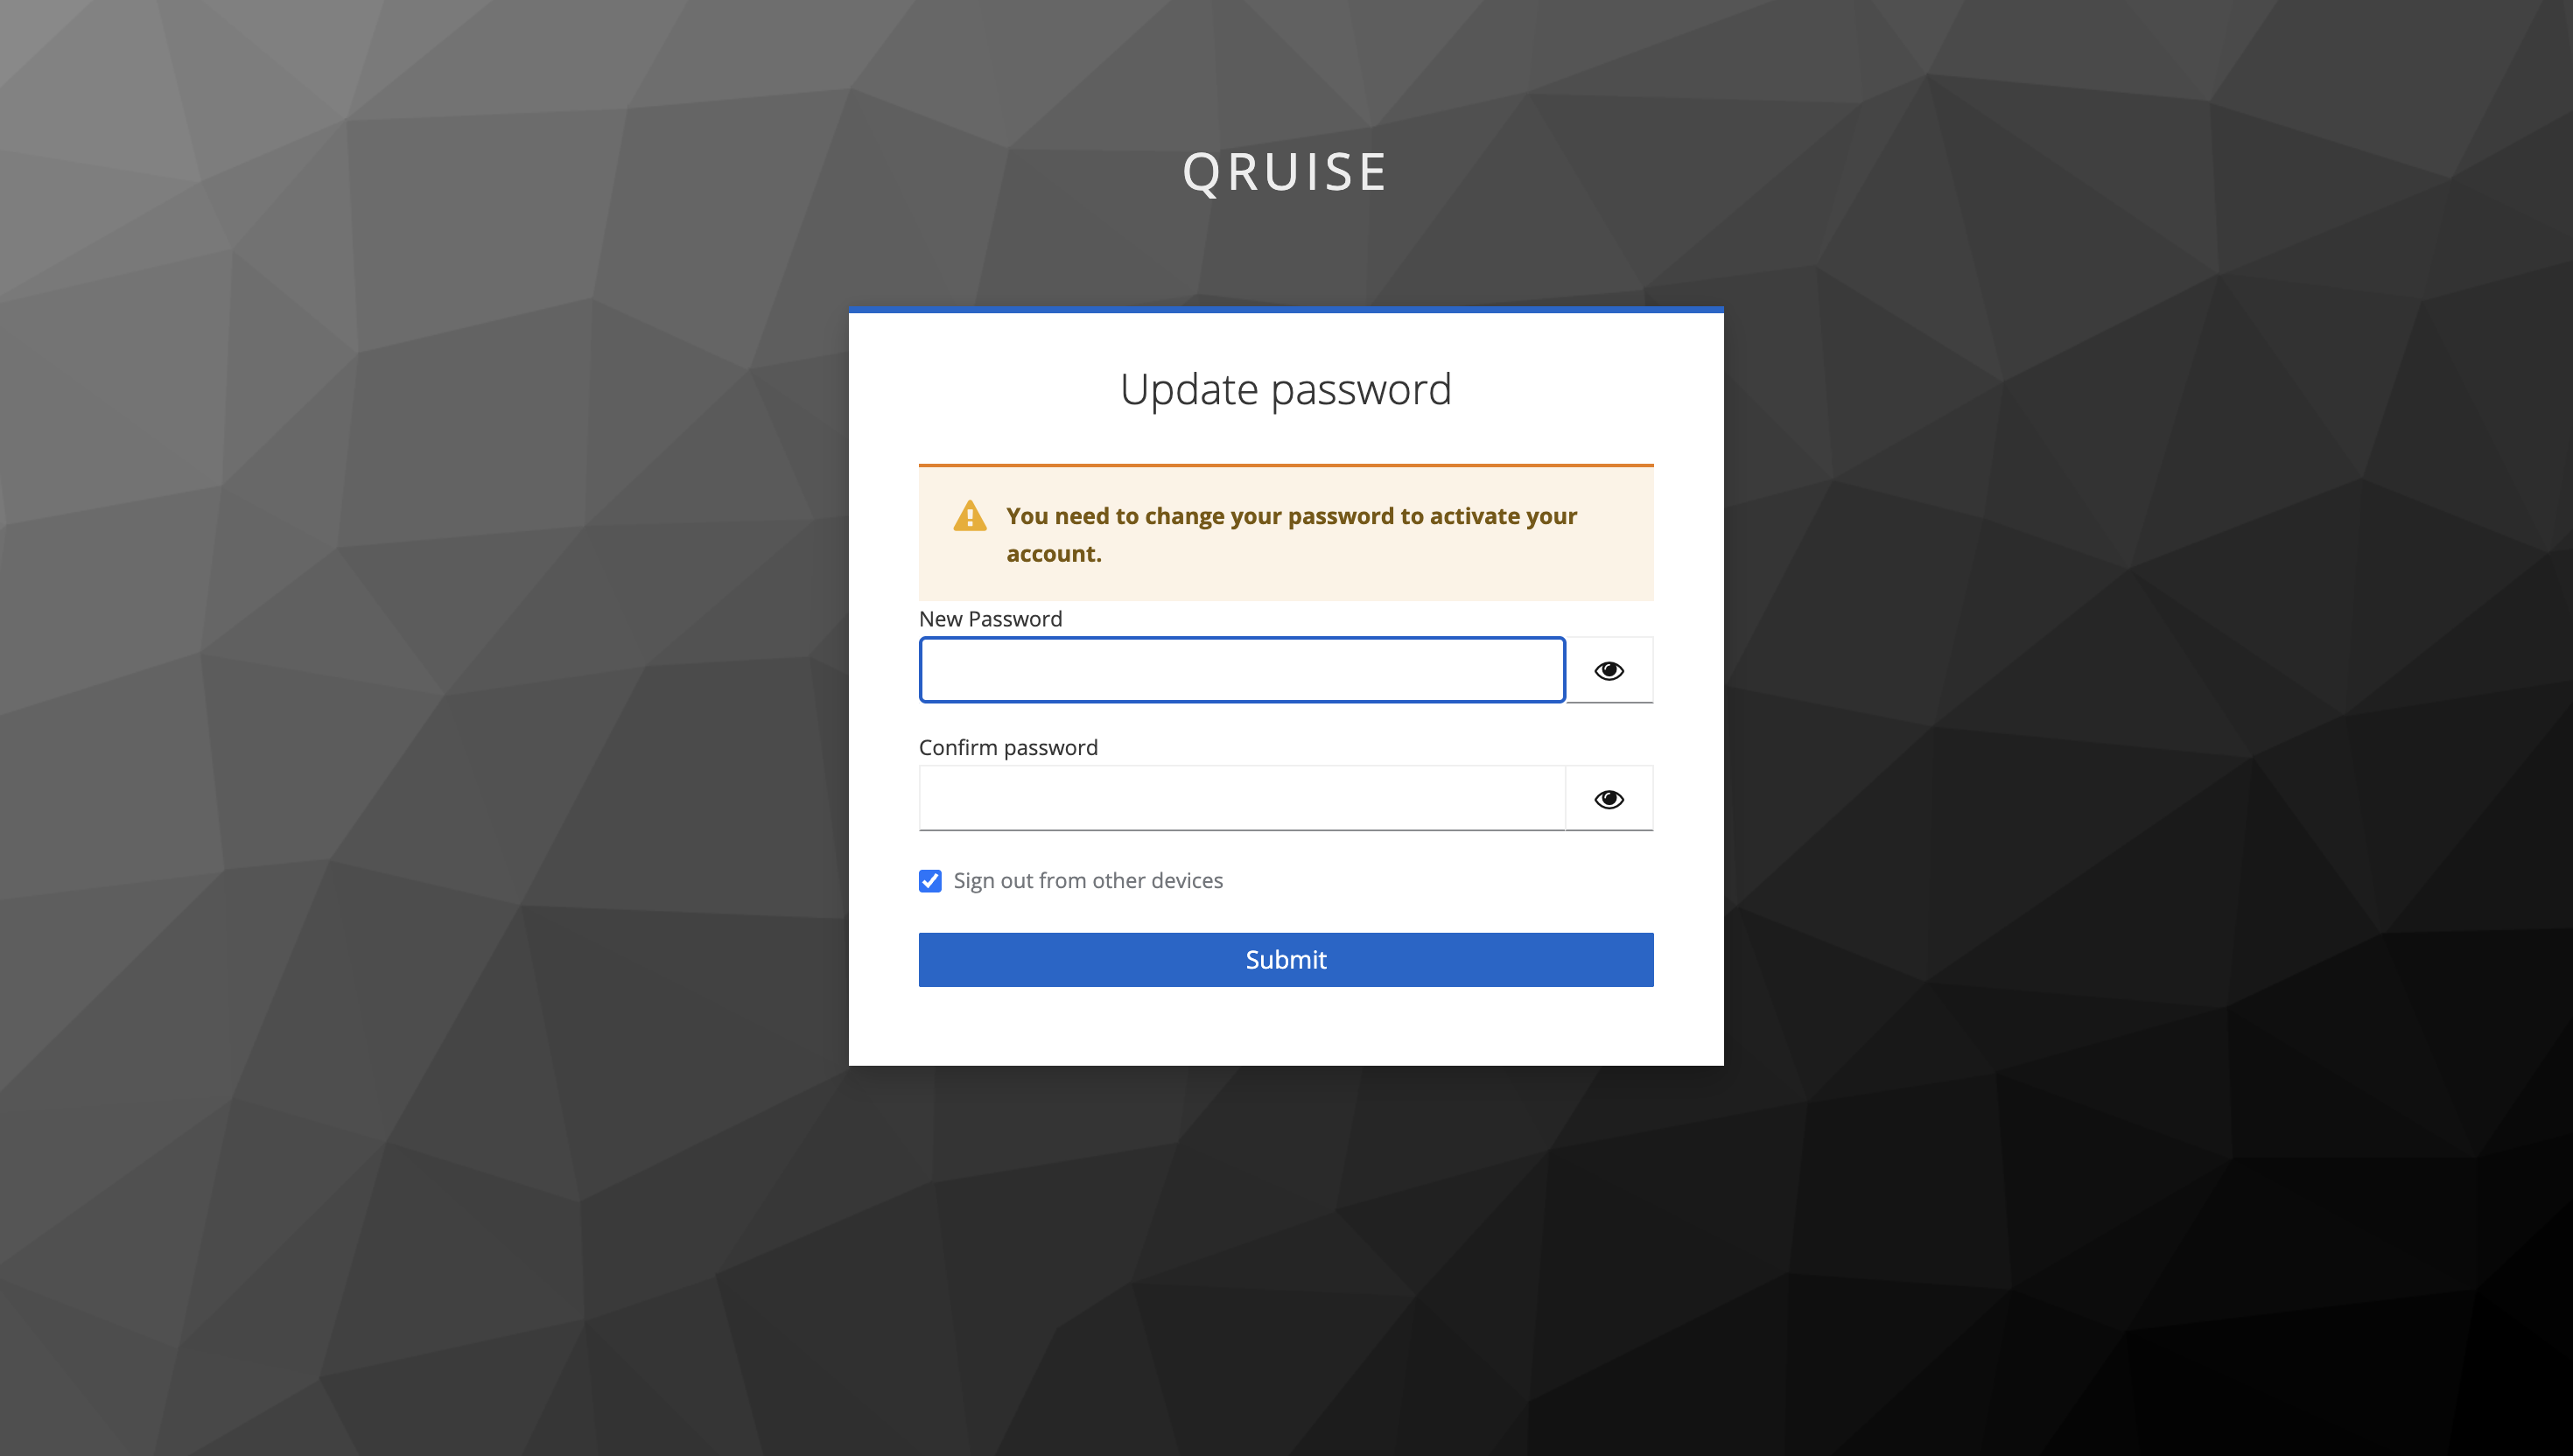
Your password must consist of at least:
- 8 characters
- 1 uppercase letter
- 1 lowercase letter
- 1 symbol
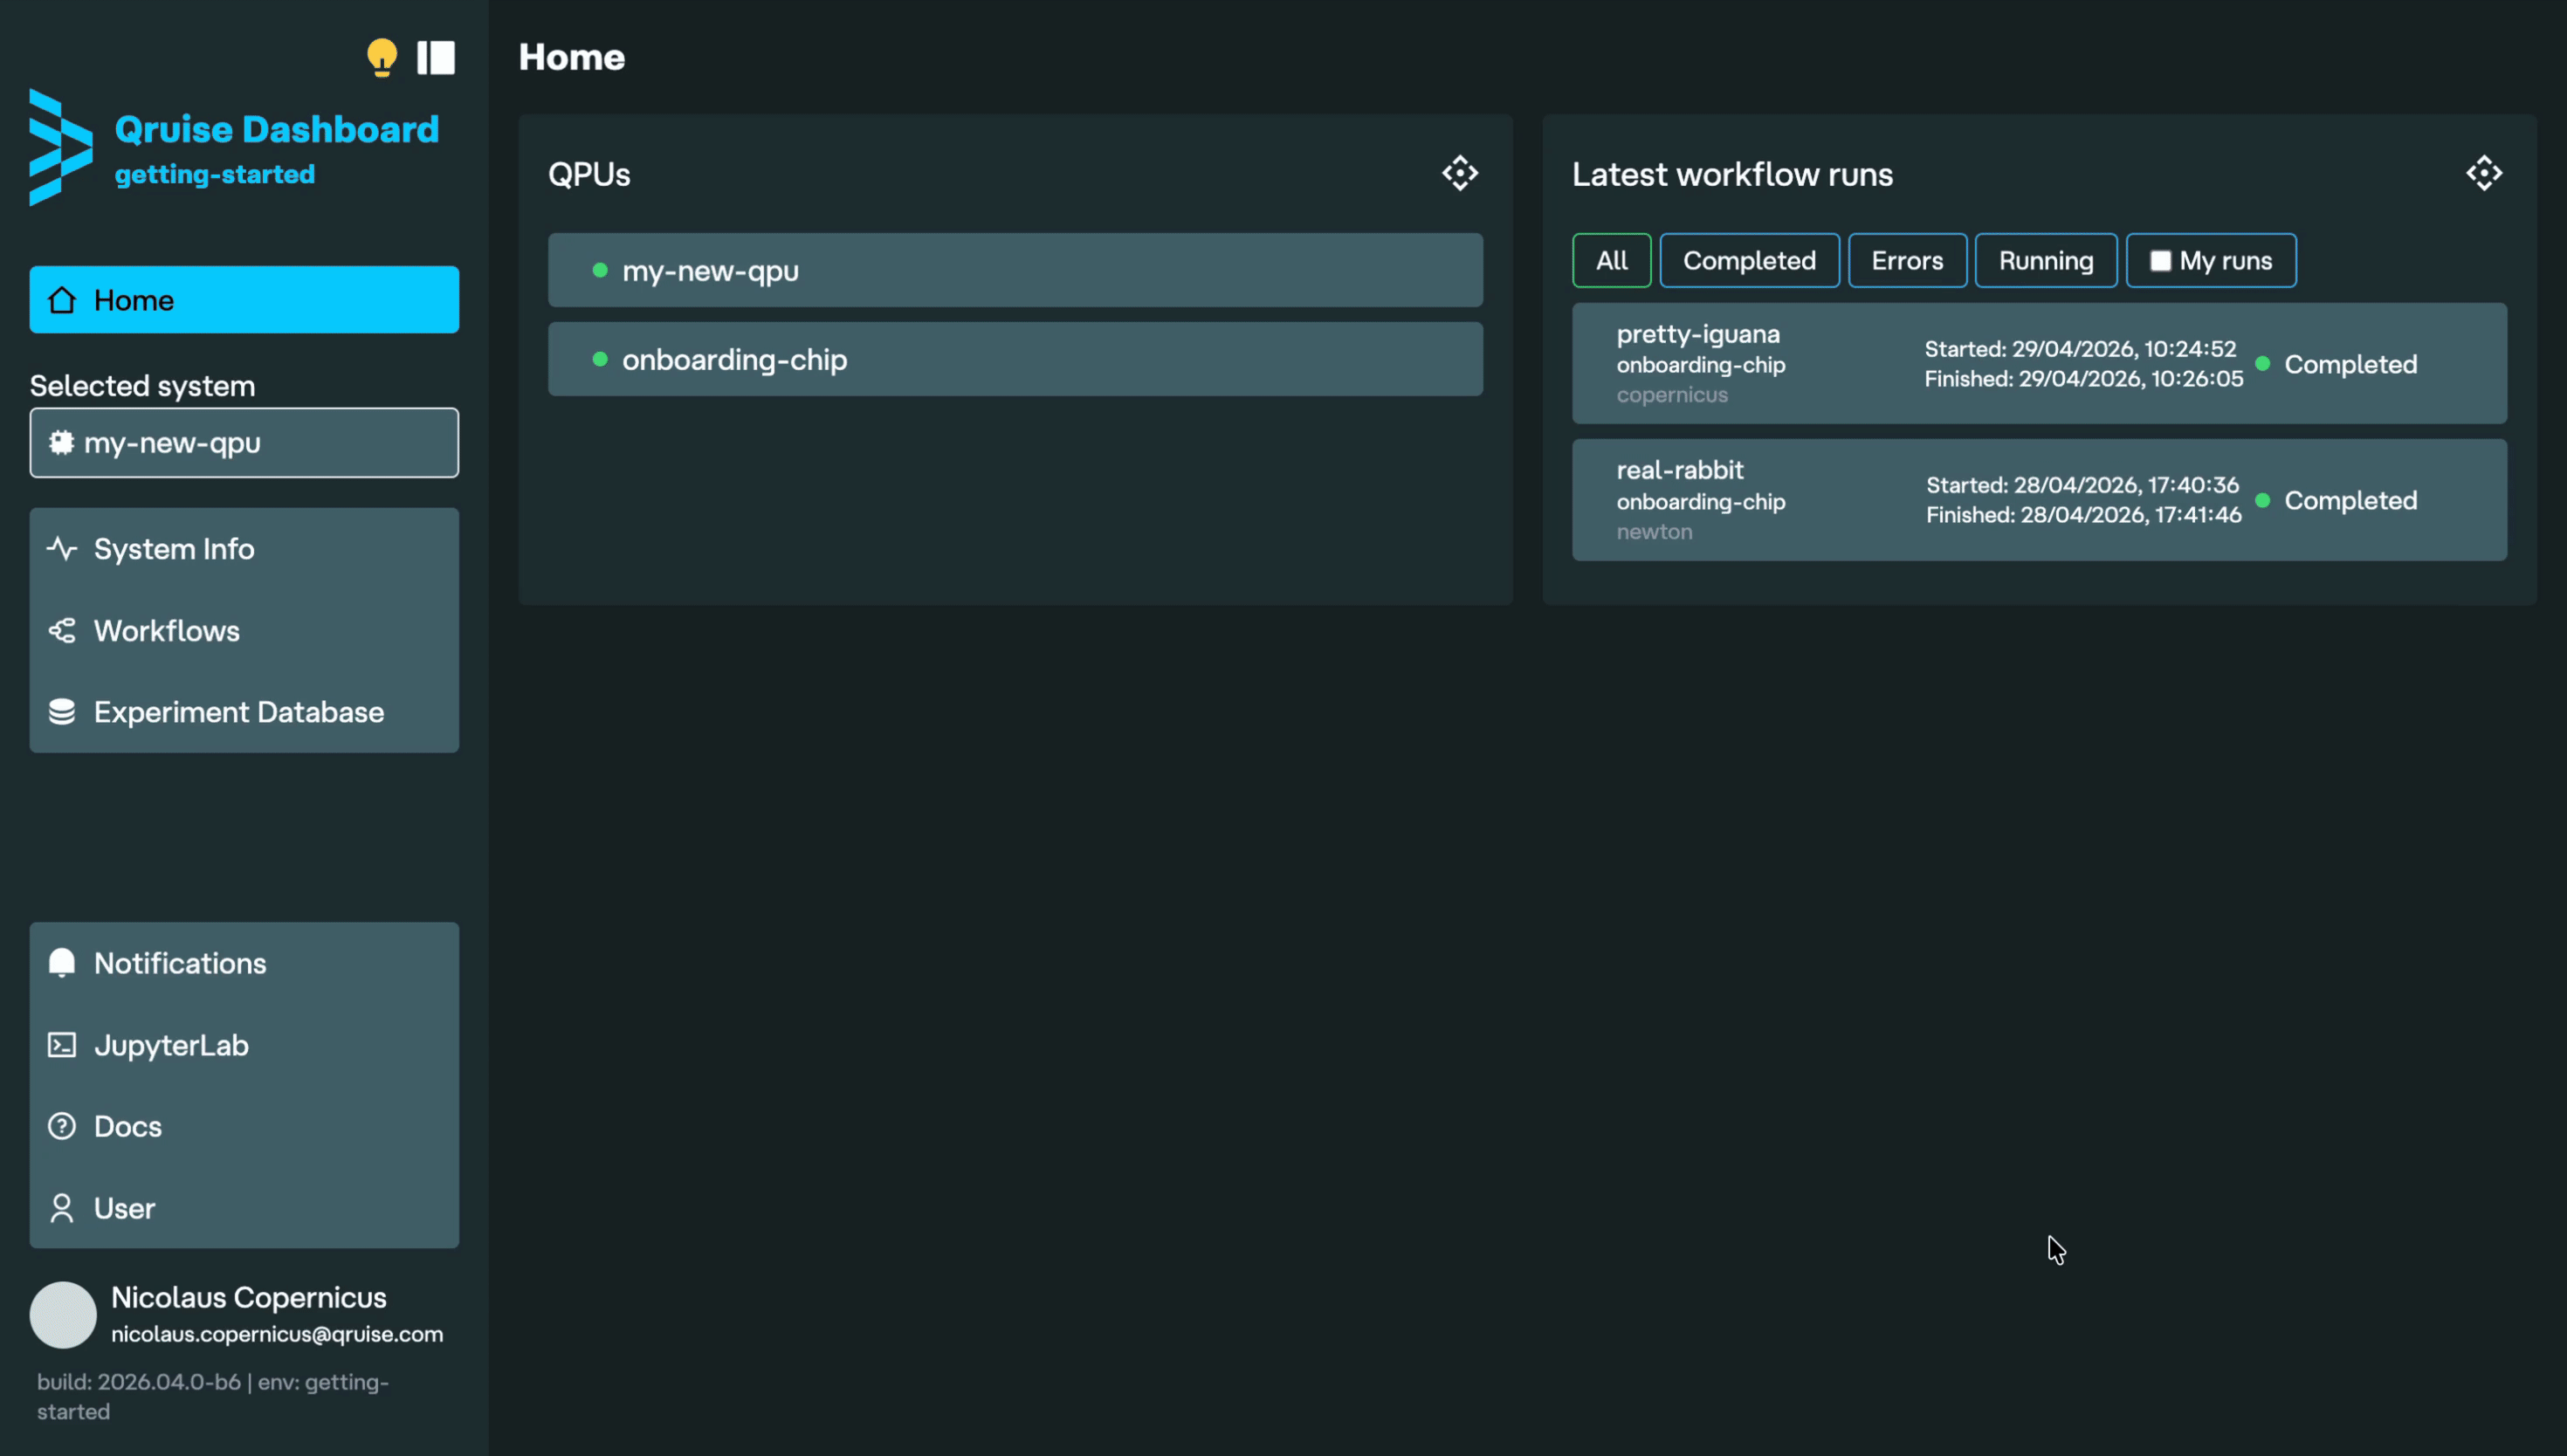
Once you've chosen your password, click "Submit" and you'll be taken to the QruiseOS dashboard home. Here, you'll see the QPUs you have access to and the latest workflows executed on them.
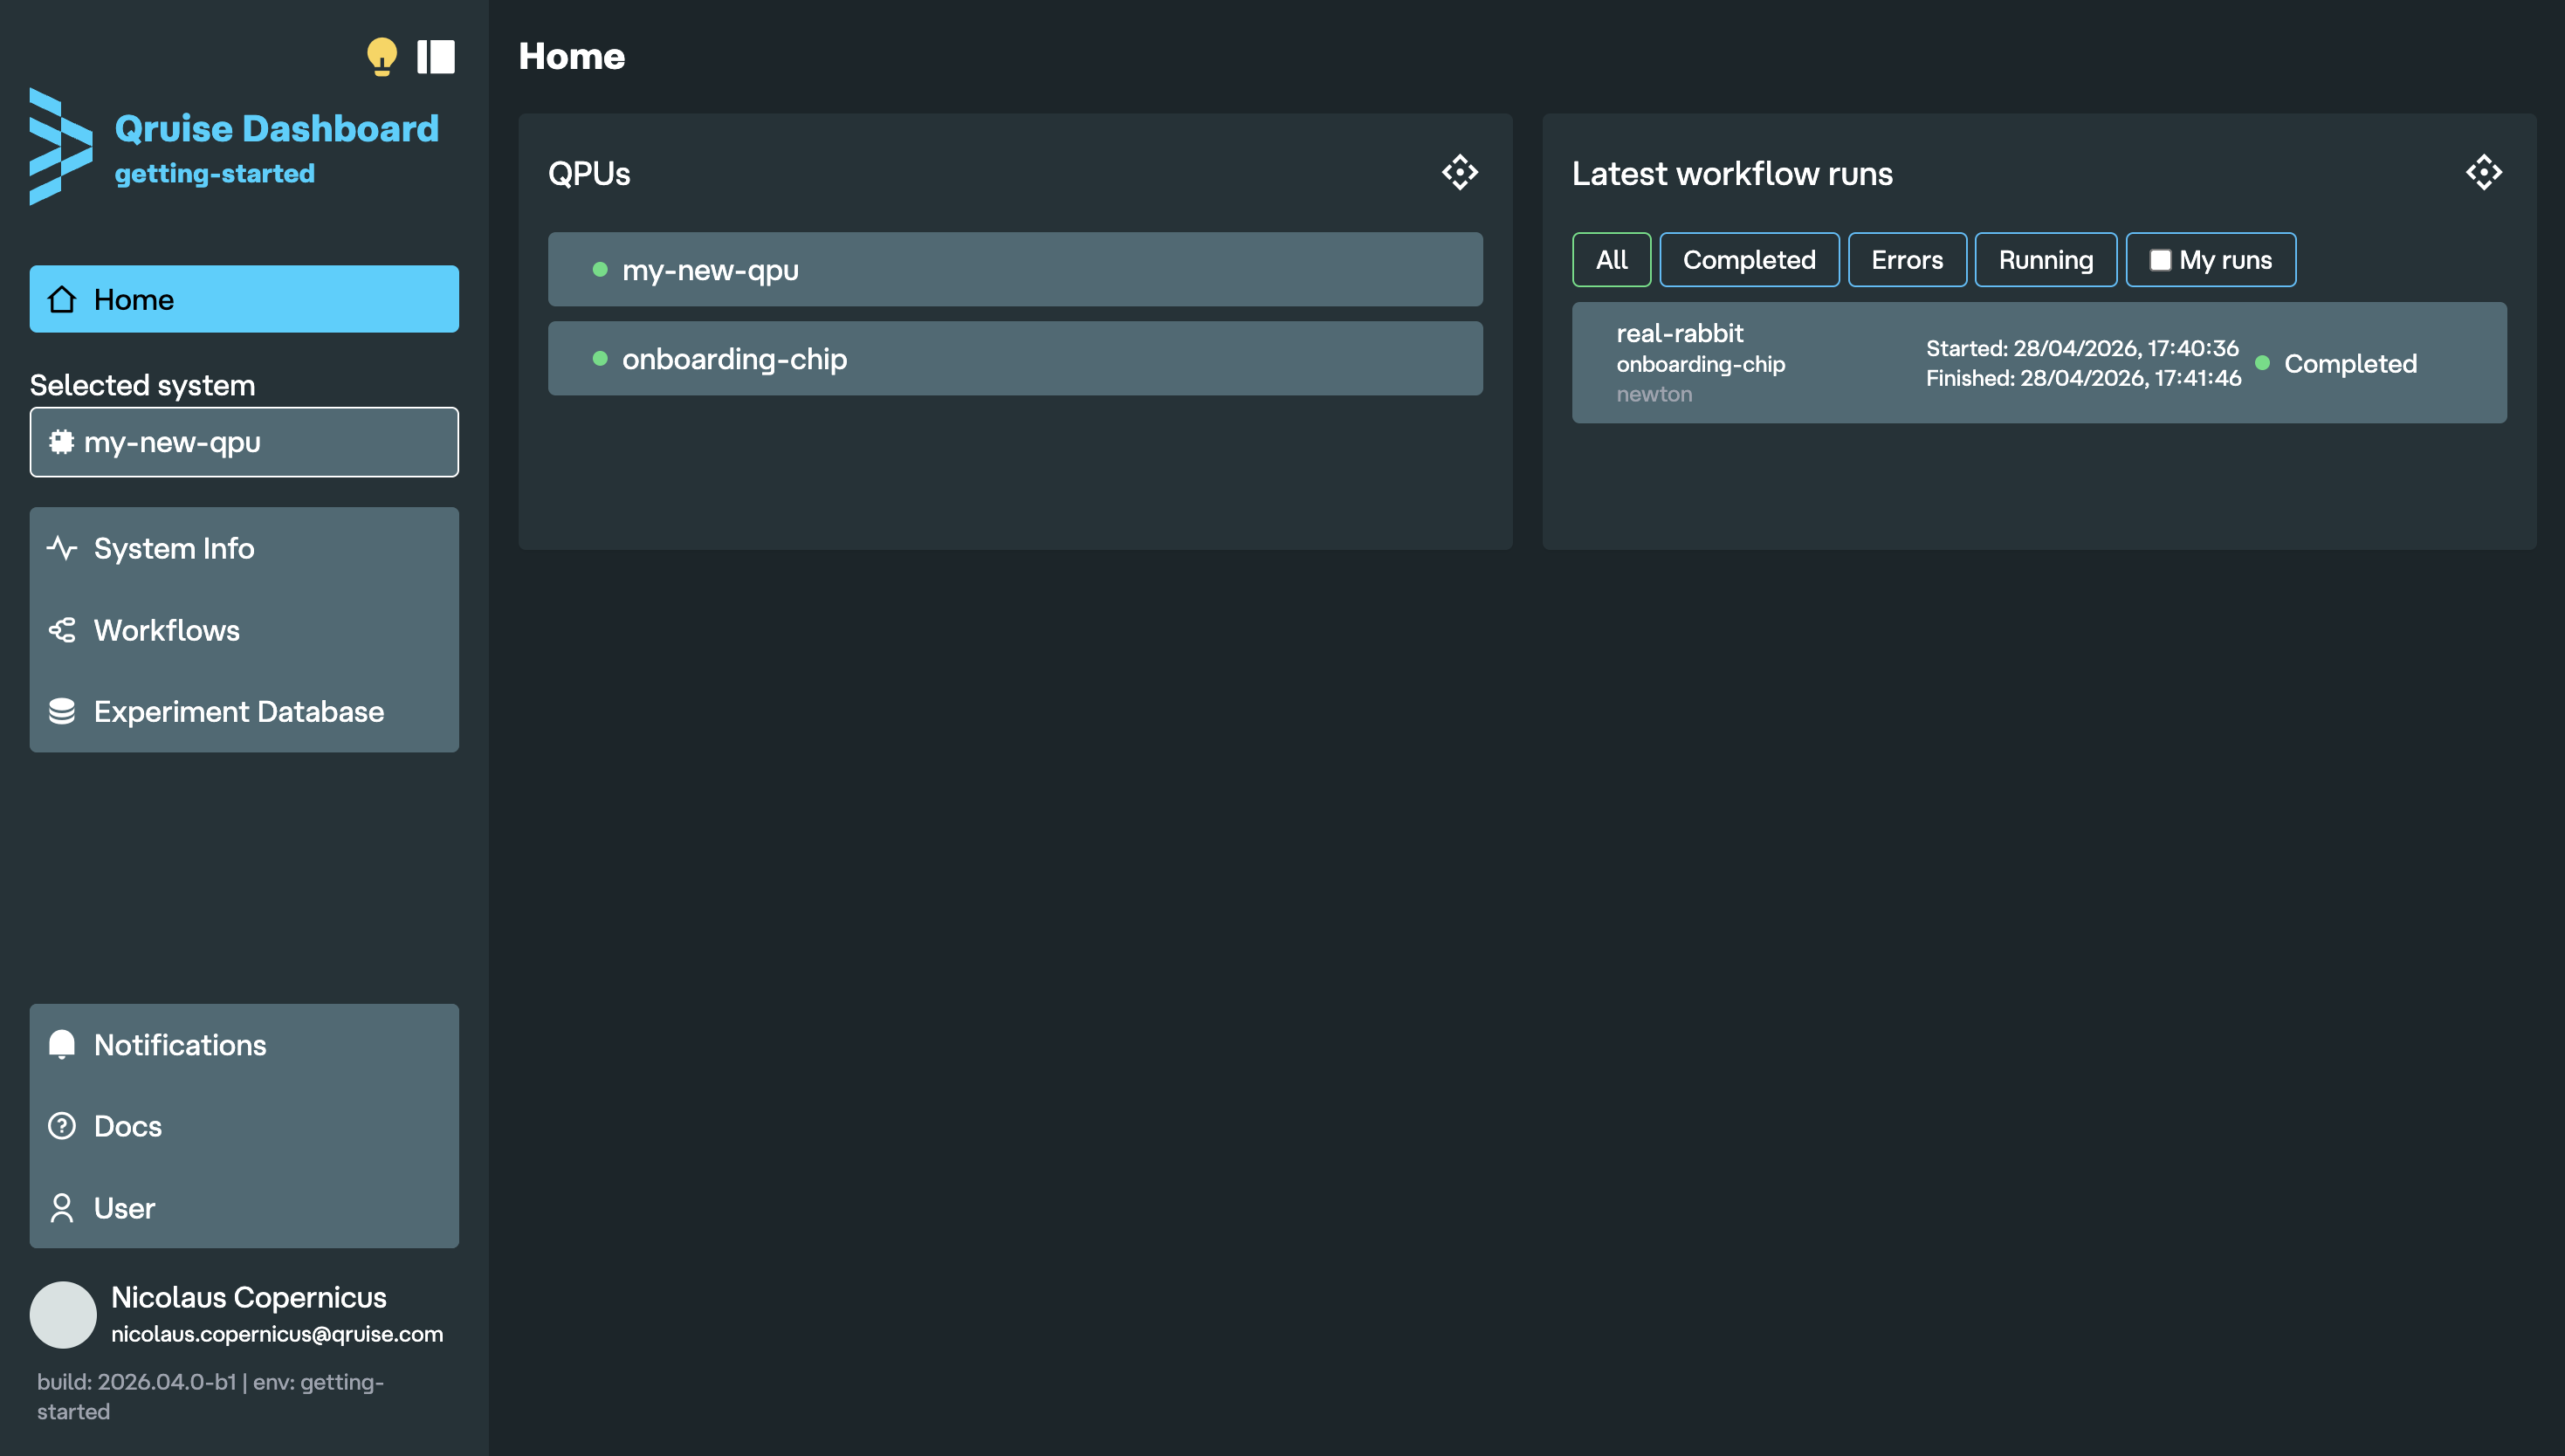
For each QPU, there are three levels of access:
- Reader: you can view data from the QPU
- Writer: you can run experiments and modify data on the QPU
- Admin: you have full control over the QPU, including its configuration and management.
Note
If you don't see any QPUs, it most likely means your tenant admin has not yet given you access. Contact them to resolve this.
2. Logging into JupyterLab
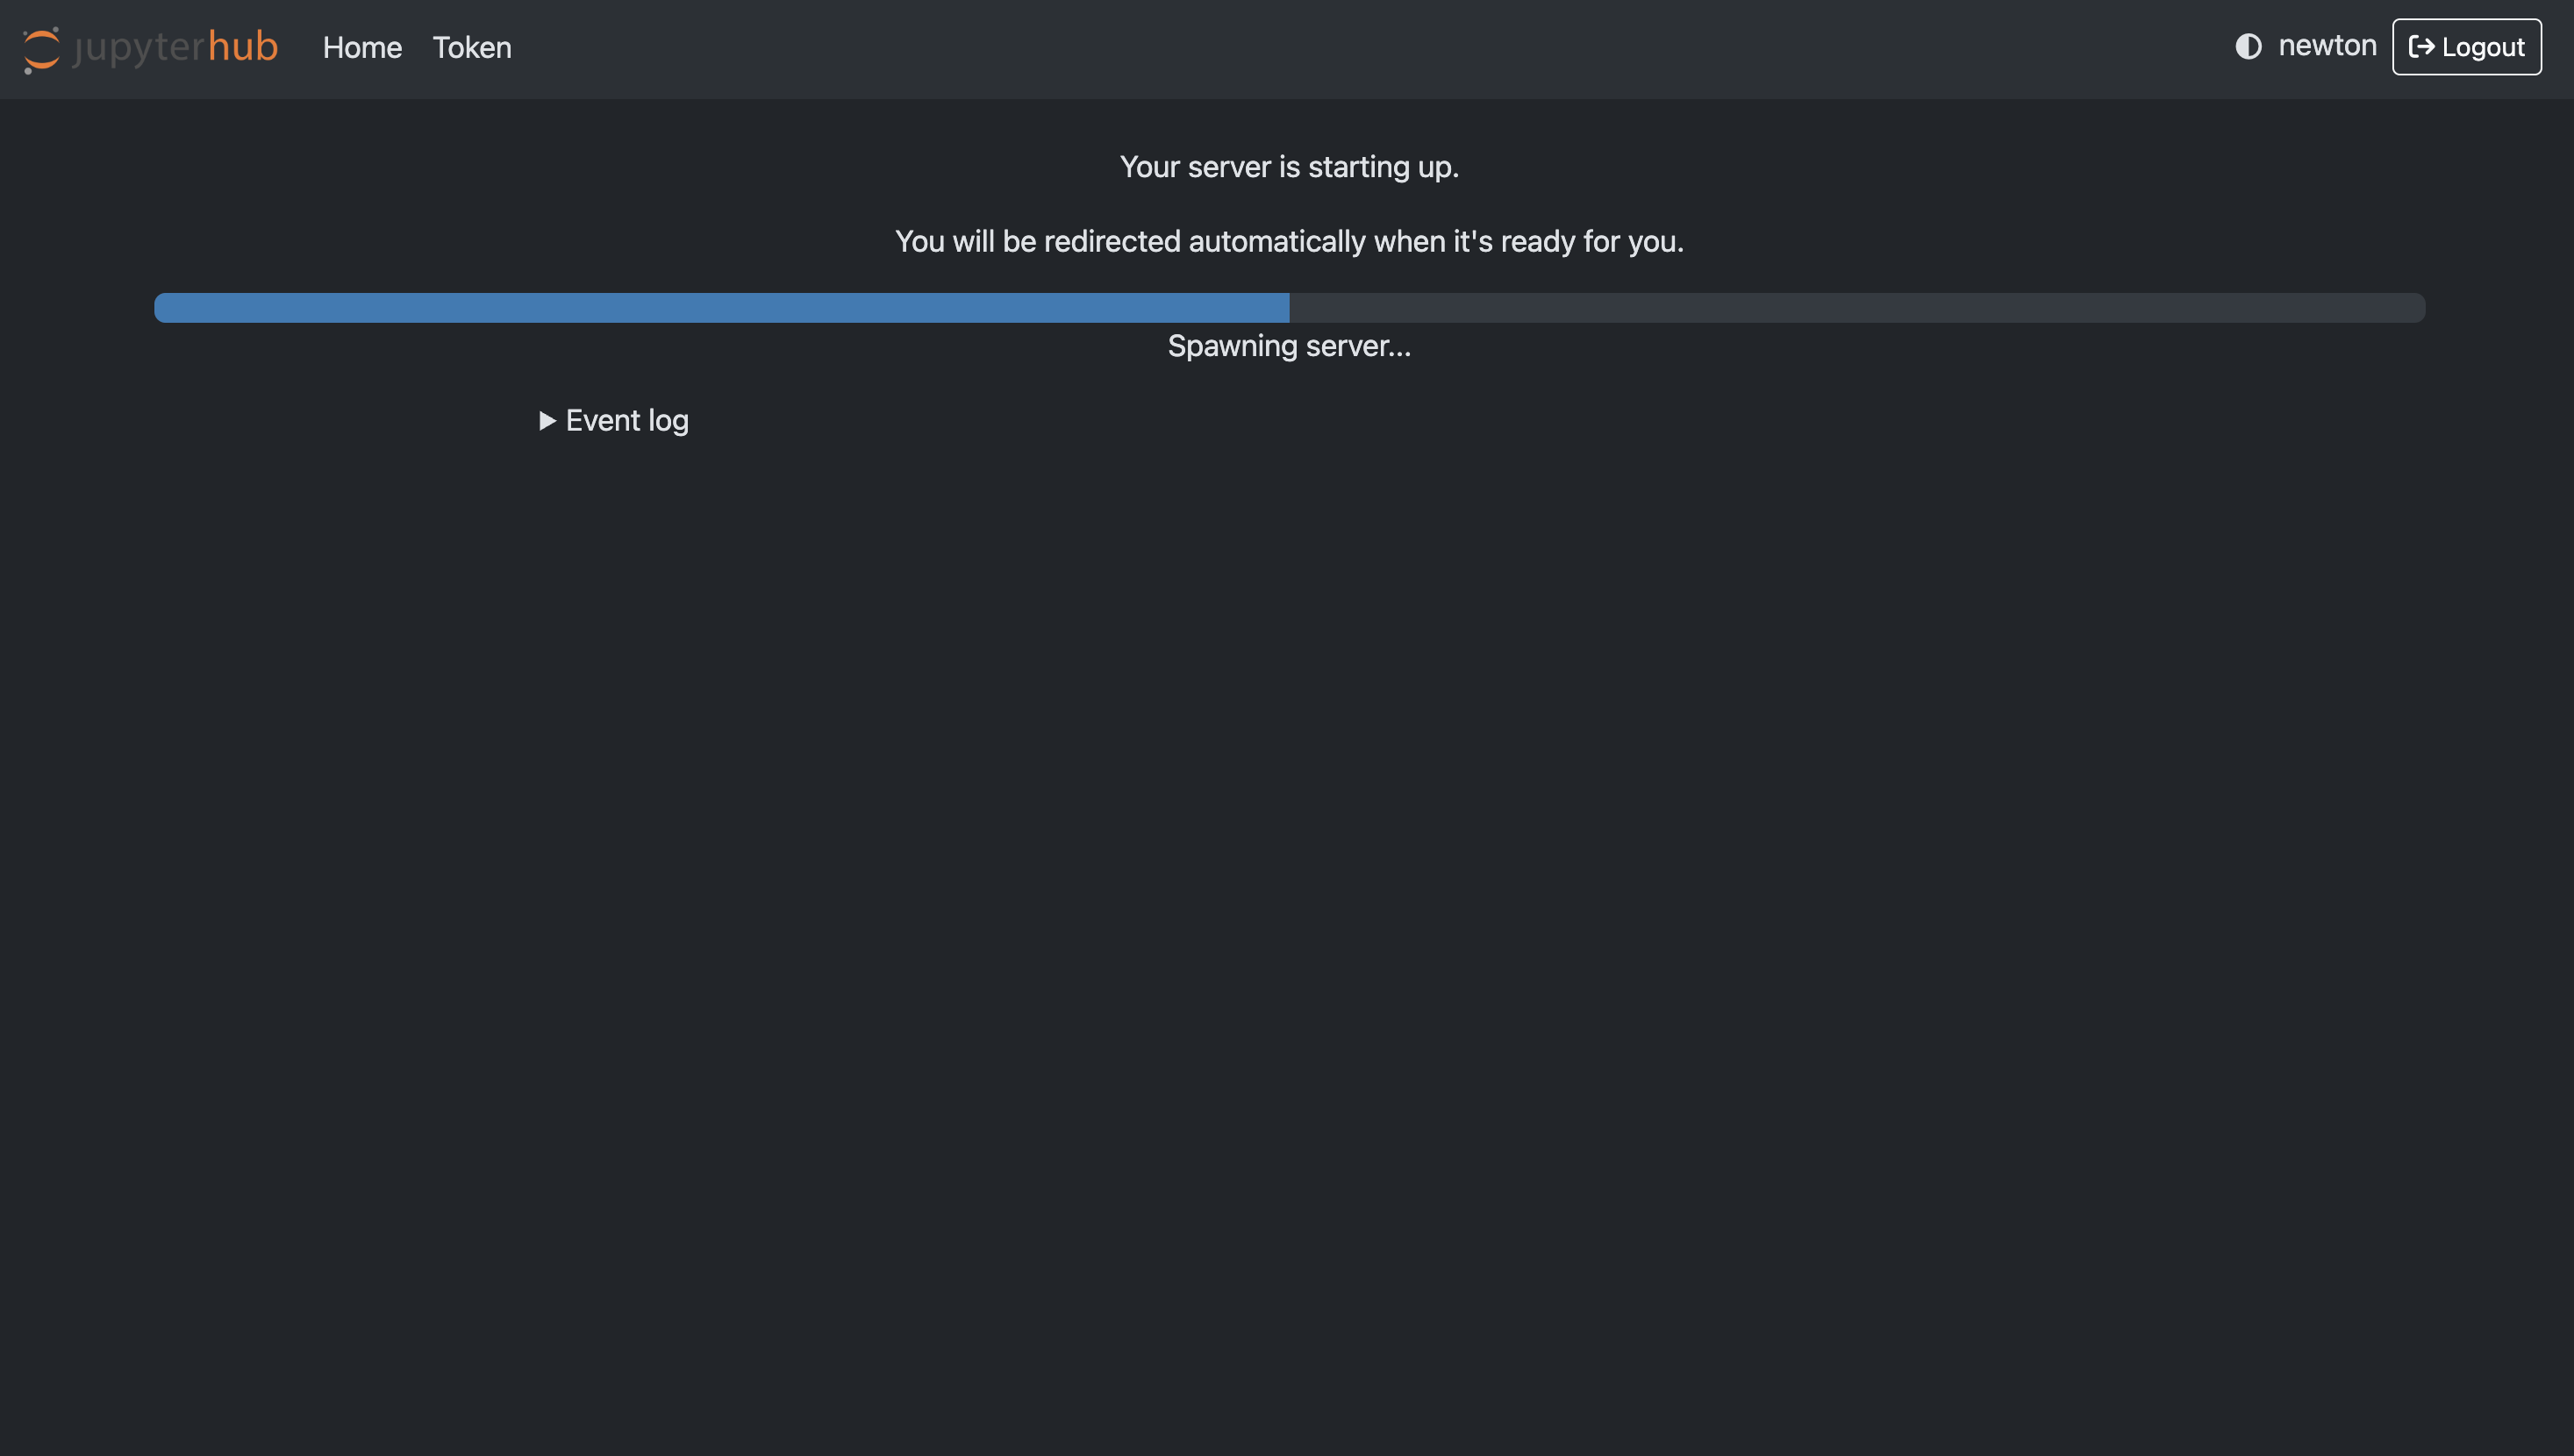
To run and edit workflows, you'll also need to log into the JupyterLab instance. The URL is similar to your dashboard URL, with dashboard replaced by jupyter so it looks something like this https://jupyter-{your_instance_name}.dev.qruise.eu/. When you follow the link, you'll be taken to the keycloak login. Keycloak is the authentication service used by QruiseOS to securely manage access to the dashboard and JupyterLab — your credentials are the same as the ones you just used to log into the dashboard.
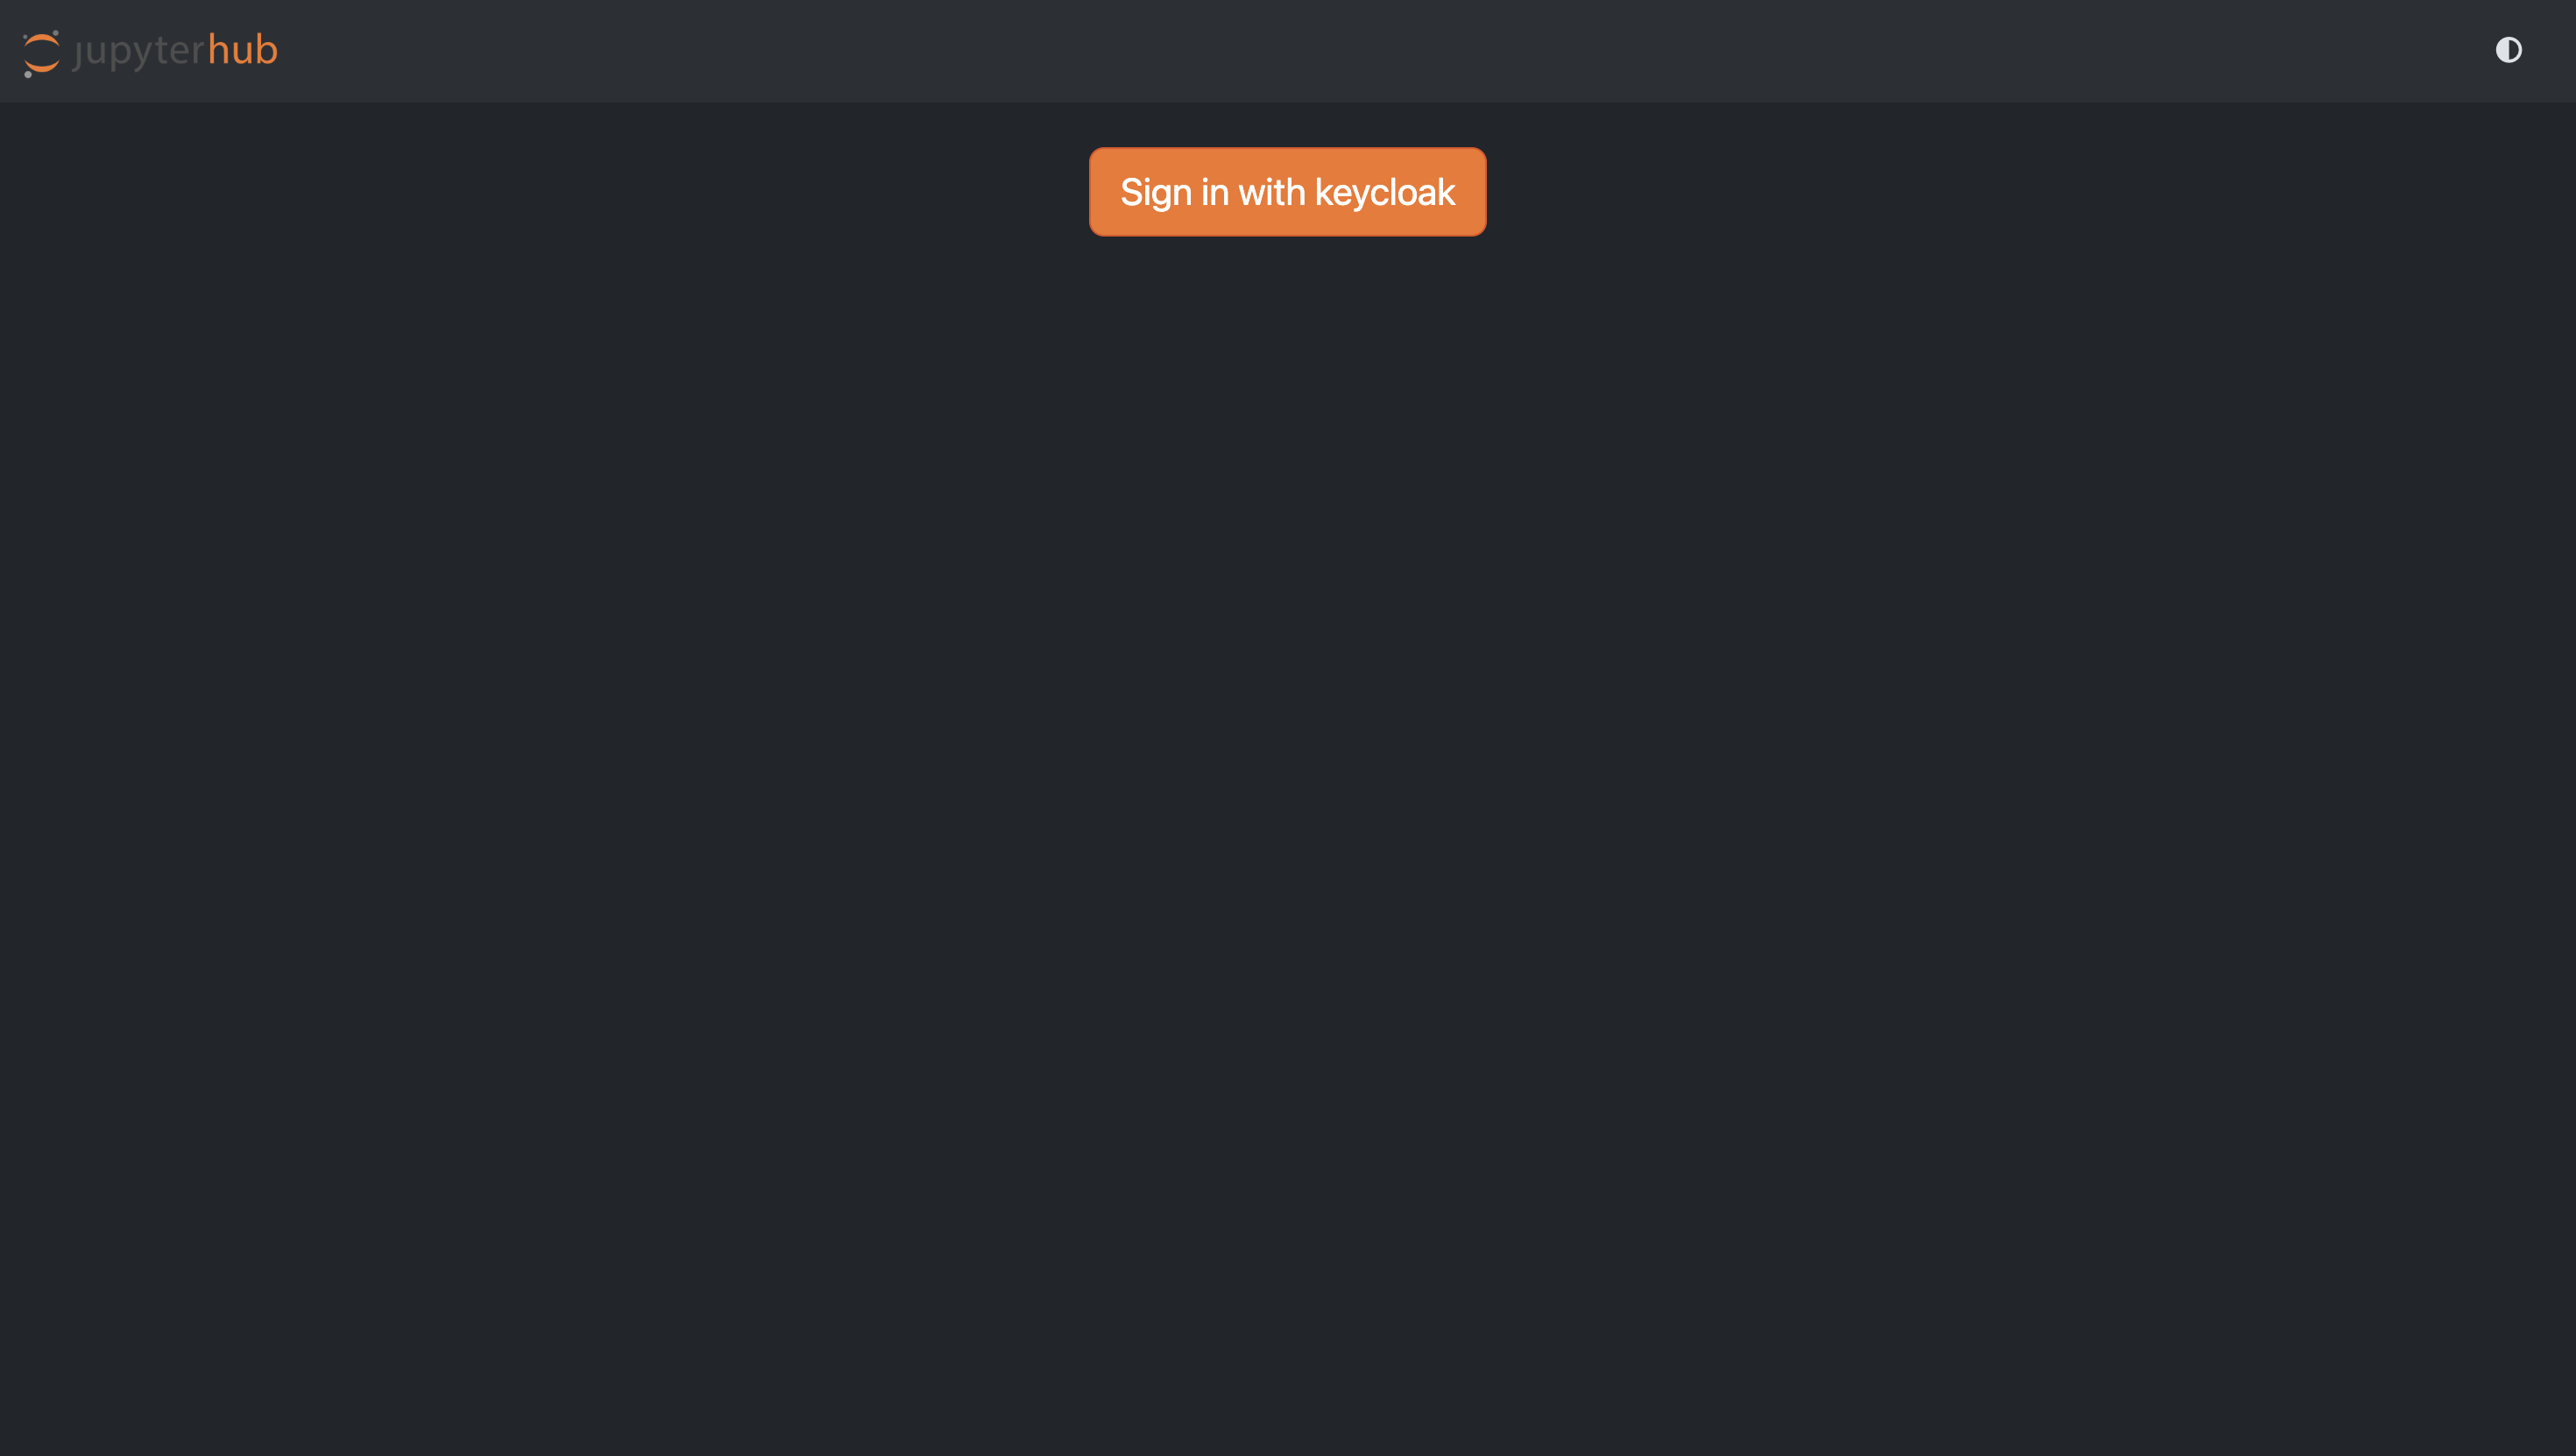
If you're currently signed into the dashboard, clicking on the "Sign in with keycloak" button will automatically start your JupyterLab server. Once ready, you’ll be redirected to the JupyterLab environment.
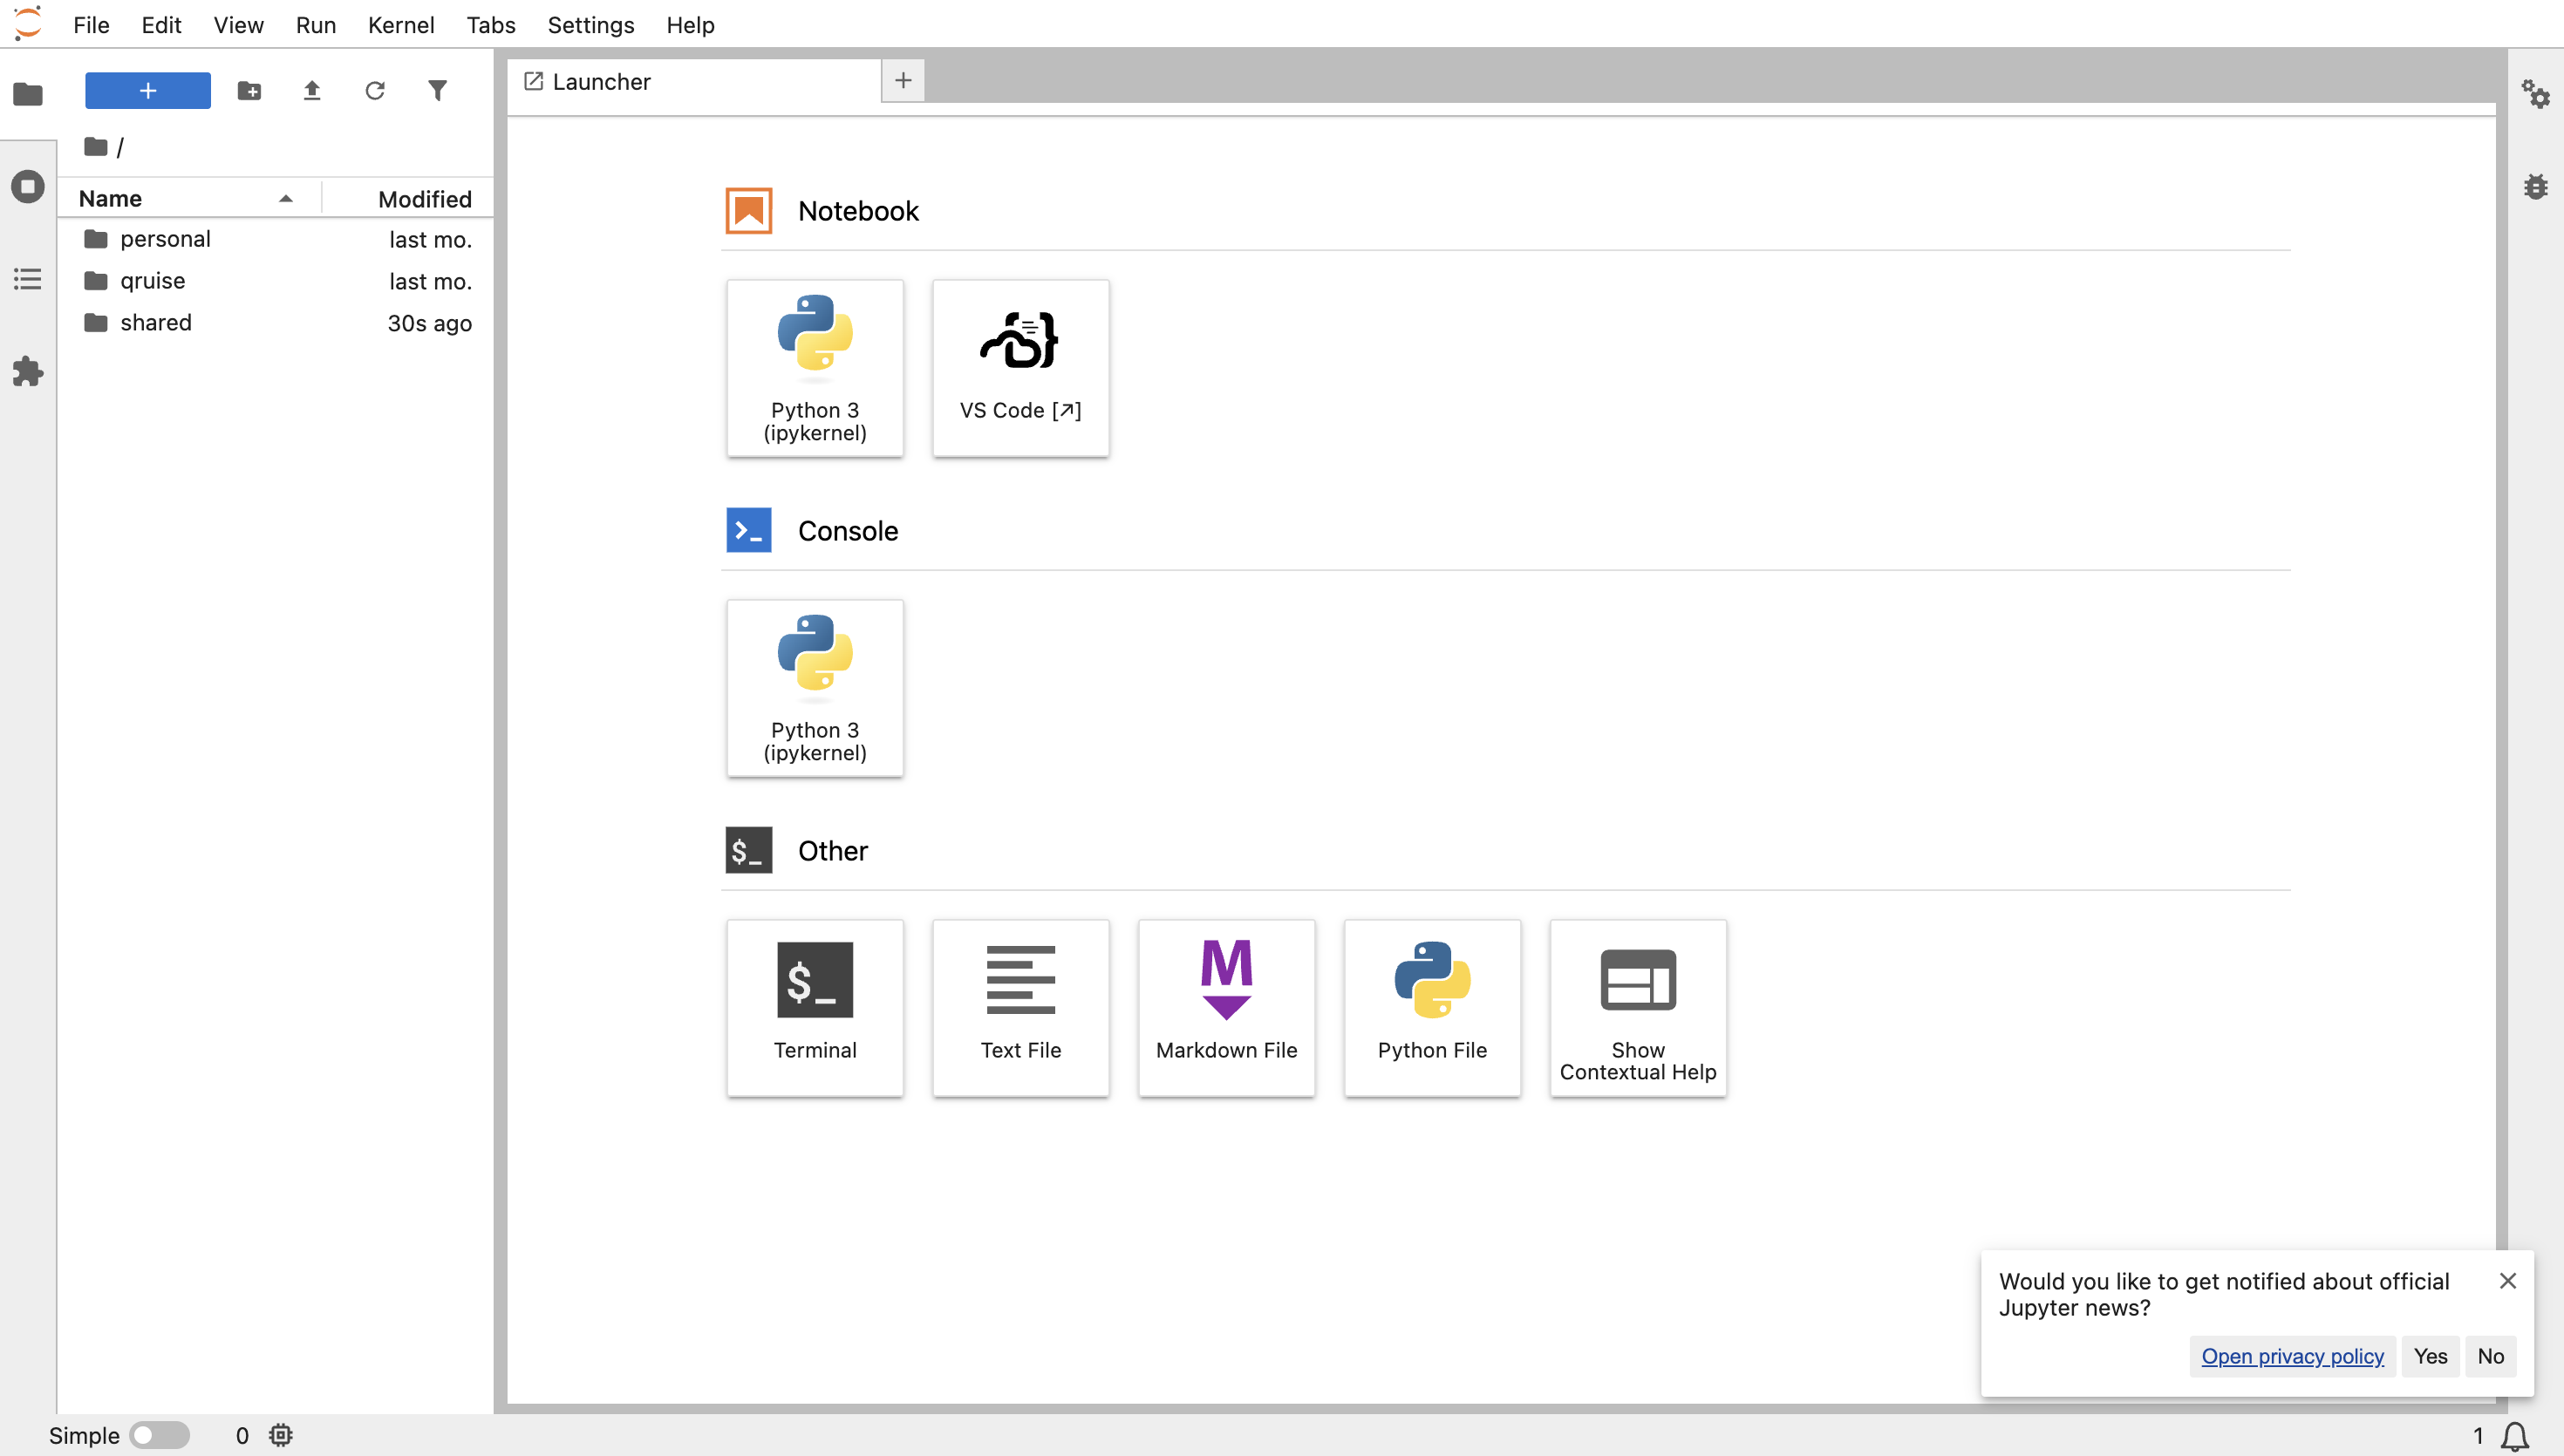
From here, you can edit and run workflows, run single notebooks, and execute commands in the terminal.
Example notebooks
Your JupyterLab instance is pre-configured with a series of example notebooks (qruise/examples) that guide you through running and editing workflows. The content mirrors our workflow user guides, but in JupyterLab you have the advantage of carrying out each step yourself and then viewing your results in the dashboard.
3. Running your first workflow
Let's quickly run a workflow, just to get an idea of how easy it is and how it looks in the dashboard.
Learning more about workflows
You can learn more about workflows, the qruise-flow.yaml file, and the other files in these directories in our Core concepts and in the user guides. For now, we won't go any deeper — our goal here is simply to run a pre-defined workflow.
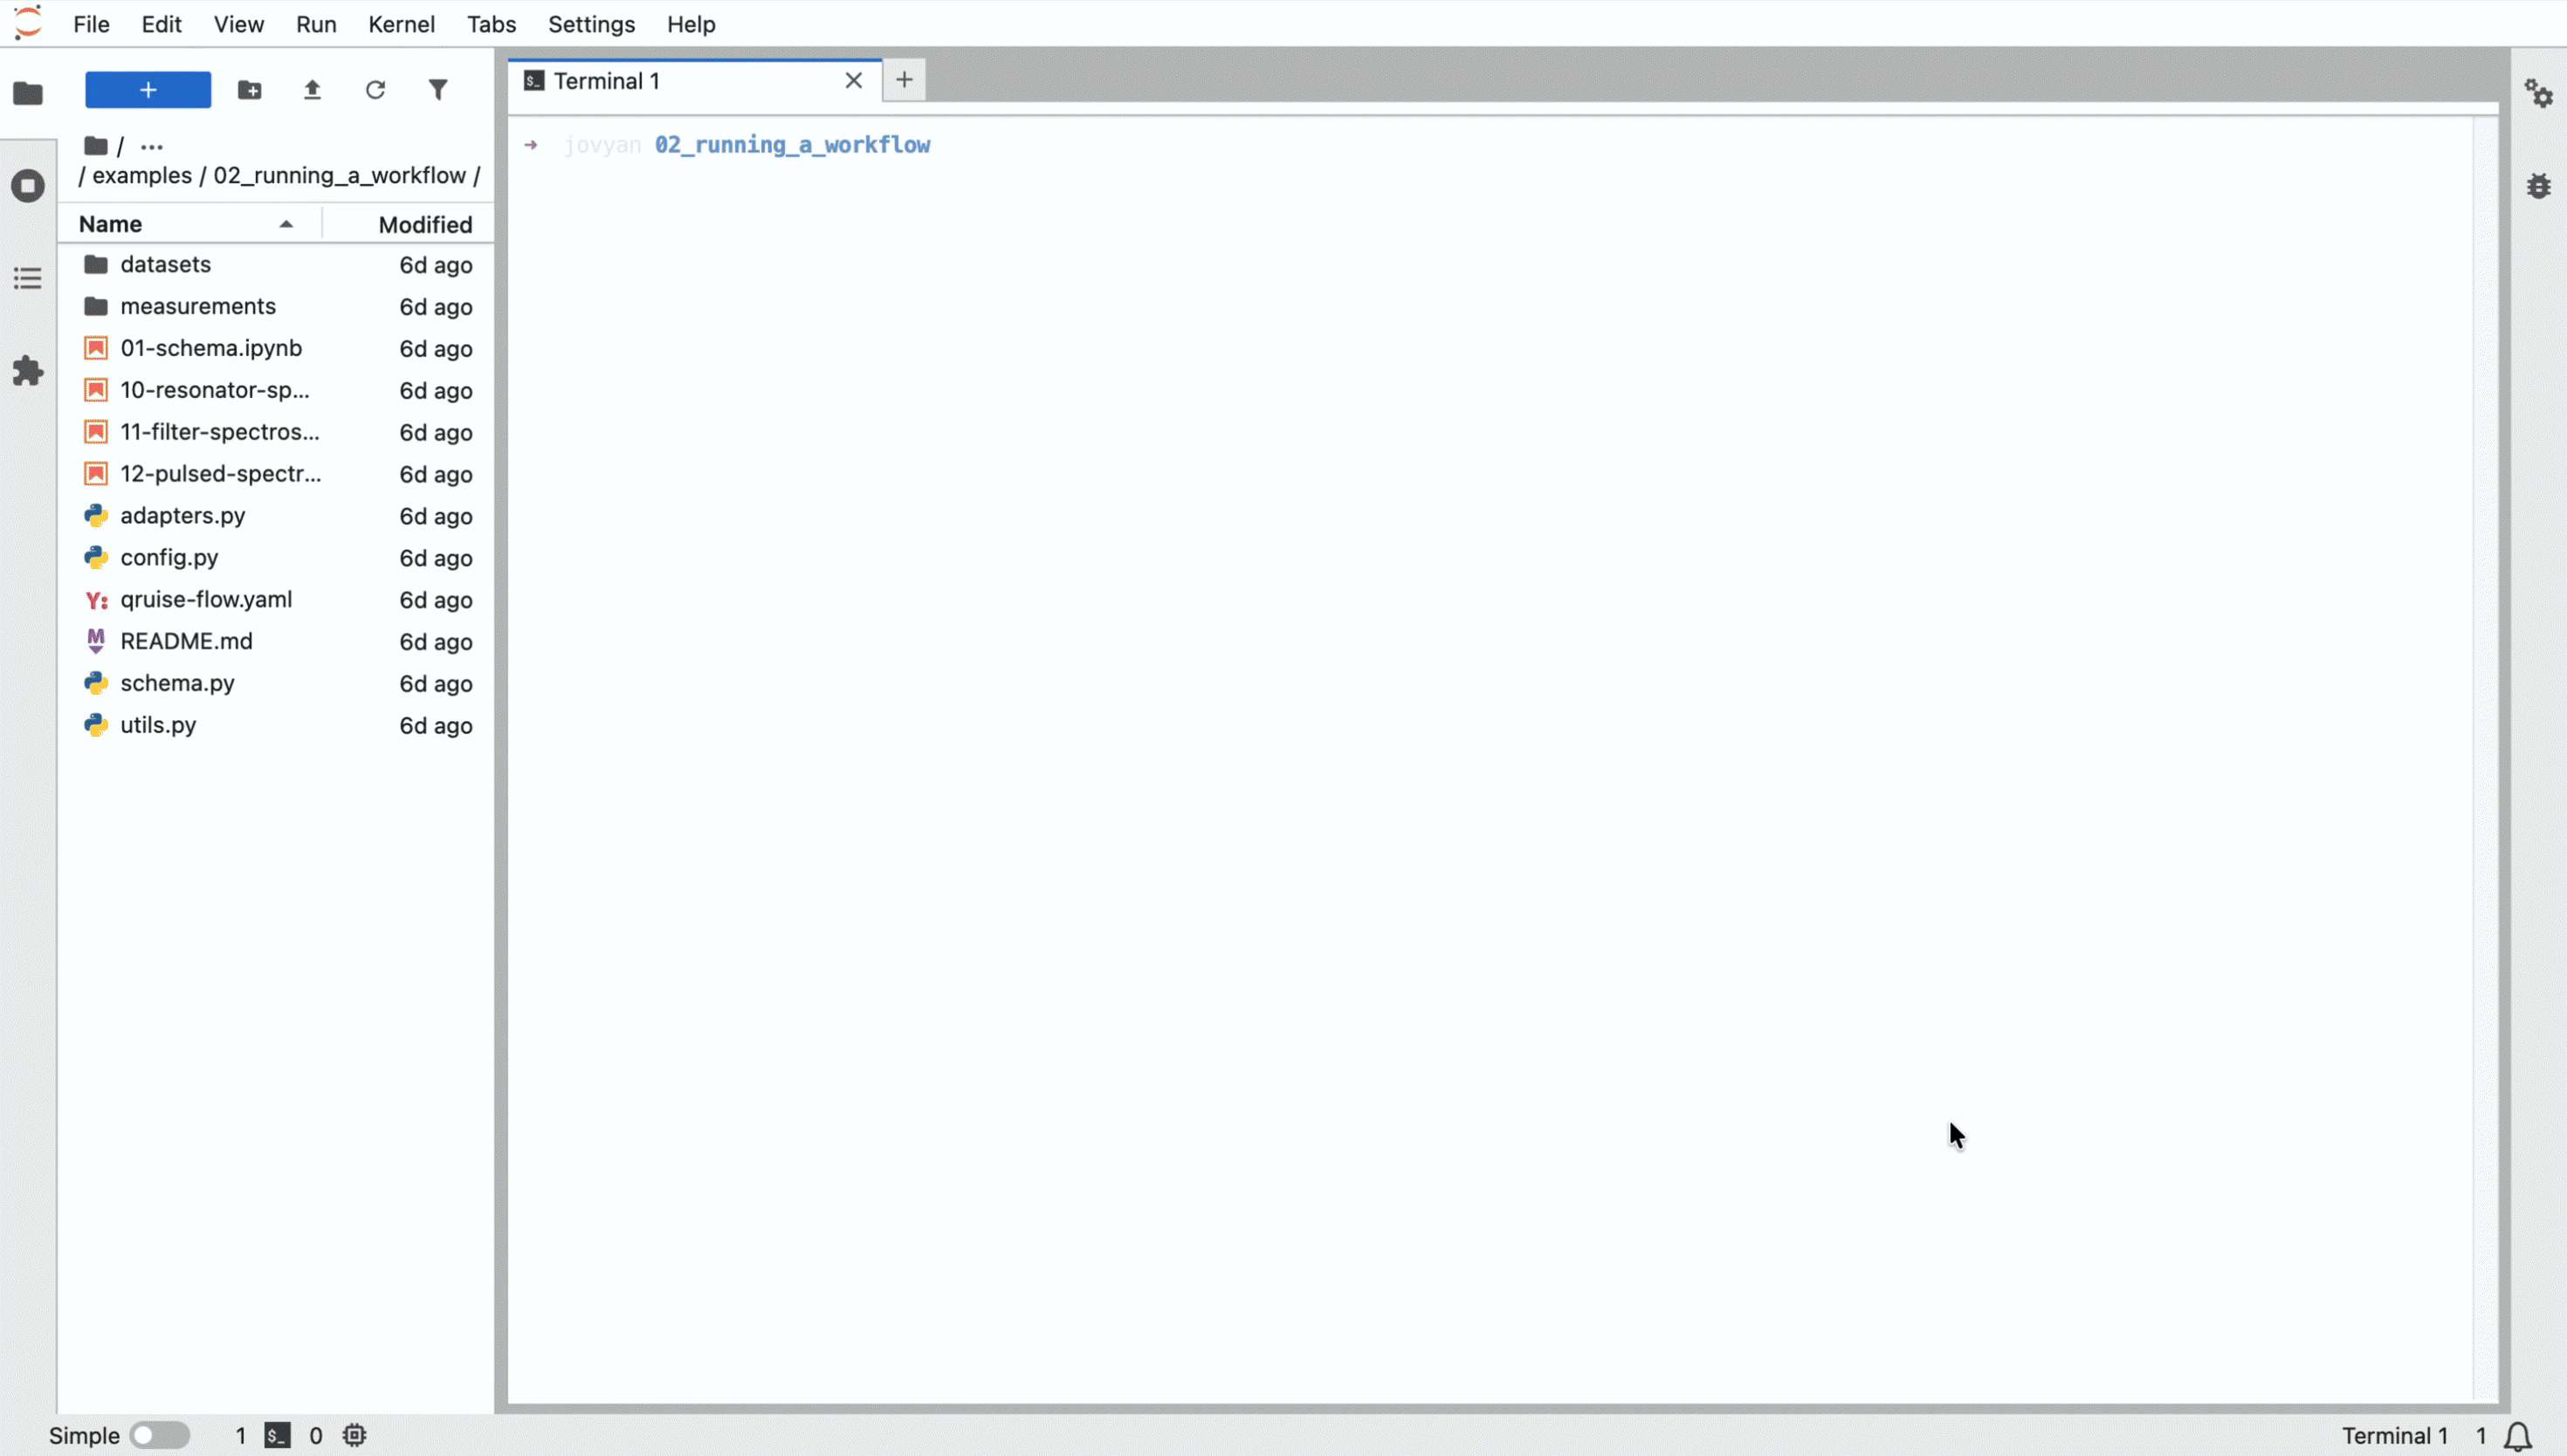
In JupyterLab, navigate to the folder qruise/examples/02_running_a_workflow (or first open a terminal and run cd qruise/examples/02_running_a_workflow). Execute the command
This will run the workflow defined by qruise-flow.yaml. You'll be able to see the name of the workflow run and the status of the workflow in the terminal. In the below screen capture, the workflow run is pretty-iguana and the workflow successfully completed 4 tasks in 1m21s.
4. Viewing workflow results in the dashboard
If you now return to the dashboard, you'll see the workflow we just ran on the home screen. Click on it to view the tasks that ran and their results. Feel free to explore!
Okay, now you know how to run a basic workflow in QruiseOS, you're ready to get started on your own! From here, you can decide whether to read through the Core concepts or to jump straight in with our hands-on user guides.