
Running deployments
This guide shows you how to create, run, schedule, and edit deployments. A deployment is a saved workflow configuration that you can run directly from the dashboard, instead of from a terminal.
Creating a deployment
Deployments can be created using one of two commands:
- from the CLI with
qruise flow deploy - served from a local environment with
qruise flow serve.
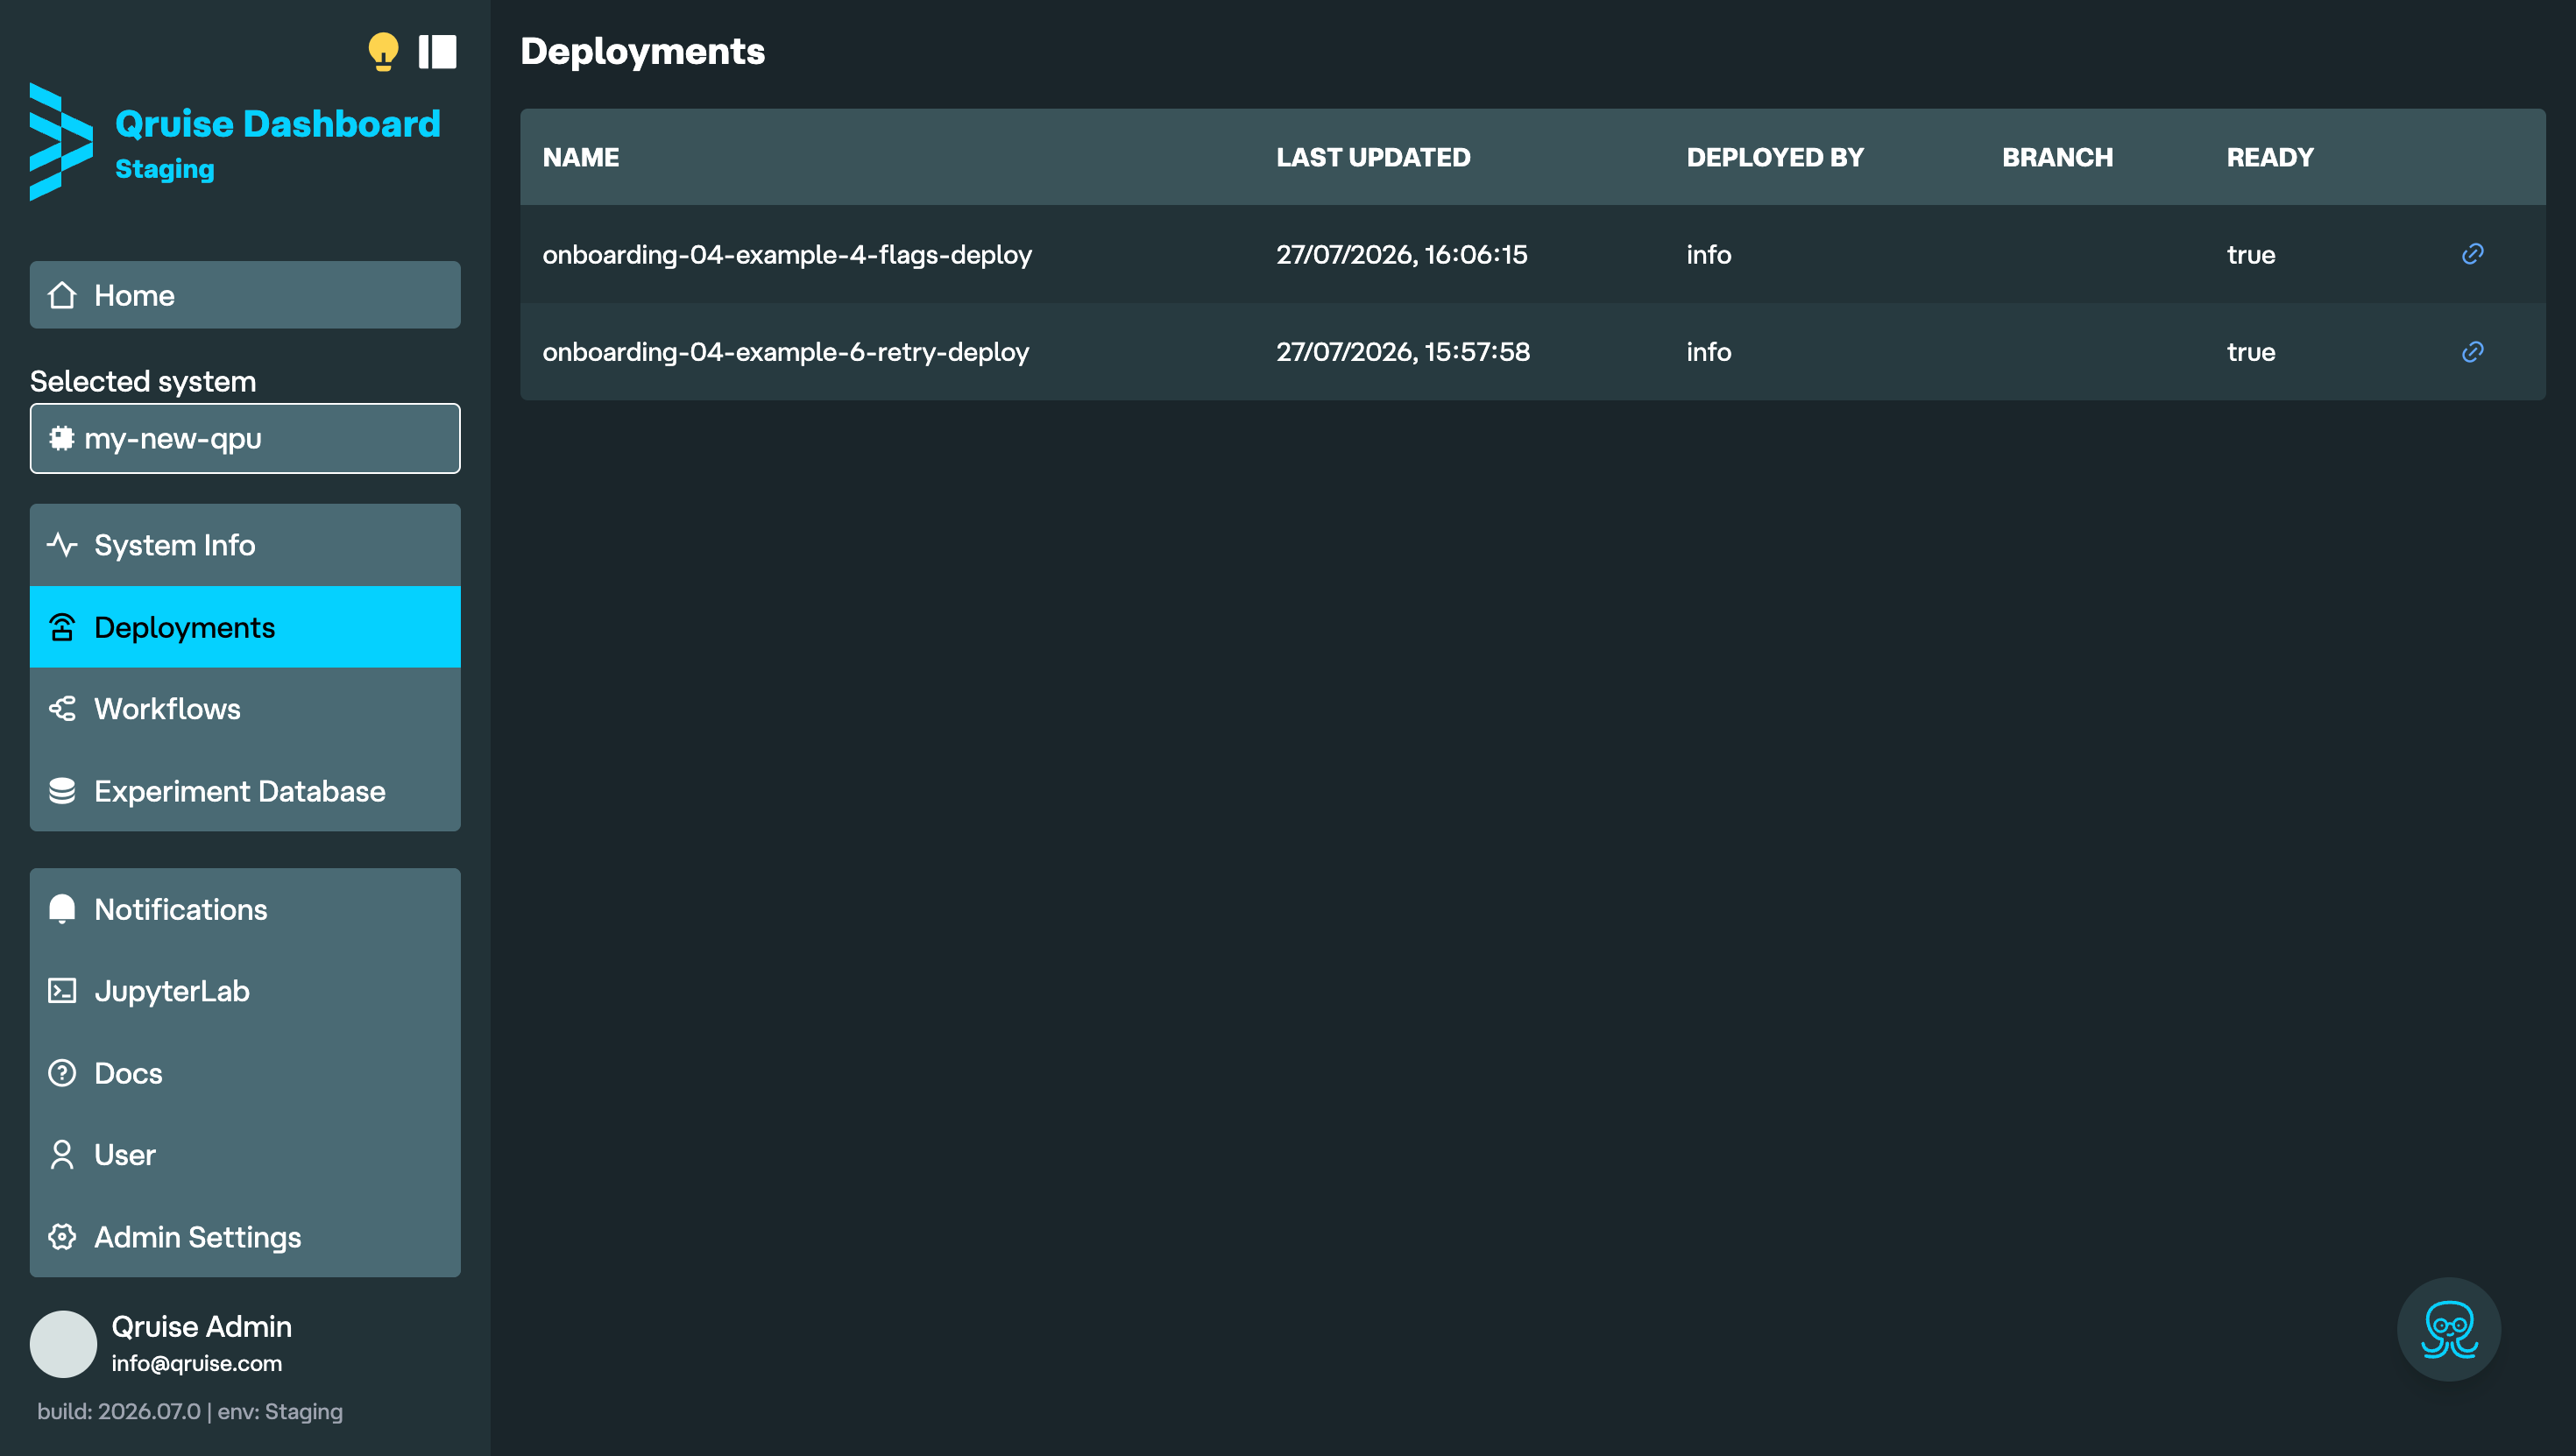
To create a deployment for a workflow, navigate to the directory containing that workflow and run the appropriate command. The deployment will then appear on the Deployments page.
Viewing deployments
The Deployments page lists all deployments for the selected QPU. It displays each deployment's name, last update time, creator, branch, and readiness status.
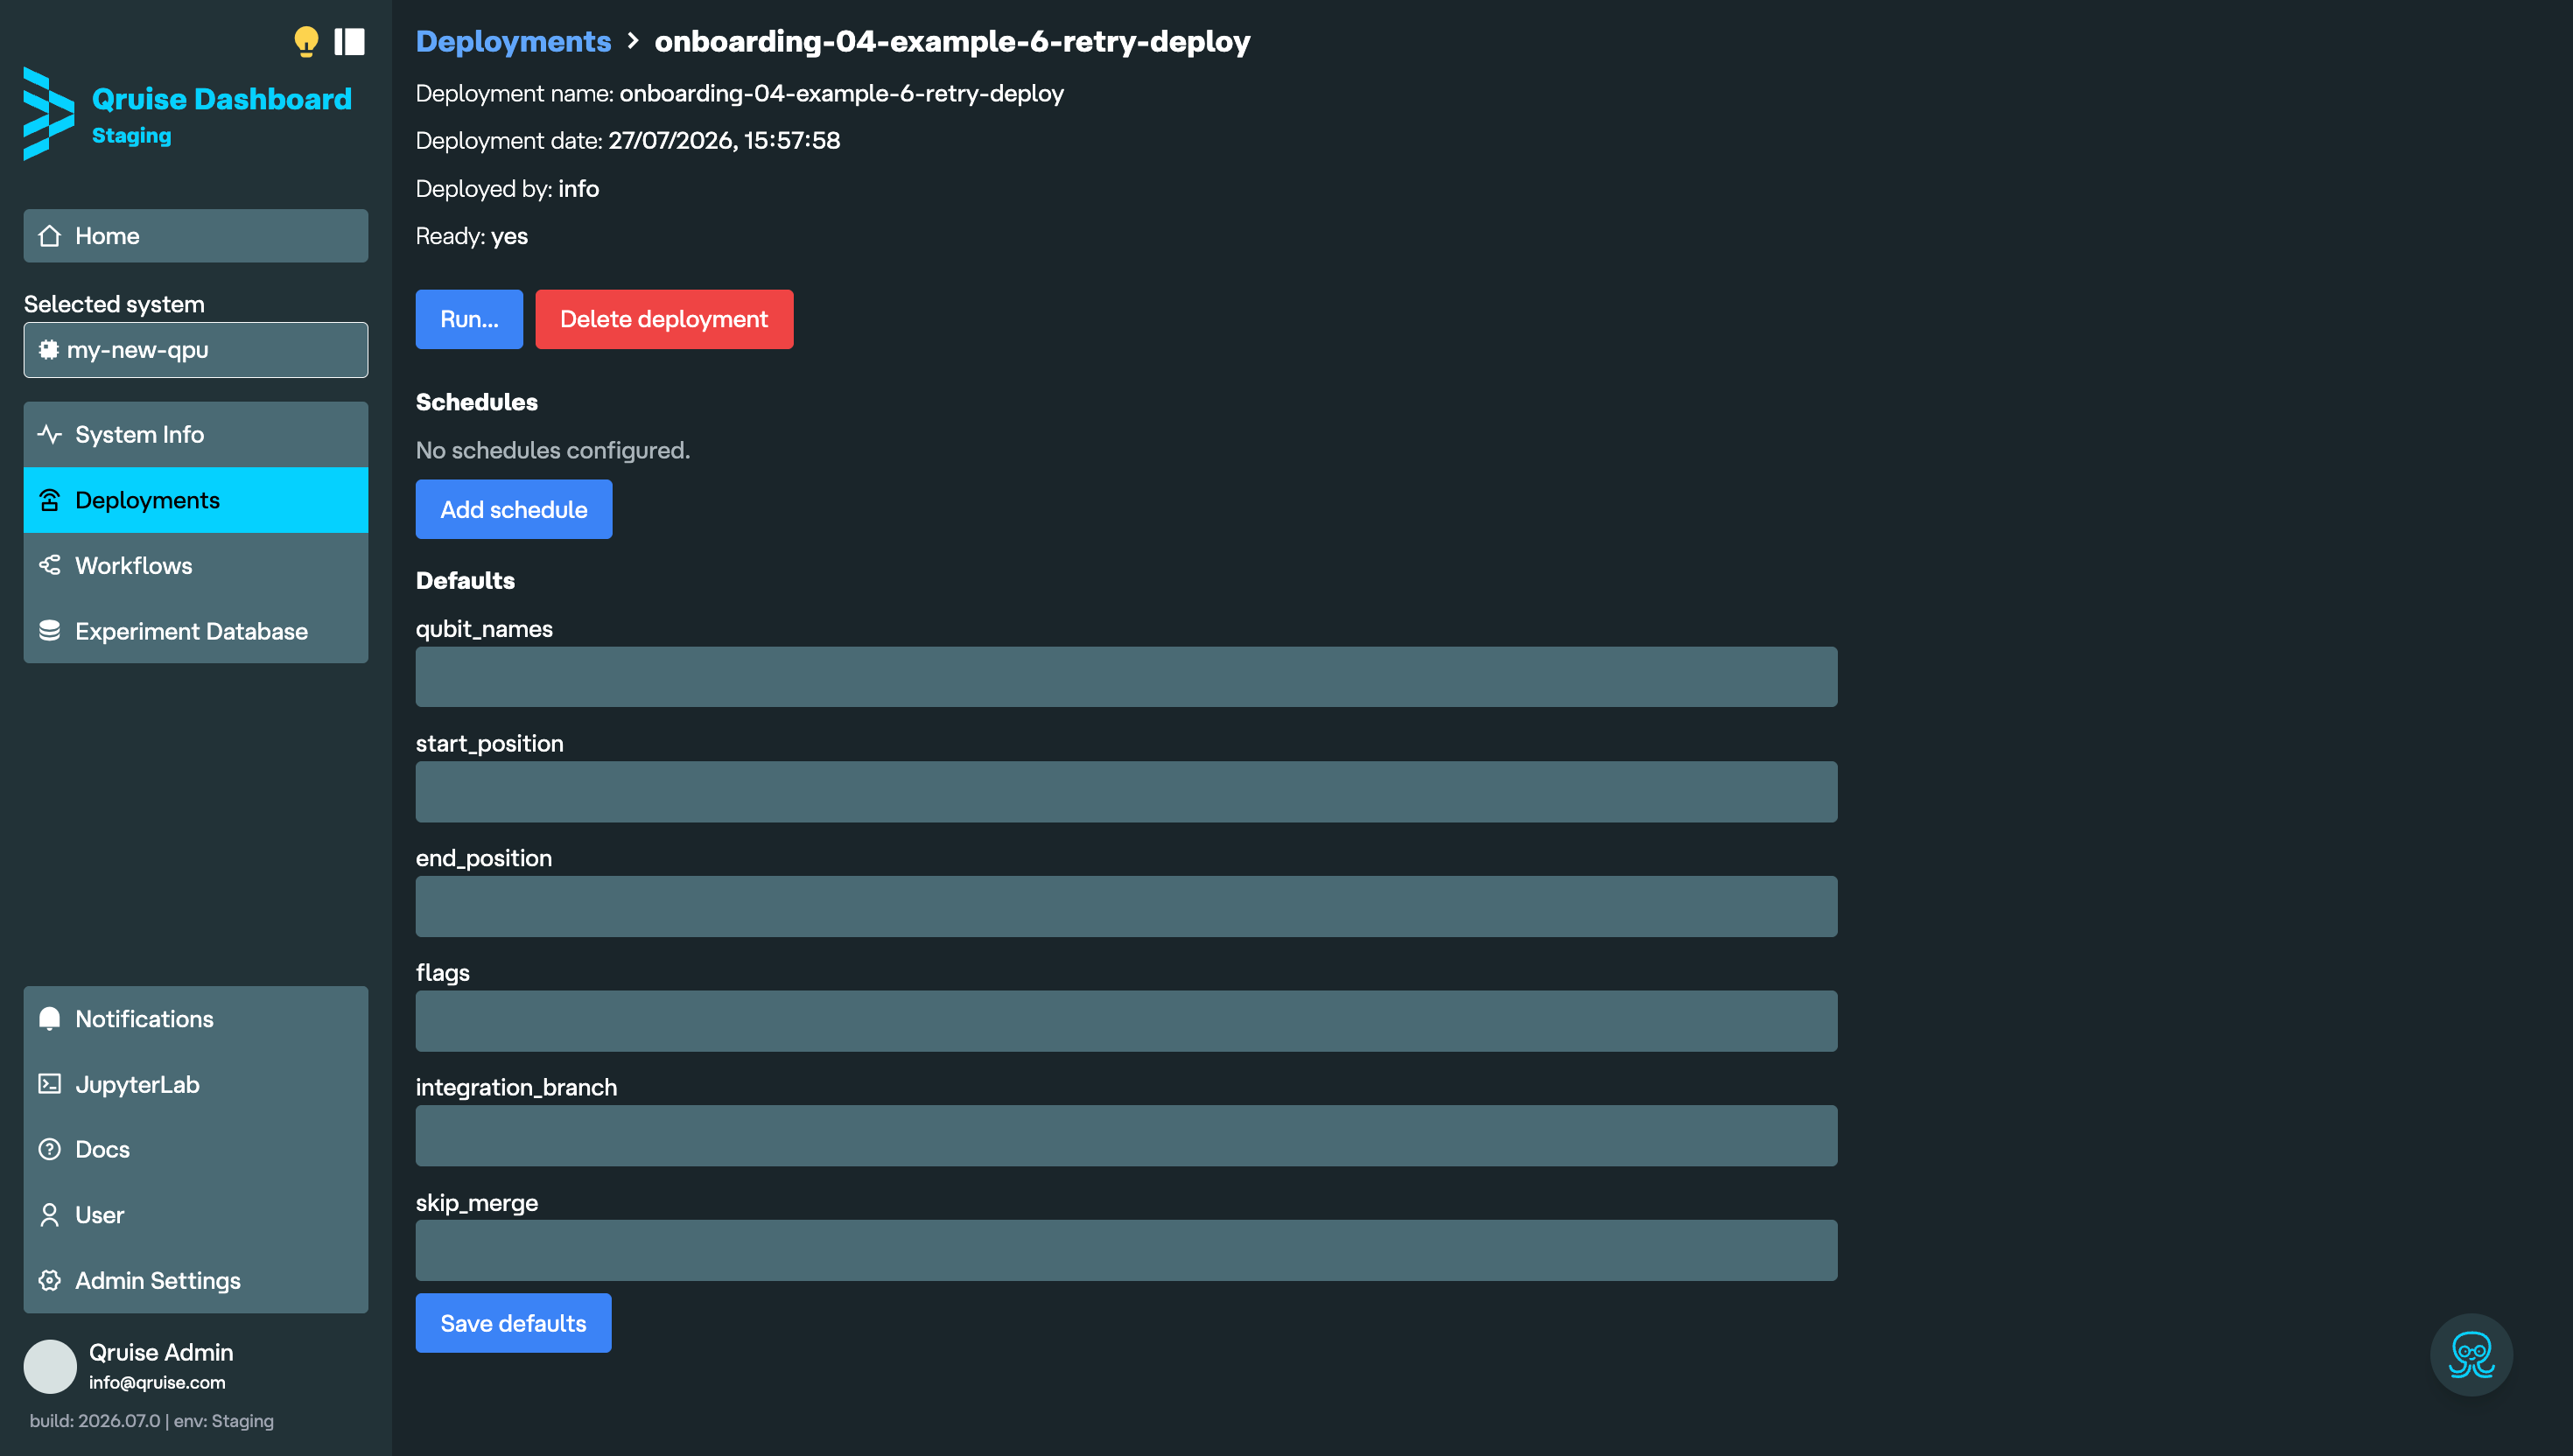
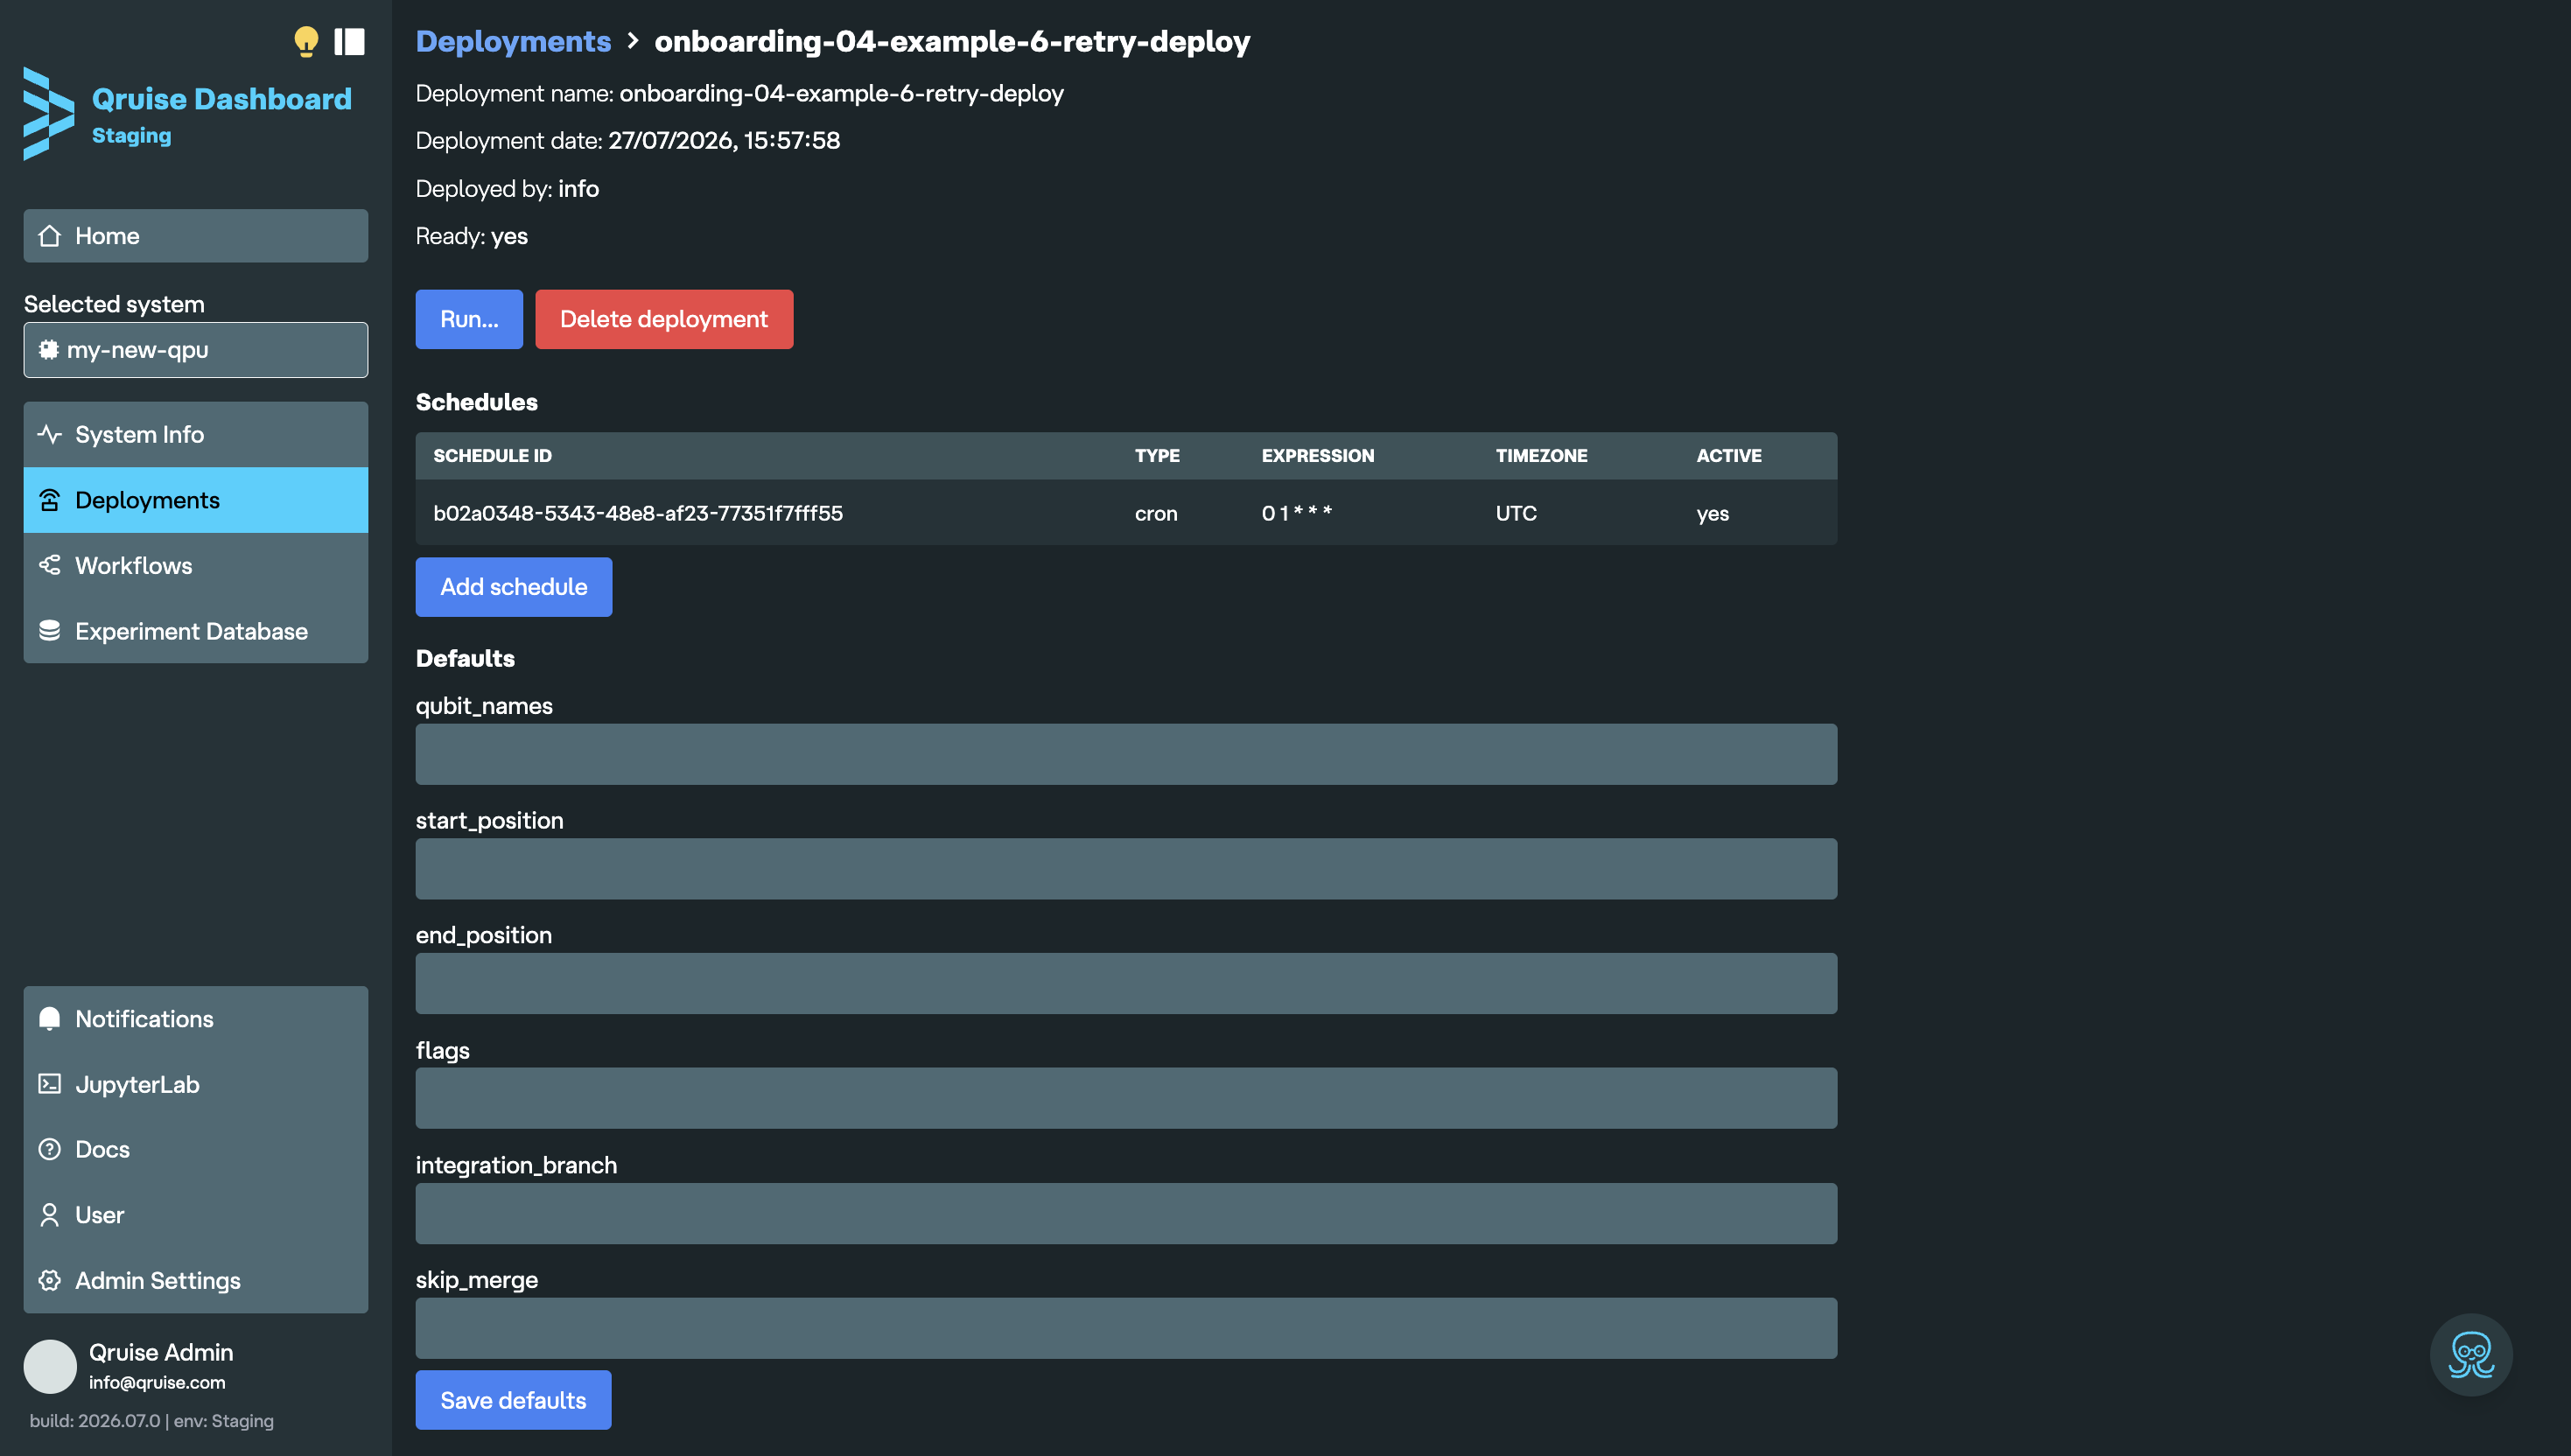
Clicking on the deployment will take you to its details page, where you can view its configuration. From here, you can:
- trigger a manual run using the deployment defaults
- add, review, or remove schedules
- delete deployments that are no longer needed
- assign default run parameters such as qubits, start/end positions, flags, branch, and merge behaviour
Running a deployment
To run a deployment, click "Run...". You can then review or override the run parameters:
qubit_names— limits the workflow to the specified qubitsstart_position— executes only notebooks with ordinal numbers greater than or equal to the number specifiedend_position— executes only notebooks with ordinal numbers less than or equal to the number specifiedflags— enables or disables tasks based on flagsintegration_branch— specifies the integration branch to merge workflow changes intoskip_merge— skips merging the flow run branch back into the integration branch if set toTrue
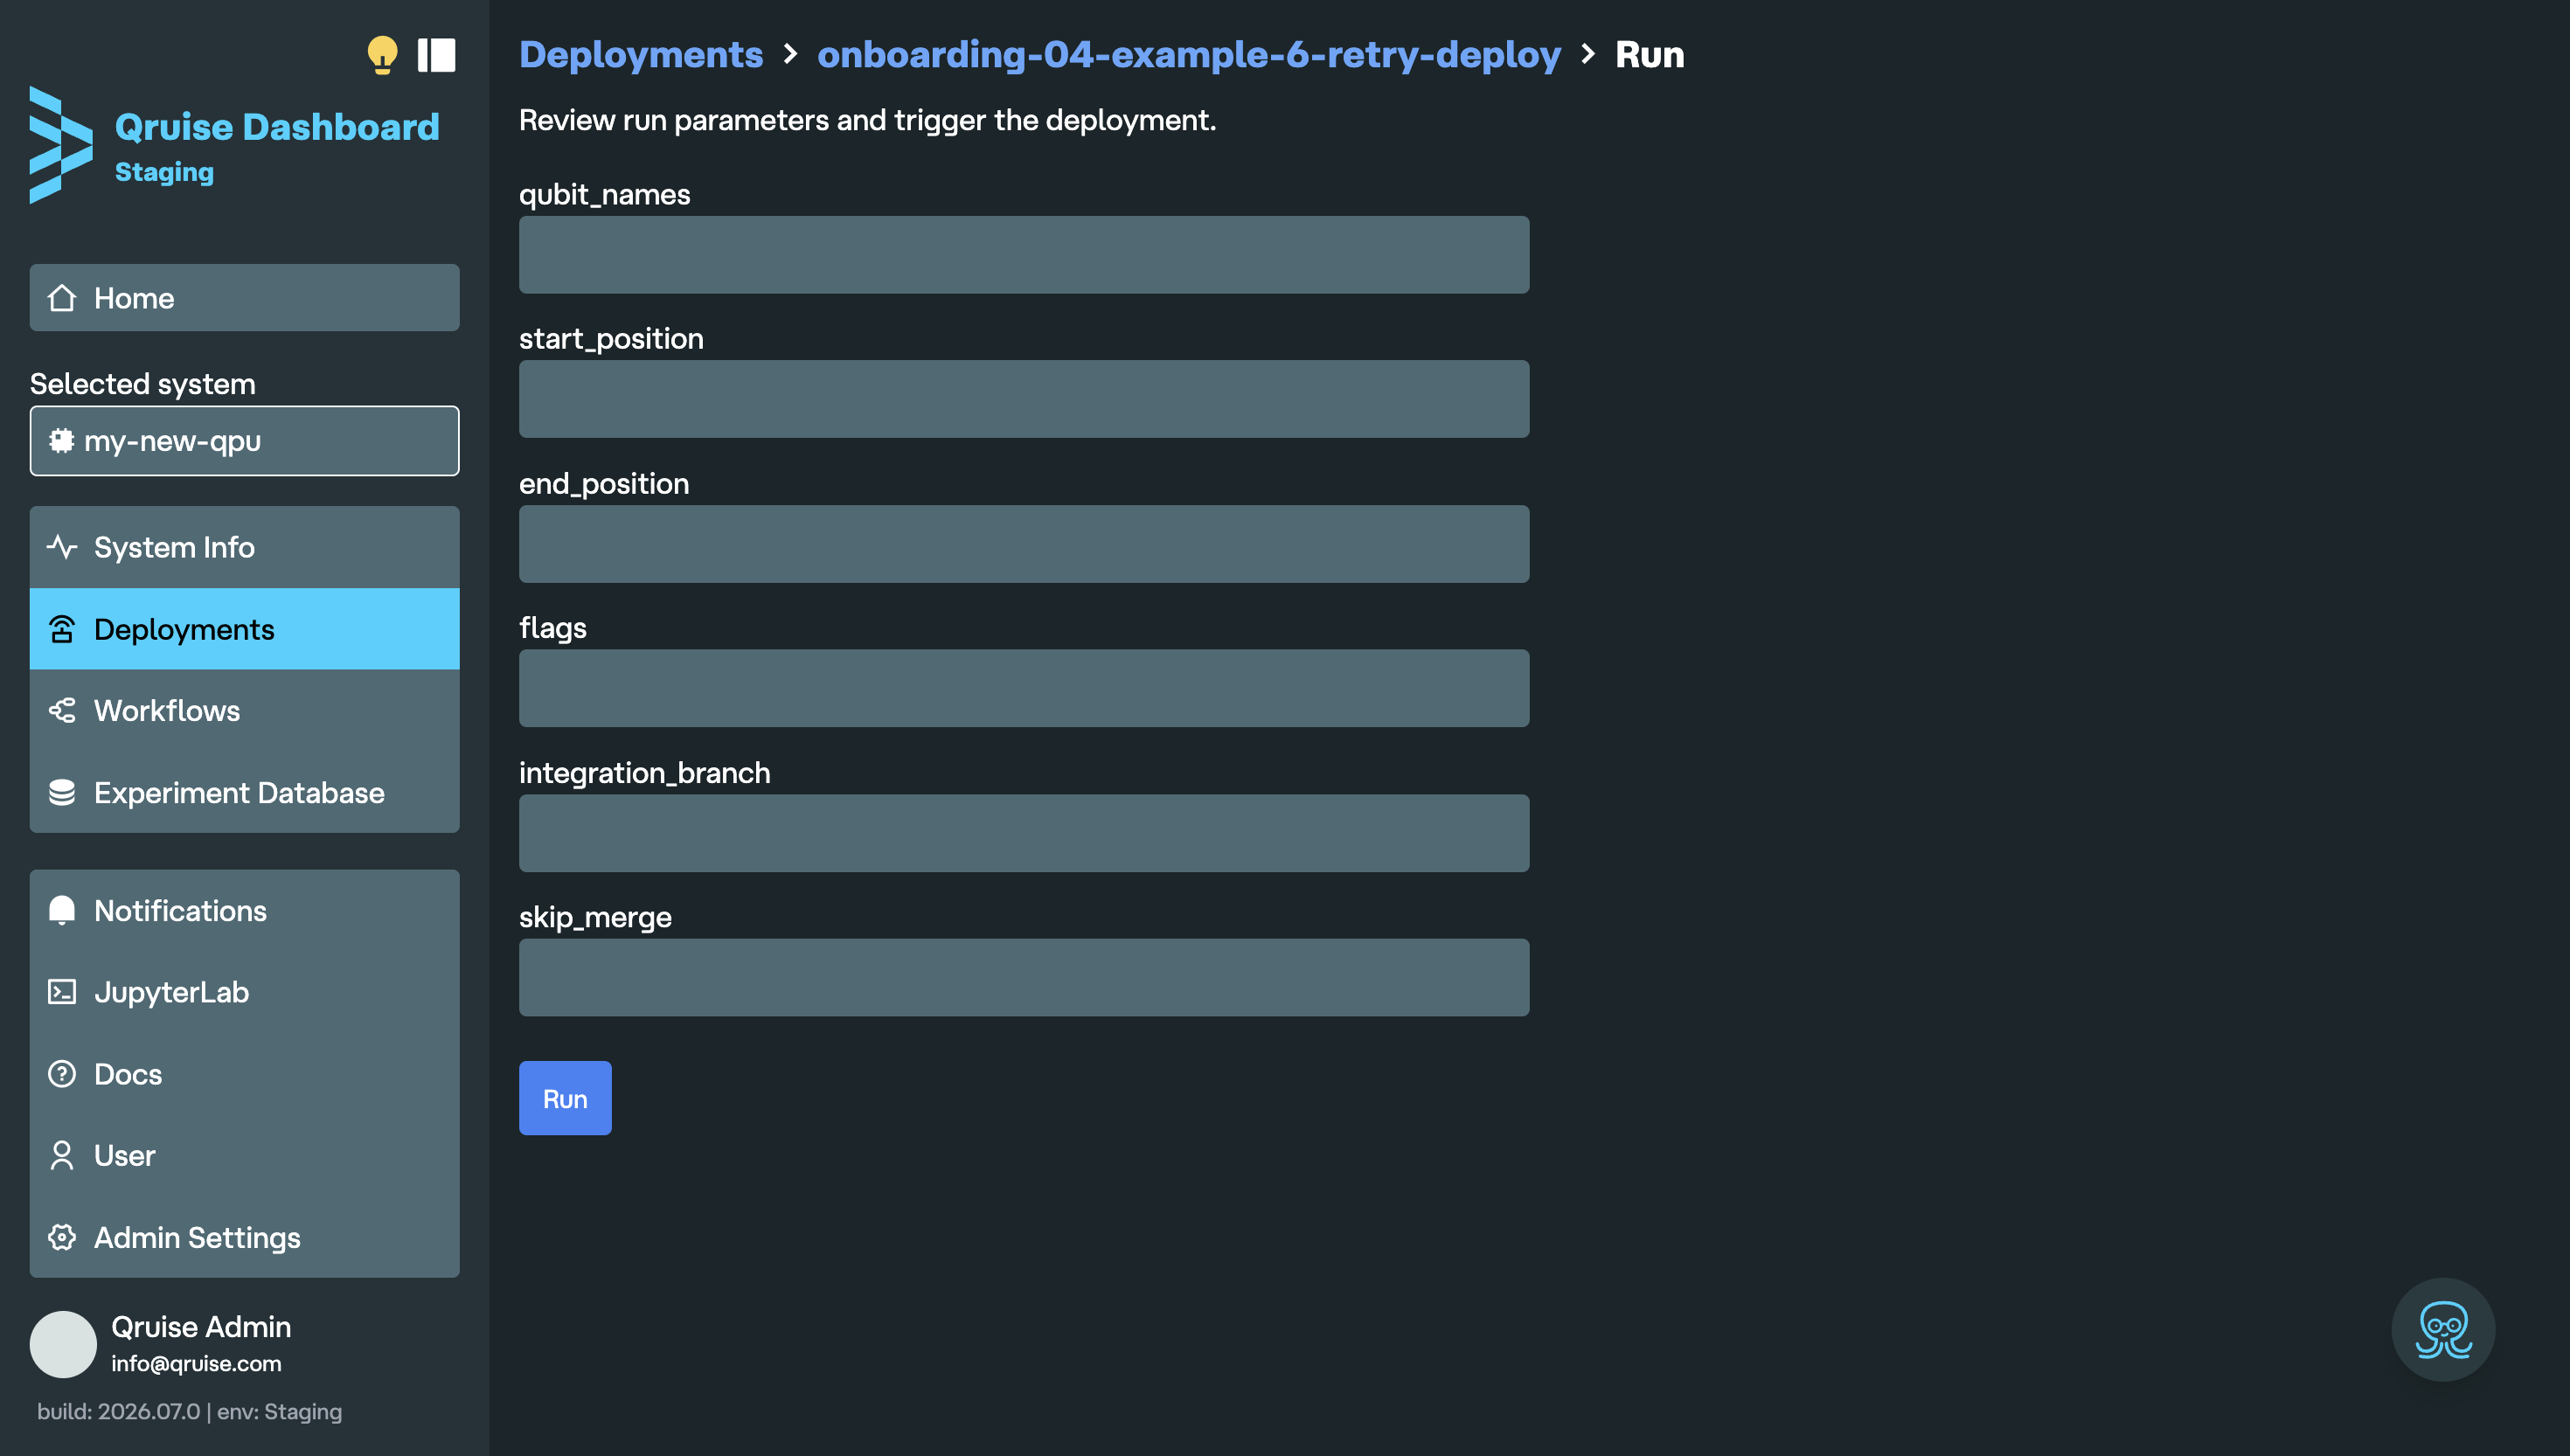
If you have defaults set, their values will appear here, otherwise they'll remain blank. If you don't set any parameters, the workflow will run as defined in your qruise-flow.yaml.
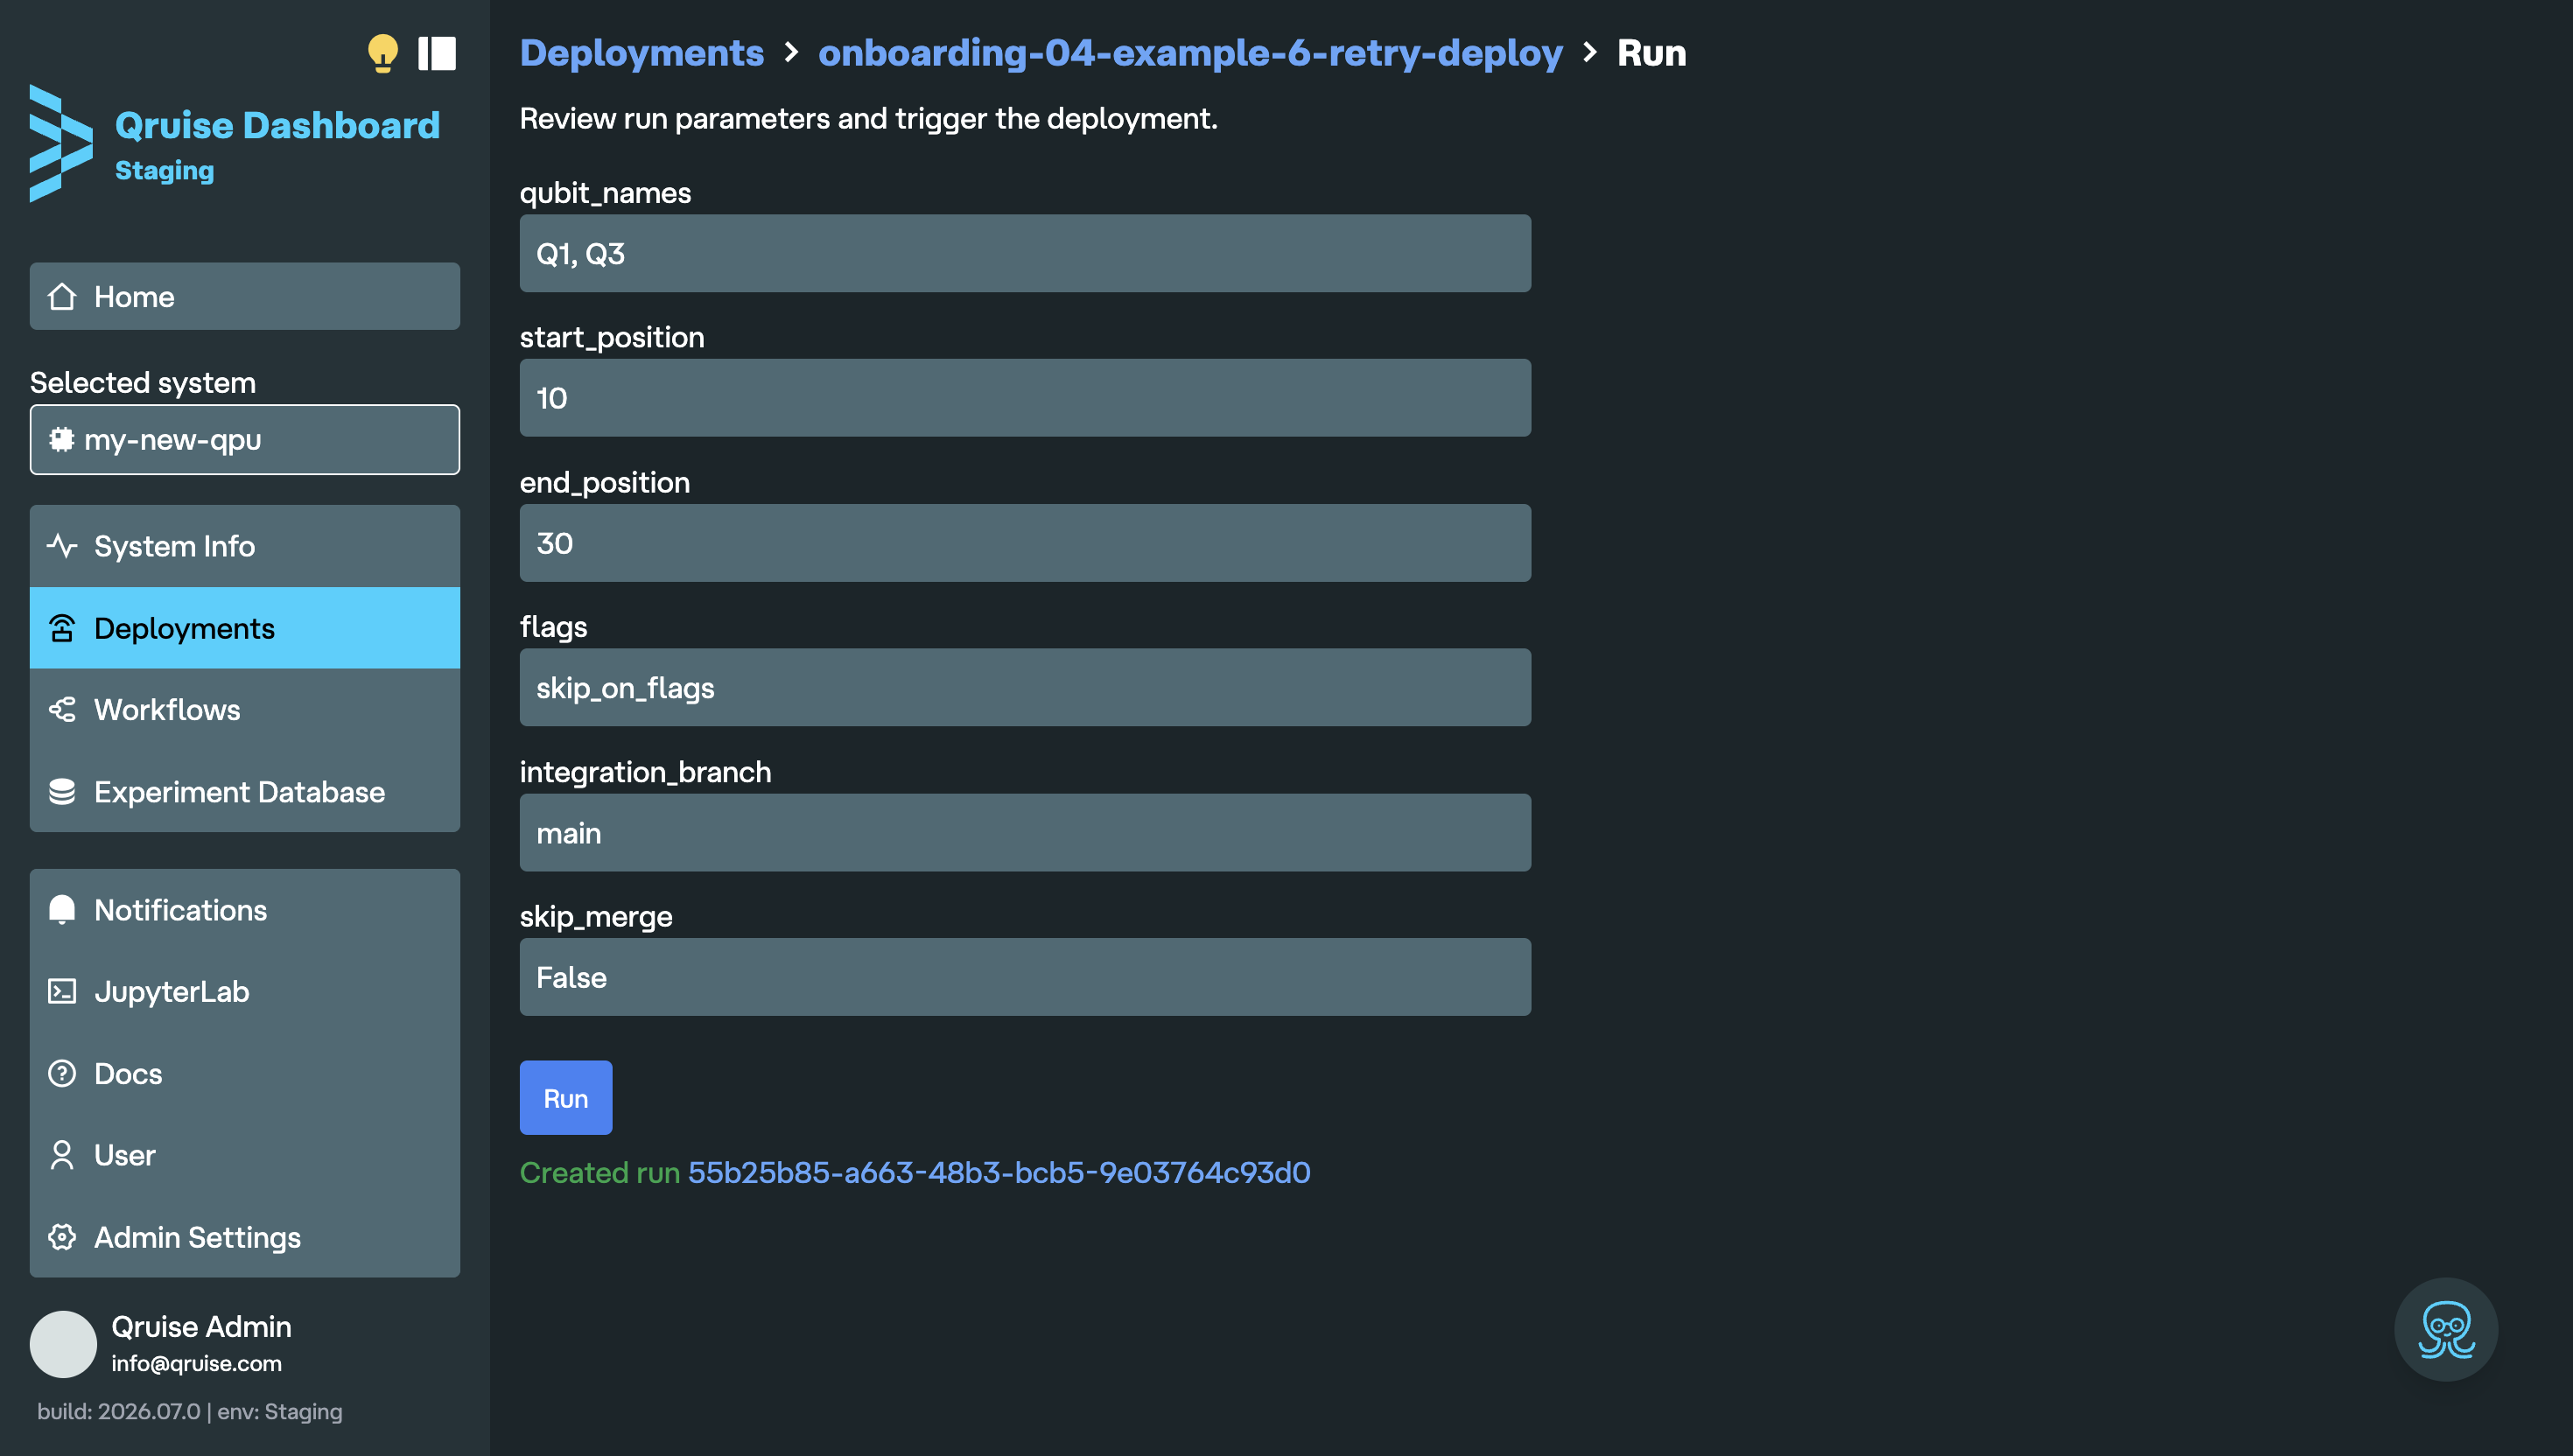
Click "Run" to start the deployment. This will trigger the workflow using the selected parameters. Any changes made here apply only to the current run and do not update the deployment defaults. A link to the workflow run will show below the "Run" button.
Scheduling workflows
To schedule a deployment — for example, for a nightly calibration run — click "Add schedule". You can then set the Cron, Interval, or RRule schedules for the selected deployment. You can learn about how to use these in the Prefect documentation.
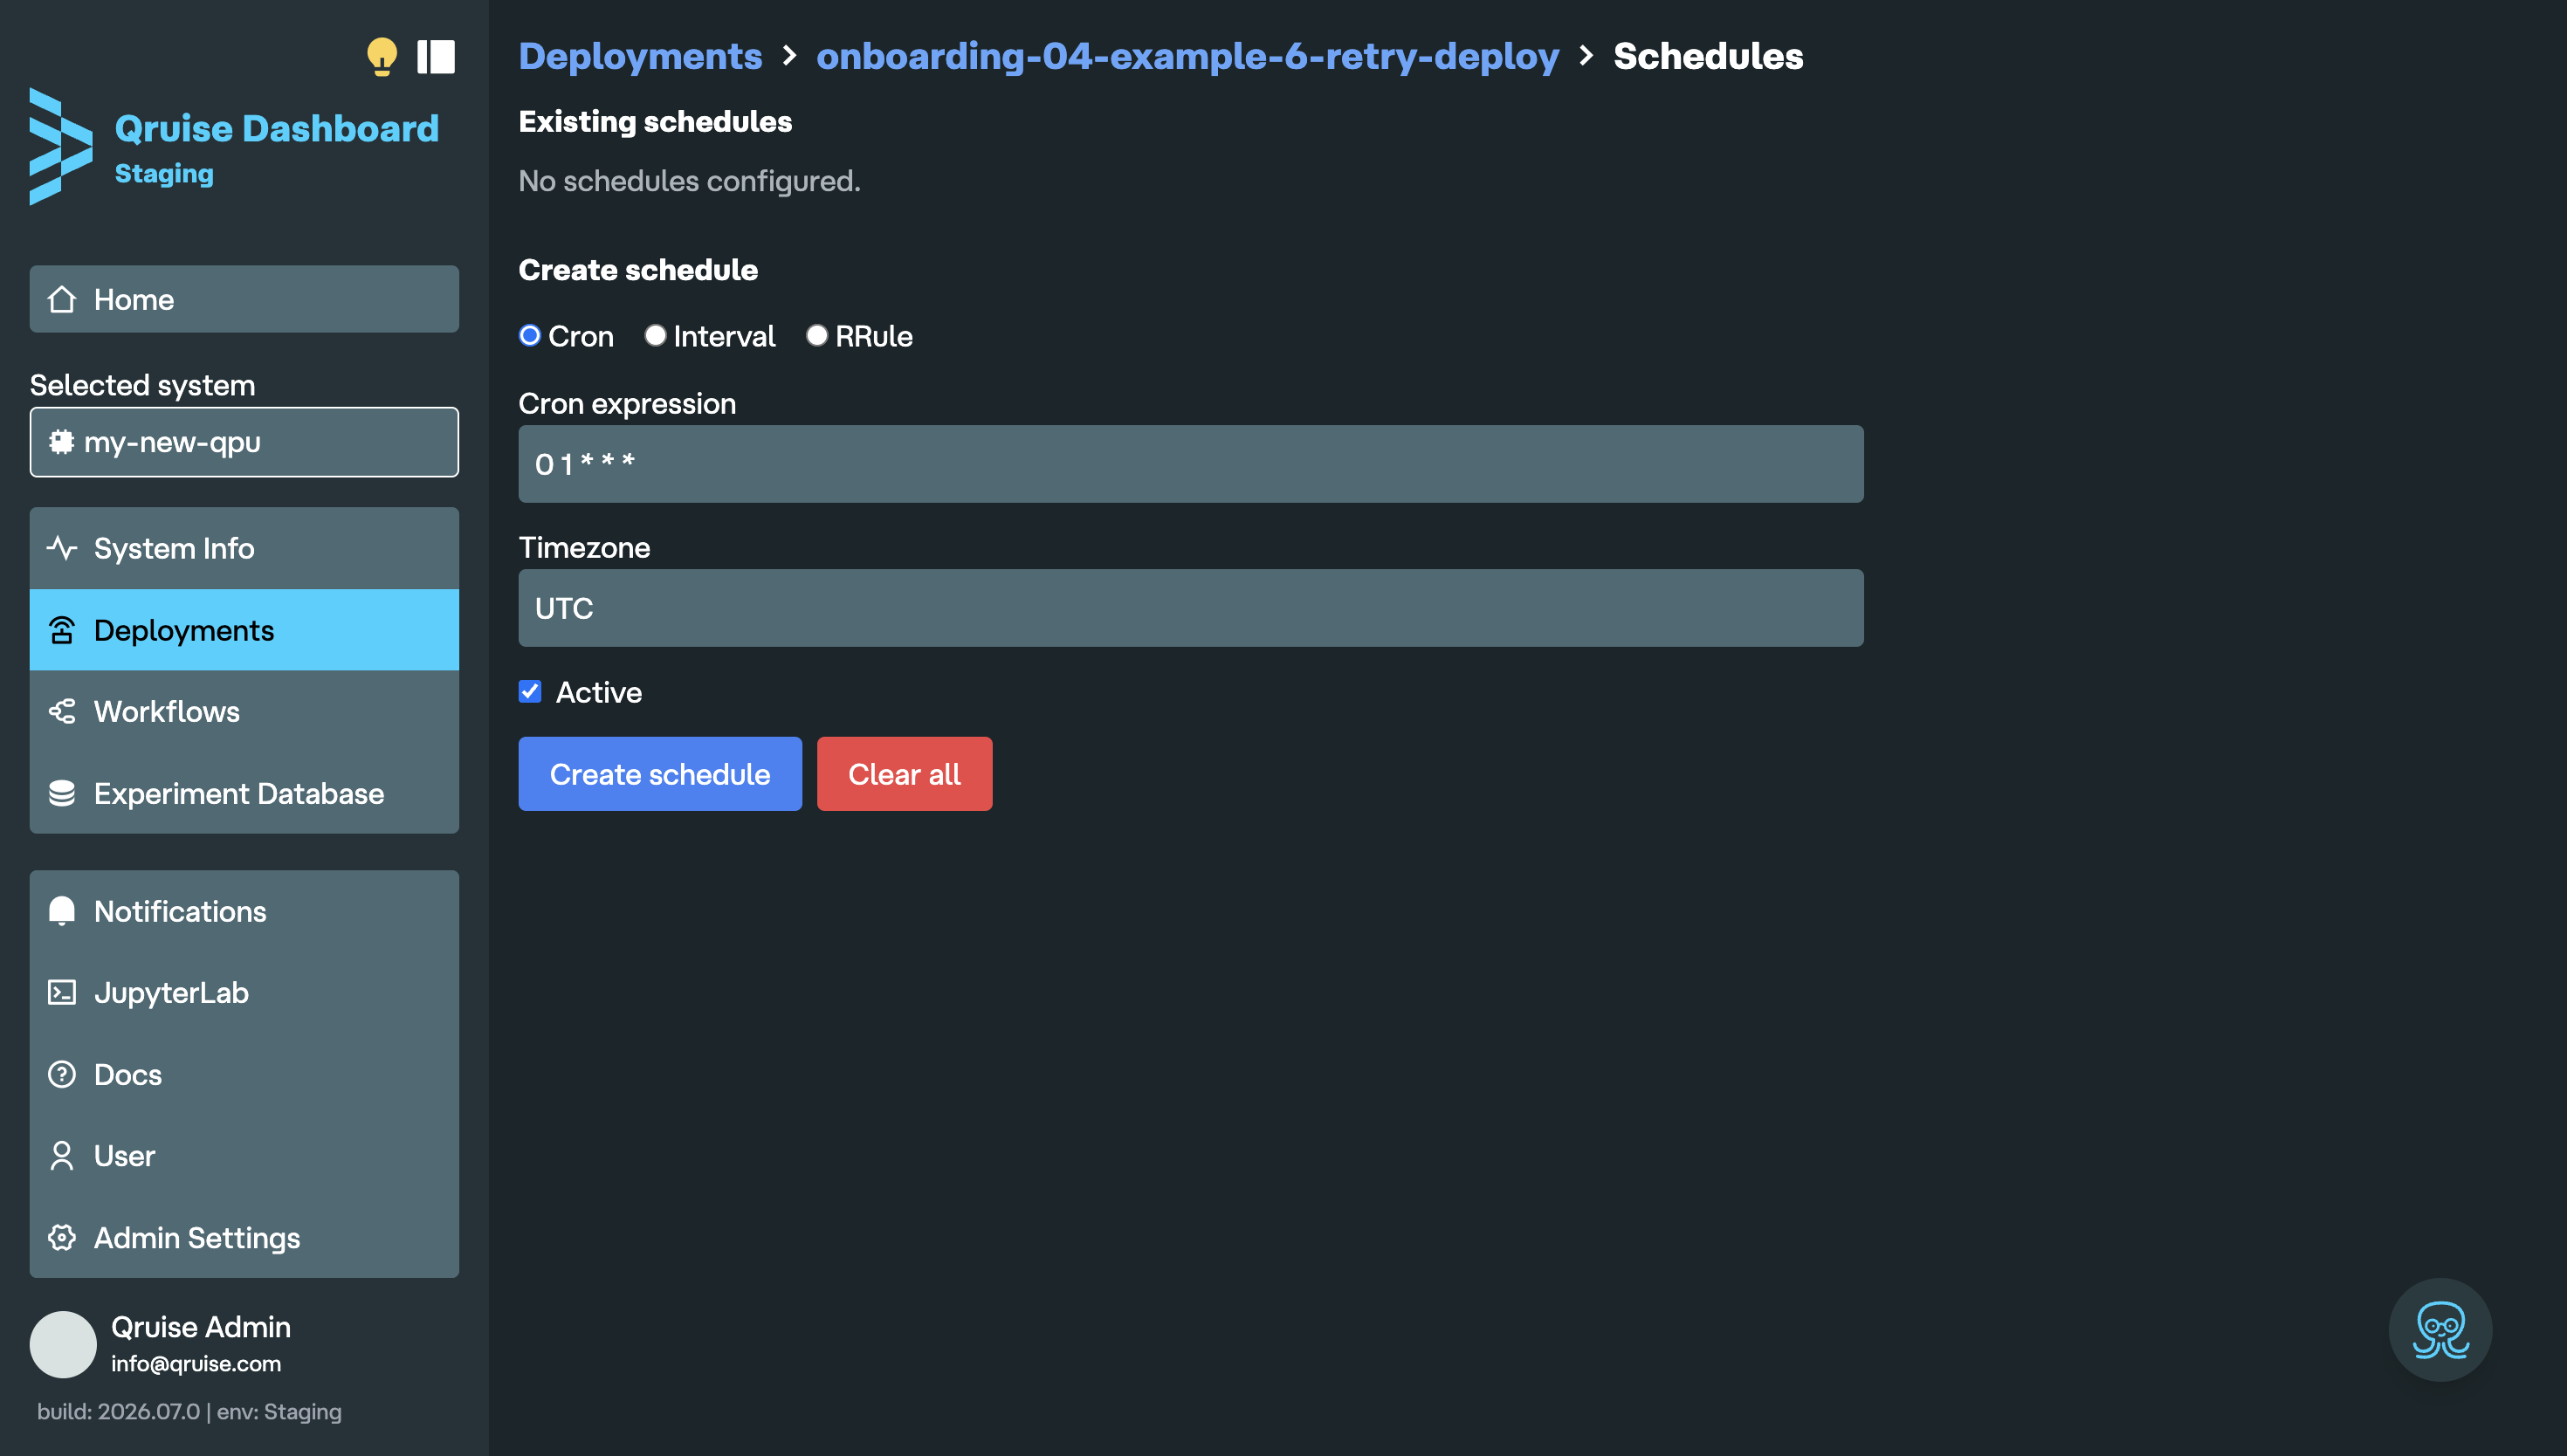
In the screenshot above, the deployment is scheduled every day at 01:00 UTC. The "Active" box is automatically selected; turn it off if you don't want to activate the schedule. Click "Create schedule" to confirm it. Your schedule will then appear under "Schedules". You can click on it any time to edit the schedule, change its "Active" status, or delete it.
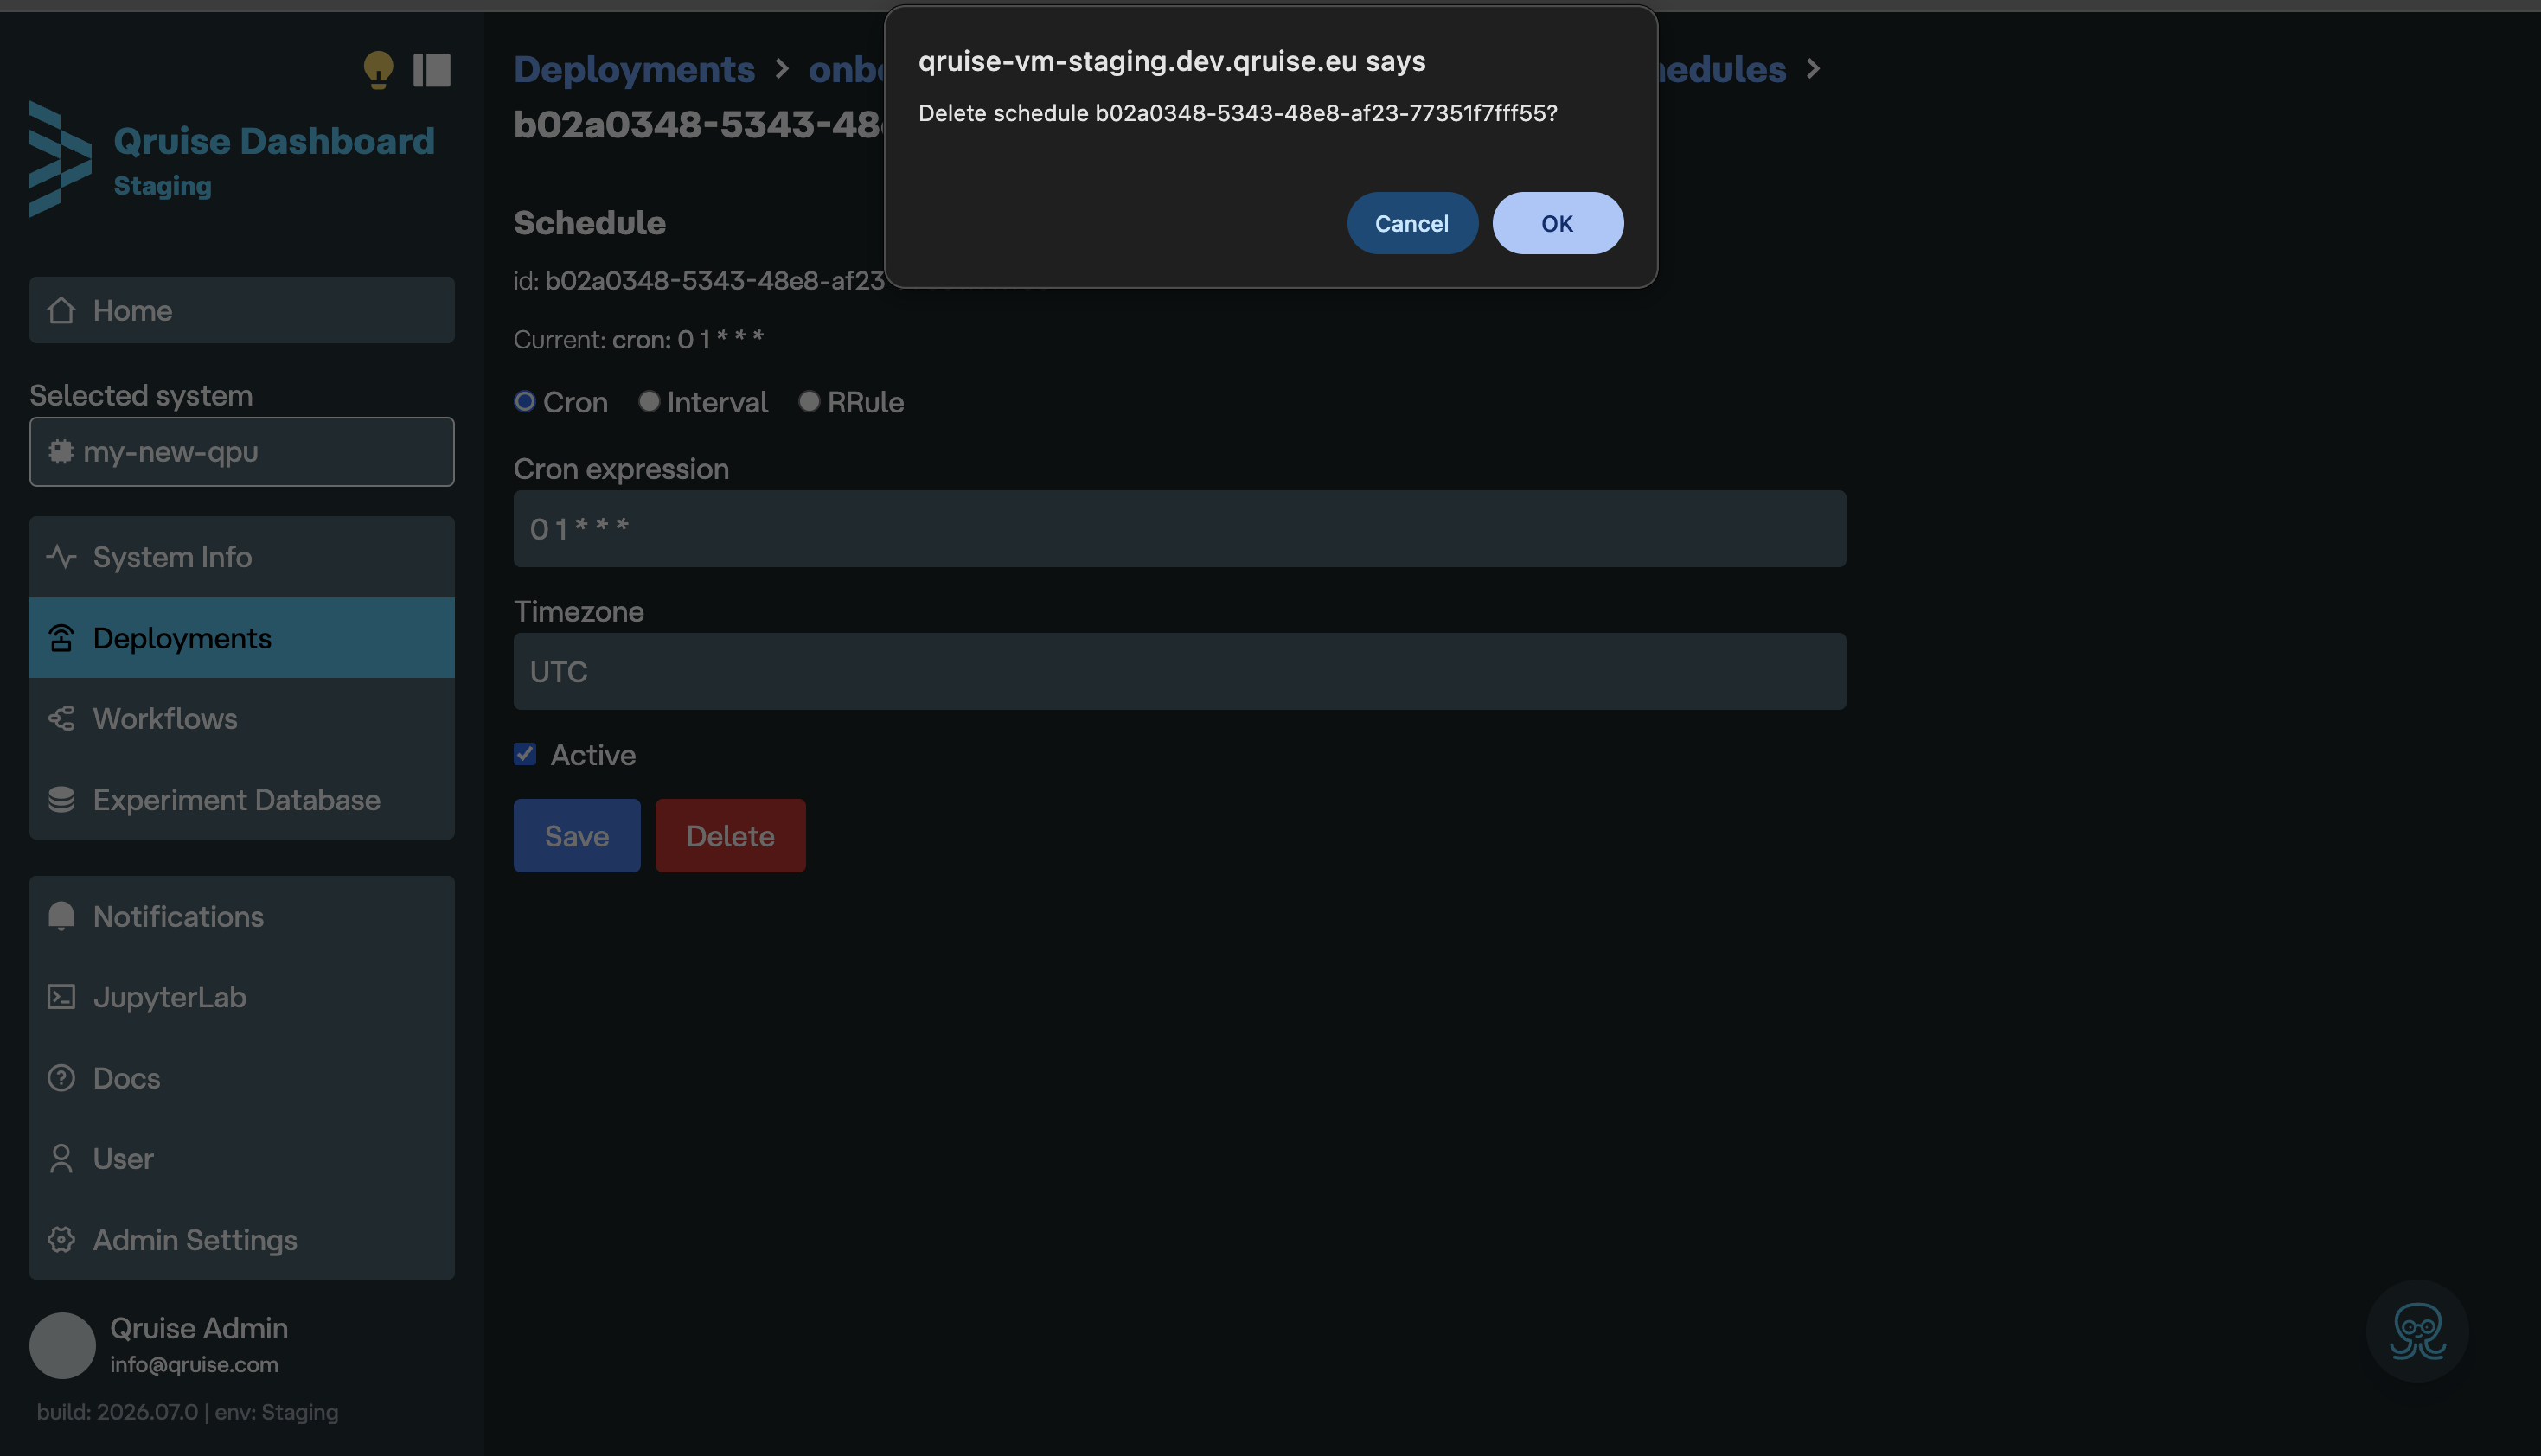
If you choose to delete a schedule or deployment, a dialogue box will appear asking you to confirm. This saves any accidental deletions.
Served deployments
Deployments created by qruise flow serve are only available while the serving process is running. If the terminal or Jupyter container stops, start qruise flow serve again before triggering or scheduling additional runs for that served deployment.