Running a workflow
The design choice of defining tasks as notebooks provides instant setup and flexibility to experimentalists. It also allows for manual execution and quick iteration, which is beneficial when setting up a new experiment, while the user is still continuing to develop visualisation and analysis.
But when the number of tasks and qubits to be considered grows, things quickly come to a point where it becomes cumbersome or even intractable to run each task manually.
Default workflow based on ordering
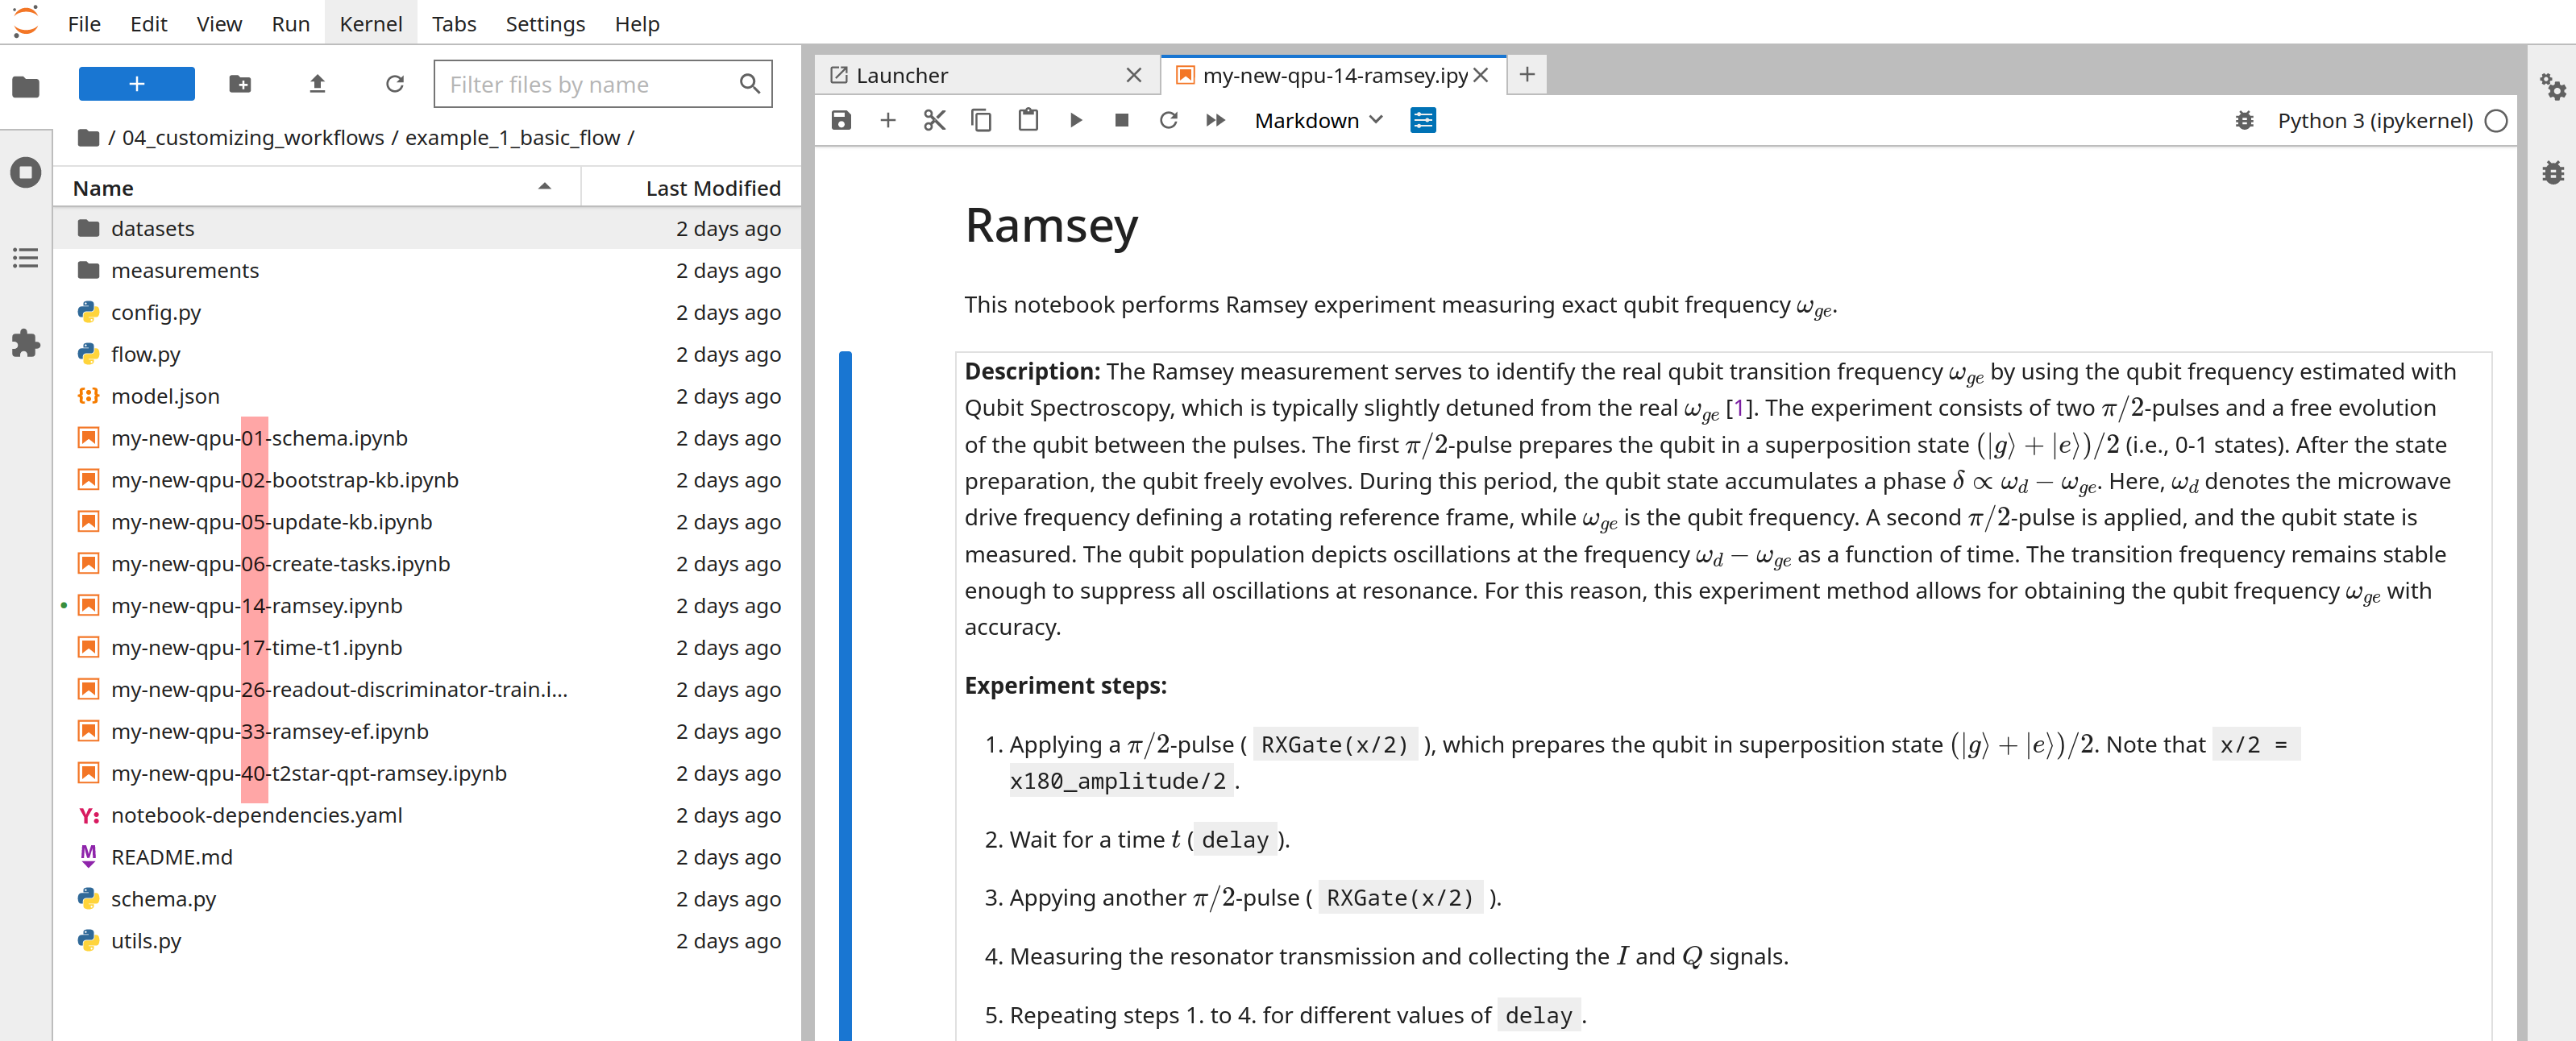
If the workflow has only single qubit tasks, ordering is straightforward and QruiseOS provides a default orchestration simply based on ordinal numbers in the prefix of notebook tasks. The assumption here is that you have a folder that contains all the task notebooks you want to execute. These notebooks prefix need to conform to a simple pattern qpu_chip-task_number-task-name as illustrated in the image just below.
Tutorial 02_running_bydefault_workflow
For a first hands-on experience running a workflow, you can refer to this tutorial in your Jupyter instance to see how multiple tasks can be automatically orchestrated.
If the default workflow is not what you want, you can fine-tune the execution order with the notebook-dependencies.yml file. See the related 04_customizing_workflows tutorial for more details about this.
The command to launch a workflow from your Jupyter instance is simply
which gets its configuration from theconfig.py file.
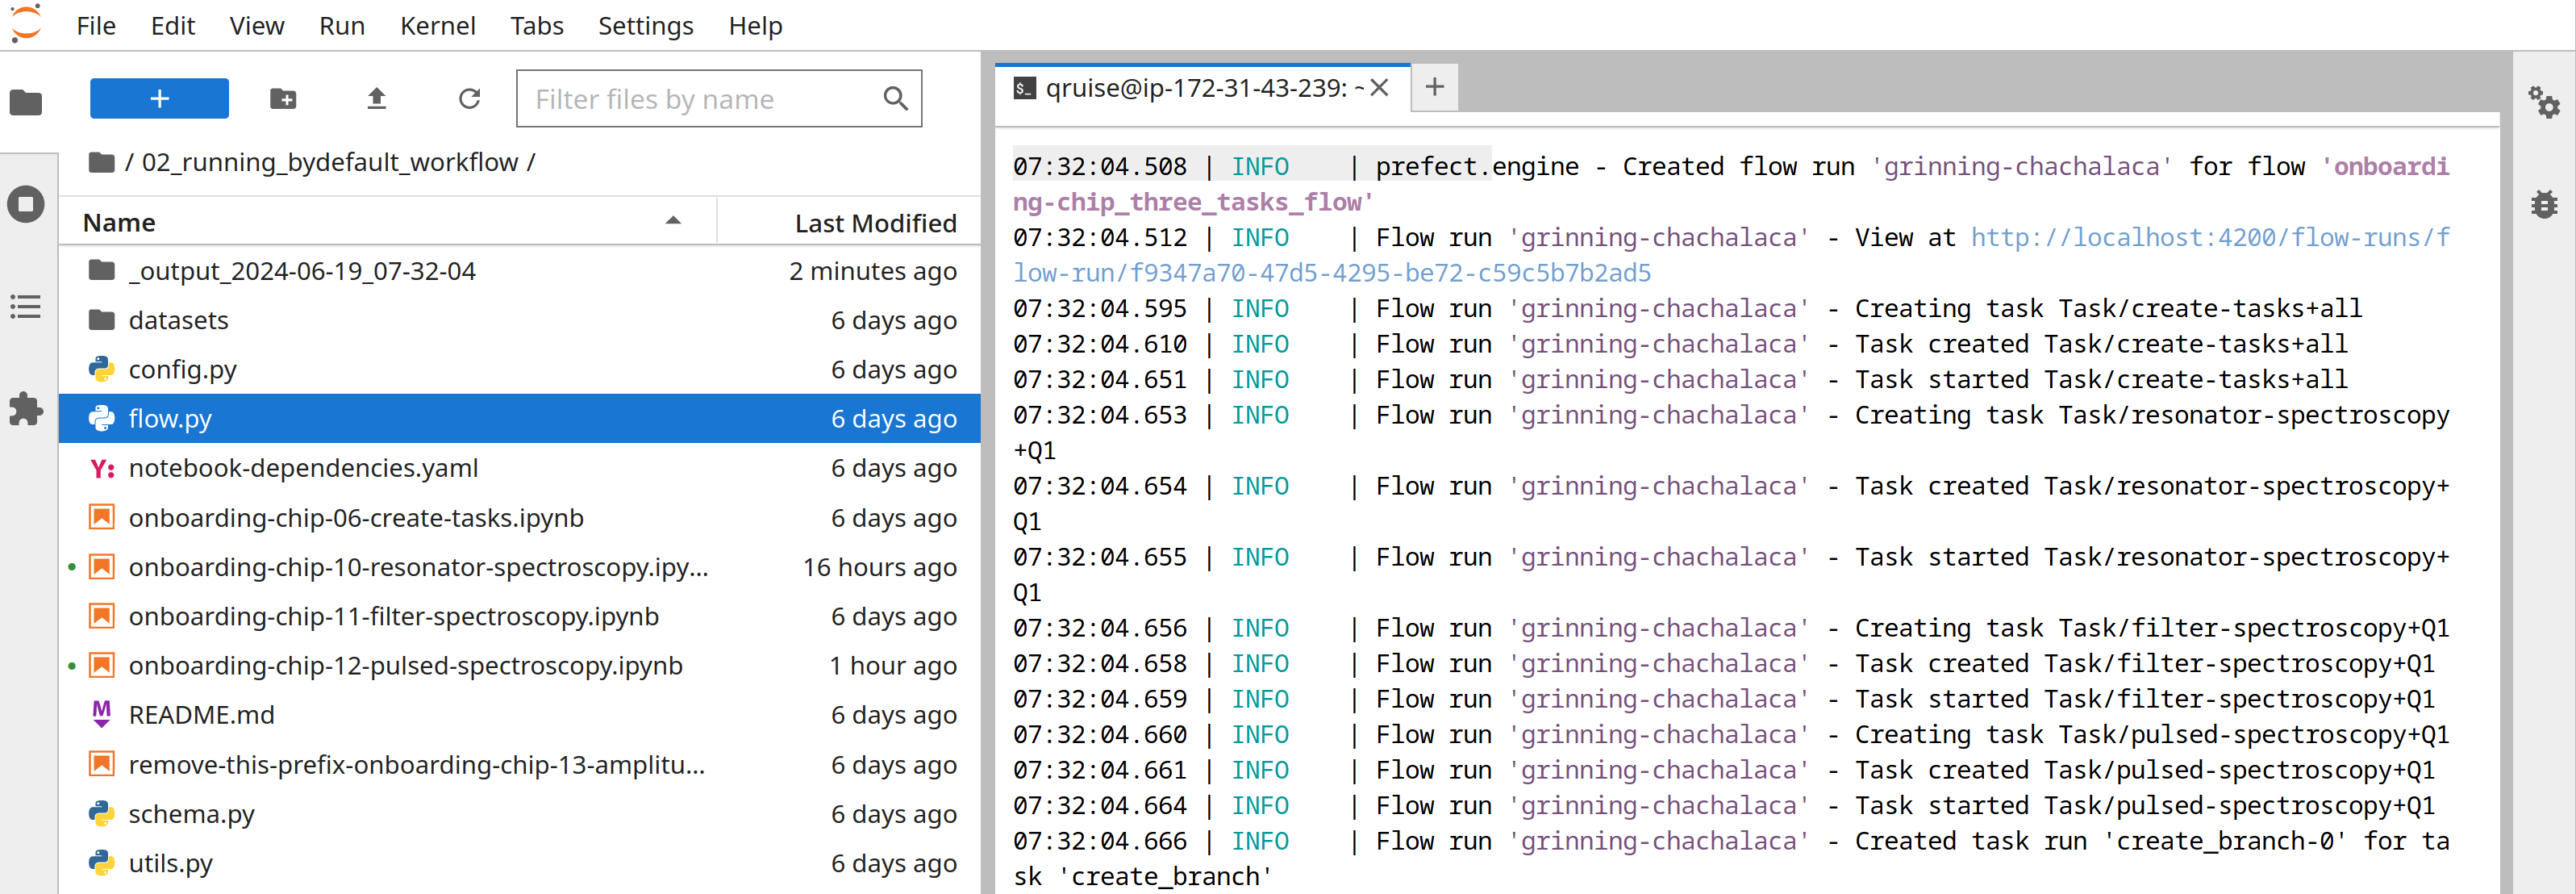
As illustrated below, it should be run from the terminal.

The result of this workflow build and execution is exemplified below. The orchestrator provides an easy to remember identifier and go through task execution. An alternative view of workflow execution is provided by the dashboard with workflow runs list or workflow view.

Tip
Workflows can be scheduled. For example you can run a nightly qubit characterisation workflow so that your team is always up and running with latest relevant data or to monitor historical values.
